
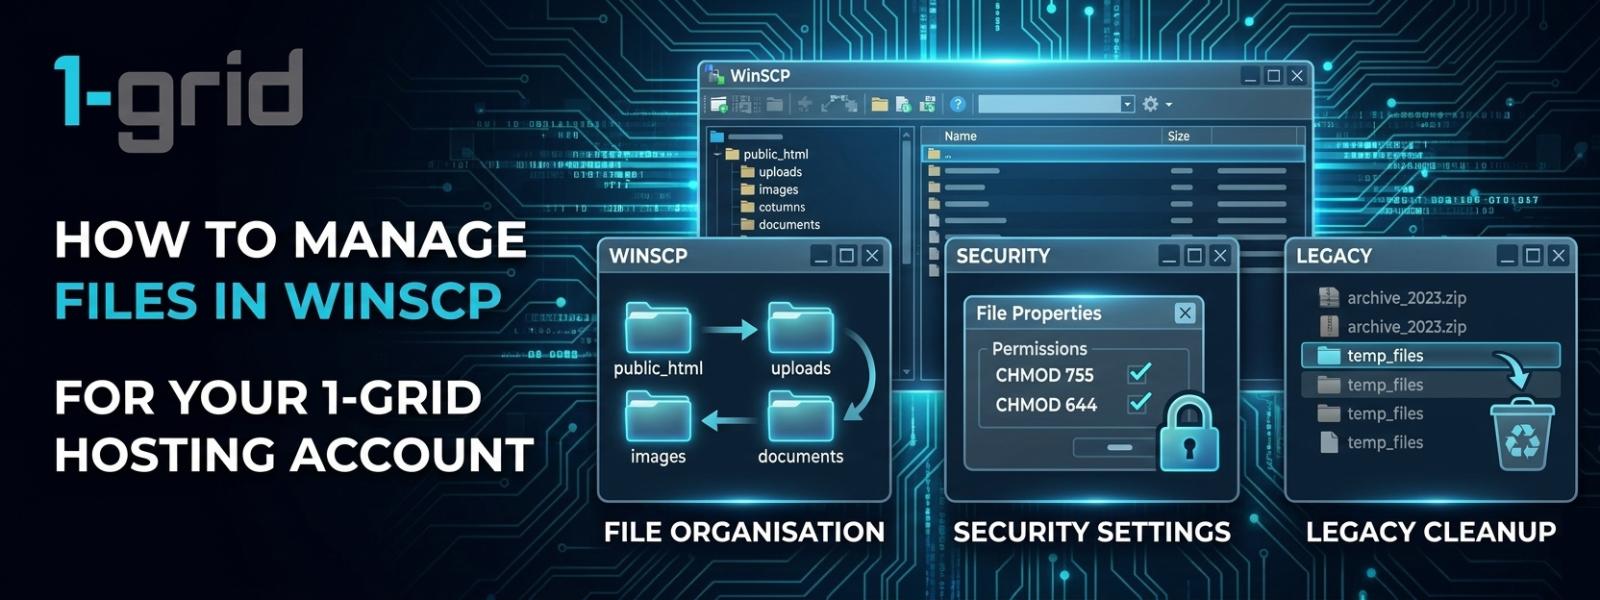
Organise your directories, adjust security settings, and clear out legacy content natively on your server using client shortcuts in WinSCP.
Proper file management helps keep your website organised, secure, and operating correctly. Whether you’re maintaining your own website or managing multiple hosting accounts, these tasks are an important part of website administration. This guide will help you manage files and folders in WinSCP while connected to your 1-grid hosting account. You’ll learn how to create folders, rename existing files and directories, delete content you no longer need, and modify file permissions.
Before You Begin
Before reorganising your remote server directory layouts inside WinSCP, make sure you meet the following baseline requirements:
- The WinSCP software client is running on your local computer device.
- You have an active connection mapped via Configure WinSCP for your 1-grid Hosting Account.
- An FTP or SFTP user profile that holds full read/write administrative permissions for your target hosting paths.
💡 Context: WinSCP is a secure file transfer client that allows you to connect to your 1-grid hosting account and manage the files stored on your web server. Every file creation, directory label rewrite, or security mode flip you execute inside its control pane updates the active files resting on your web storage platform in real-time.
Follow These Steps
1. Create a New Folder
- Open WinSCP and establish an active connection to your hosting account profile card.
- In the remote server explorer pane view, browse to the exact parent location where you want to drop a new directory tree.
- Enter an alphanumeric name for the new folder and click OK. Your new folder will appear in your current directory listing immediately.
2. Rename a Folder
- Locate and highlight the specific target folder or file row item you want to modify on the remote server window list.
- Enter your updated folder name string details and press Enter to save changes. The folder name will update across your network environment immediately.
3. Delete a Folder or File
- Select the folder or file item row, and click the Delete cross icon in the toolbar strip (or press F8 on your keyboard layout).
- Confirm the system verification pop-up box prompt to permanently drop the assets from your web disk allocation space.
4. Change File Permissions
- Select the specific configuration file or data wrapper layout whose directory attributes require tuning.
- Adjust the permission settings by selecting the appropriate check boxes or typing the precise three-digit numeric access value (such as
644for files or755for directories). - Click OK to apply the changes to the server. The updated permissions will take effect immediately.
What Happens Next?
Once file and directory properties are saved inside the WinSCP workspace panel, server configuration rules cycle instantly.
- Real-Time Property Flips: Folder renames or permission adjustments modify your application connection routing immediately.
- The Permanent Purge Effect: Dropped directory units bypass any localised desktop recycle bins, completely purging files and nested contents from the host disk sector.
Important Things to Know
- The Permission Lockdown Rule: Setting overly loose structural settings like
777bypasses vital web host defences. Keep backend application codes restricted to a safe file permission baseline of 644 for scripts and 755 for directories. - Landing Page Overrides: If you rename or tamper with your primary landing indicators (e.g., changing
index.phpto uppercase formats), web browsers will fail to resolve your landing templates, throwing immediate HTTP 403 errors. - Backup Priority Protocol: Always pull down a standalone folder download copy of your core public folder arrays via Upload and Download Files Using WinSCP before executing multiple batch folder deletes.
Common Mistakes to Avoid
- Accidentally highlighting and deleting nested framework folder units while executing directory cleanups.
- Renaming standard operational engine folders or system directories that active platform plugins or your CMS rely on for loading processes.
- Applying incorrect, restrictive permission keys that lock out your own application’s web server engine from reading its text settings files.
- Setting overly permissive access states (such as
777) unnecessarily without a valid reason, exposing server files to script injections. - Presuming system updates failed when your desktop browser interface is simply pulling an old, un-cleared page cache.
If This Didn’t Work
Should the status panel console box output permission exception alert codes or file locking warnings during execution, verify your FTP/SFTP account profile holds full write permissions. If folder name renames refuse to register inside your browser views, try refreshing your WinSCP session to clear out local cache parameters and verify if another process is locking the file.
You’re Ready!
Your remote server file environment cleanup is completed. Maintaining a secure, clean, and organised directory tree hierarchy prevents systemic storage conflicts and keeps your web environment operating efficiently.
Related Articles
- Configure WinSCP for your 1-grid Hosting Account
- Upload and Download Files Using WinSCP
- Understanding FTP and SFTP Connection Details
Need Help?
If WinSCP blocks directory modifications with critical socket failures or security error logs, contact us. Our Support Team is ready to offer support and guidance.
Before launching a validation request, please prepare:
- Your primary domain name and hosting service plan metrics.
- The exact path of the target file or folder directory you are modifying.
- The complete text string configuration of any error messages displayed on your screen console.
- A screenshot of your WinSCP workspace window view showing the failure notice.