
Restrict script execution inside media, upload, and temporary folders to neutralise background web exploits.
Many websites require certain folders to have write access so they can store uploaded files, generated images, cache files, or temporary data. While this functionality is necessary, it can also create opportunities for attackers to upload and execute malicious scripts if a website vulnerability exists. By following the steps in this guide, you’ll learn how to protect images and TMP directories, and how these can add an extra layer of protection to directories that should store files but should never execute code on your 1-grid hosting account.
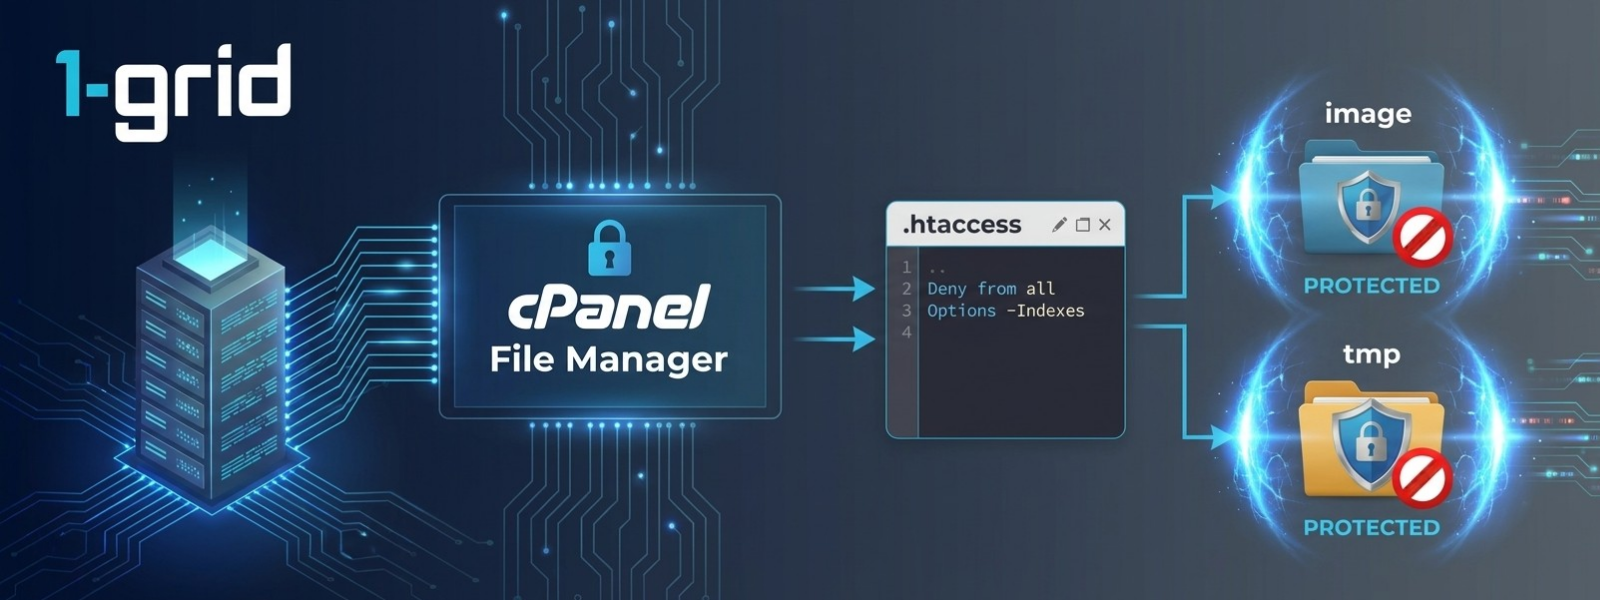
Before You Begin
Before deploying strict file-execution restrictions inside your storage paths, make sure you have:
- Access to your 1-grid Customer Zone profile.
- An active web hosting subscription running a cPanel dashboard.
- Clear identification of your open writable folders (e.g.,
images,uploads,media,tmp, orcache).
💡 Context: Writable folders are designed to host static media file packages rather than run dynamic applications. If a software vulnerability allows an attacker to upload a malicious PHP or Perl file into one of these zones, they will attempt to run that code directly via a web browser. Injecting custom rules into an .htaccess file drops these execution requests instantly while leaving your images, PDFs, and text layout items completely unaffected.
Follow These Steps
1. Identify the Writable Directory
Review your web framework directory structure to spot folders that accept public uploads or system cache caches. Focus strictly on folders that should store media assets but never require structural application script execution (such as public_html/uploads or public_html/tmp).
2. Access cPanel File Manager
Log in to your 1-grid Customer Zone dashboard. Go to Services → Web Hosting, select your target hosting package row, click Manage, and then select Login to cPanel. Scroll down to the Files section block cluster panel and launch File Manager.
3. Open Your Target Folder Path
Inside the file explorer, navigate down through your site root (usually public_html) and double-click to enter the exact directory you want to secure (for example, public_html/wp-content/uploads/).
4. Create or Locate Your .htaccess File
Look closely at your folder row entries. Because system configuration profiles are masked by default layout rules, verify your preferences match our companion guide on How to View Hidden Files in cPanel (.htaccess) if the workspace panel appears empty.
- If no
.htaccessfile exists: Click the + File link icon in the top toolbar, name the file exactly.htaccess(ensure it starts with a period), and click save.
5. Input the Script Block Rules
Paste the following explicit Apache firewall text blocks into the text box configuration canvas to block backend script parameters completely:
apache
<Files "*.php">
Deny from all
</Files>

<Files "*.pl">
Deny from all
</Files>

Allow from all
Important: Use code with caution.
Action: Click Save Changes in the top-right corner of the editor layout pane and close out the window tab.
6. Test Your Website Functionality
Open an external private or incognito browser tab session and navigate to your website. Execute a test image upload using your content management dashboard, browse several galleries, and confirm that your public files, product images, and theme graphics continue rendering smoothly without throwing layout faults.
What Happens Next?
Once saved, Apache updates its folder routing properties immediately.
- Instant Script Dropping: Any browser call targeting a
.phpor.plfile nested anywhere inside that protected path directory will trigger an automatic server-level HTTP 403 Access Denied block. - Cohesive Security Layering: Your core media assets continue serving content flawlessly, but the directory is now effectively decoupled from your server’s application compiler engine.
Important Things to Know
- Localised Target Scope: The protective rules deployed inside an
.htaccessprofile operate strictly inside the explicit directory where the configuration file rests and any of its nested lower sub-folders. - Zero File Interruption: Applying script execution blocks never deletes, drops, or alters your raw image files, media dimensions, or stored user uploads.
- Application Dependencies: Certain specialised plug-ins or custom themes occasionally require localised PHP script execution inside isolated system cache folders. Test your pages carefully post-save.
- The Continuous Update Rule: Restricting execution pathways inside open directories reduces your server attack boundaries dramatically, but it should never replace routine core updates for your CMS themes, web plug-ins, or system scripts.
Common Mistakes to Avoid
- Accidentally uploading the script block rule profile directly into your primary website root folder (
public_html), which will instantly crash your whole application and take your entire website offline. - Typing the manual file name configuration incorrectly, such as naming it “htaccess.txt” instead of the required
.htaccessperiod syntax. - Deploying rules on dynamic app cache folders that actively require PHP execution routines to process front-end user sessions.
- Rewriting file rules without keeping a clean copy text backup profile of your initial
.htaccesssettings. - Assuming this single directory lock removes the absolute requirement for strong master passwords and active anti-virus monitoring.
If This Didn’t Work
Should your public web pages throw immediate server error flags or broken layout messages post-save, return to the File Manager, open the .htaccess file you just modified, and comment out or remove the code block lines to restore your previous server state instantly. Check that you haven’t placed the file path into a directory containing core application loader files.
You’re Ready!
Your website’s vulnerable writable folders are now fully secured. Auditing your directories and taking simple preventative actions like blocking execution pathways gives you the ultimate control to protect your digital workspace from security threats.
Related Articles
- How to Use File Manager in cPanel
- Understanding File Permissions in cPanel
- How to Change File and Folder Permissions in Plesk File Manager
- Website Security Guides
- How to Back Up Your Website Files
Need Help?
If your File Manager blocks configuration saves with critical permission drops, or if applying execution rules triggers unexpected site loading errors, contact us. Our Support Team is ready to provide guidance and support.
Before logging a technical review ticket, please prepare:
- Your primary domain name and client account code.
- The exact folder directory path where the security file was deployed (e.g.,
/public_html/media/tmp/). - A screenshot of your File Manager file tree view highlighting the target path.
- The complete text string code of any error messages displayed inside your browser layout.