
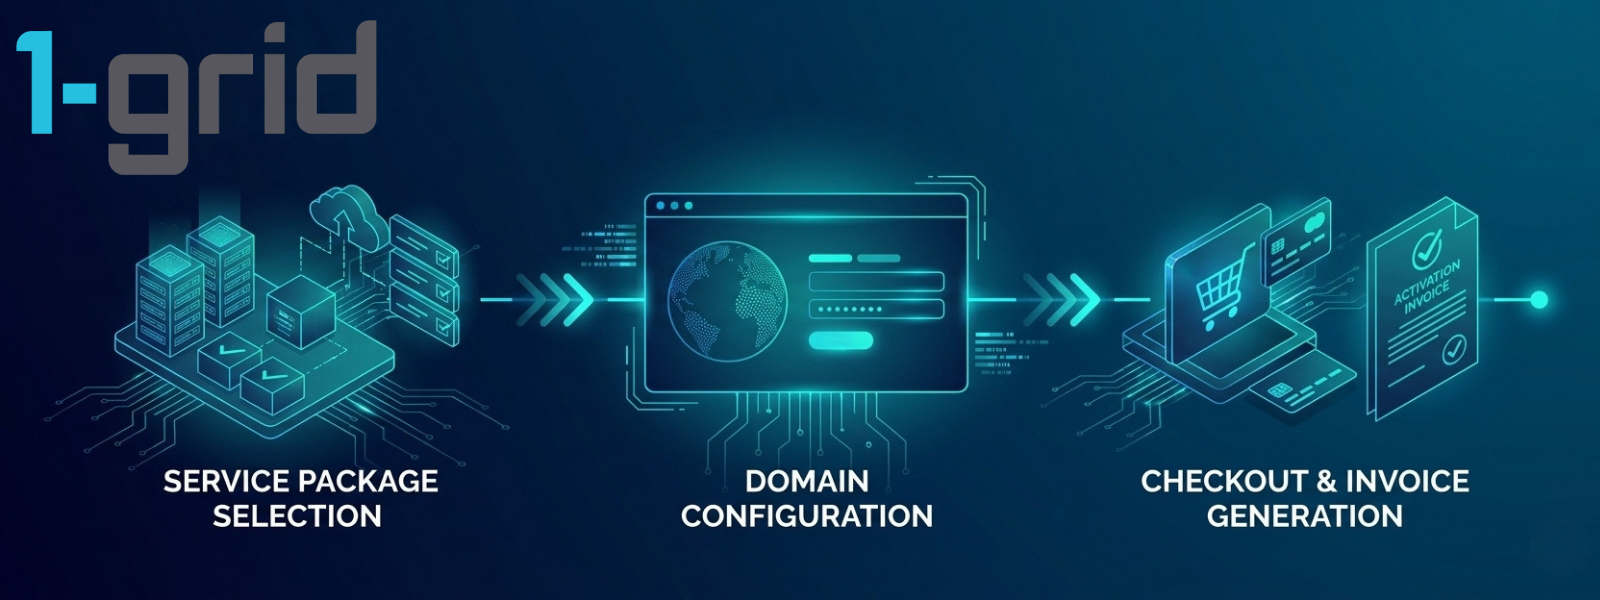
Choose your service package, configure your domain, and complete your checkout to generate your activation invoice.
You can purchase a new 1-grid service directly through the 1-grid website. Your service can only be activated once the order has been successfully completed and payment has been received. This guide walks you through the ordering process, from selecting a product to completing payment inside your 1-grid Customer Zone account.
Before You Begin
Before creating an order request on our website, make sure you have:
- Identified the specific product or service tier (Hosting, Domains, Website Builder, or DIY packages) you want to purchase.
- The exact, verified spelling of the domain name you want to link to the subscription service.
- Your primary 1-grid Customer Zone login details (if you are an existing customer) or your complete billing details (especially if you are creating a new profile).
💡 Critical Context: Completing the checkout phase does not mean the service is automatically paid for or deployed. The checkout process simply creates a unique invoice contract. System infrastructure provisioning, hosting space compilation, and domain registry bookings only activate once our financial systems process your payment confirmation.
Follow These Steps
1. Visit the 1-grid Website
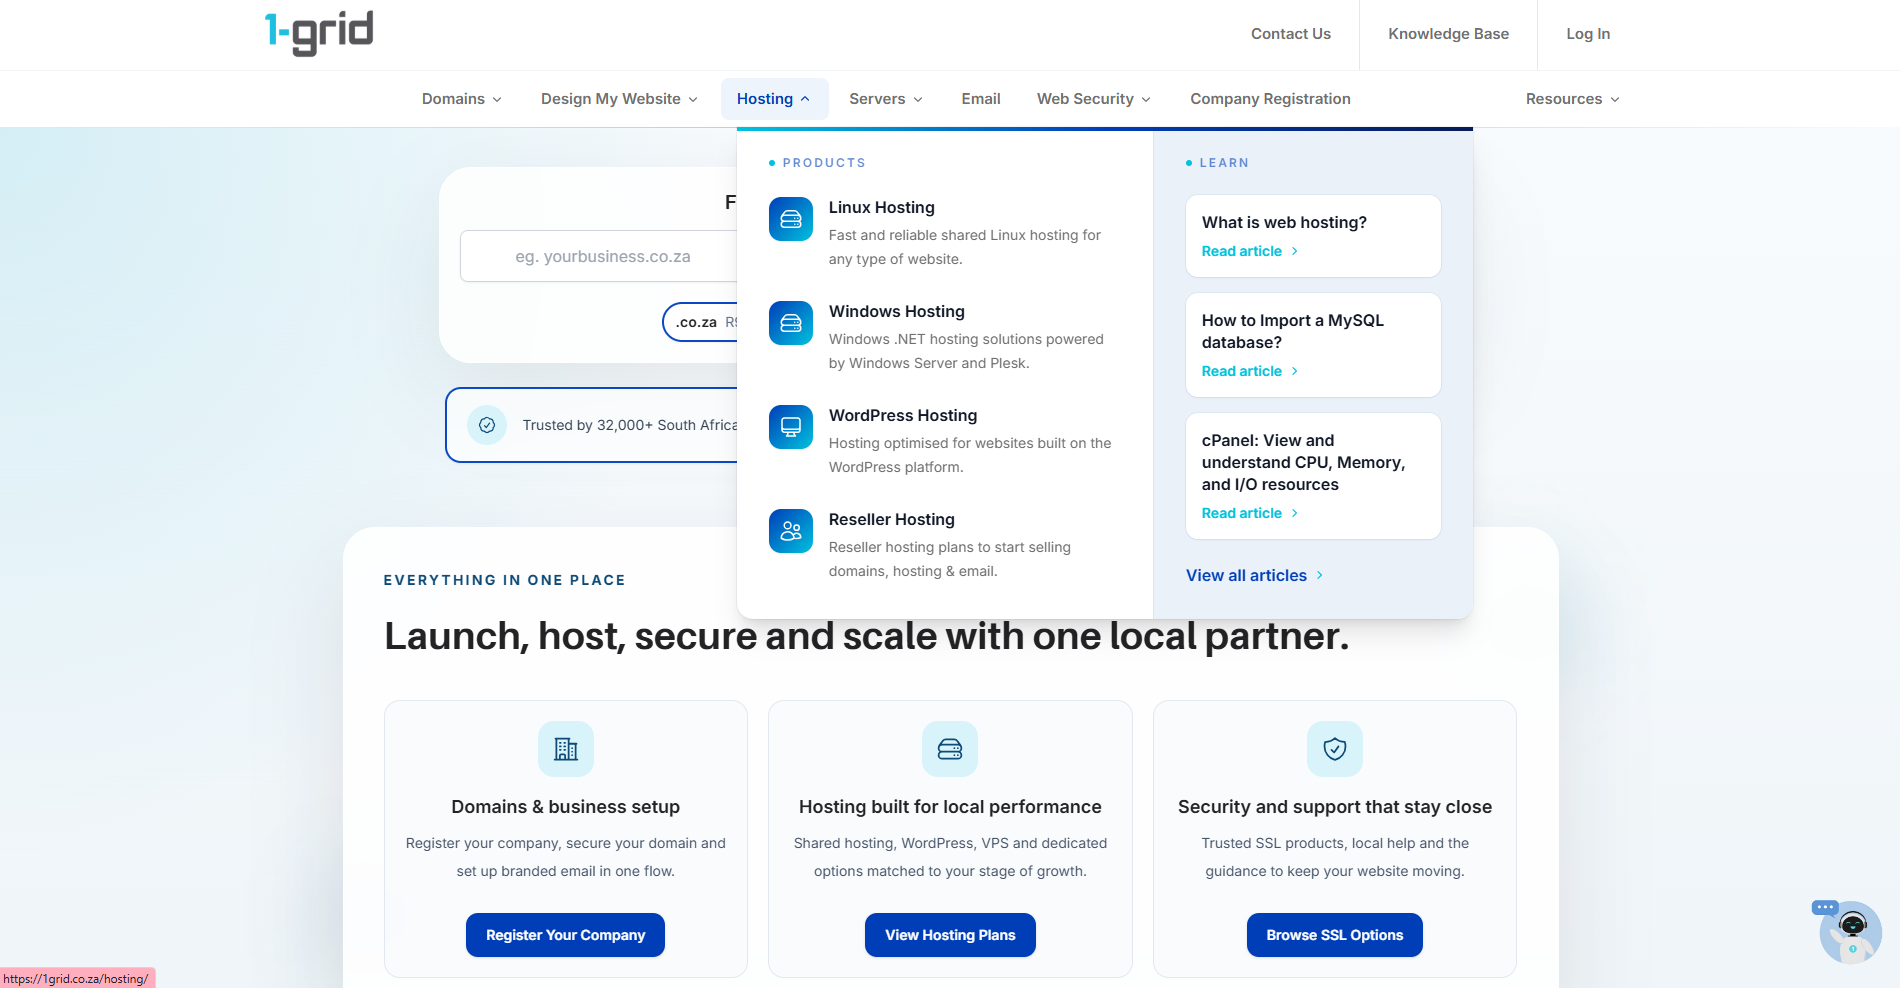
Open a web browser tab and go to the official 1-grid Website [https://1grid.co.za/]. Use the main header navigation tabs to browse our digital solutions, web packages, or advanced security plans.
2. Initiate Your Product Selection
Locate the specific subscription tier block or custom package that matches your operational requirements and click the Buy Now action button to move into the shopping cart configuration window layout.
3. Configure Your Domain Association
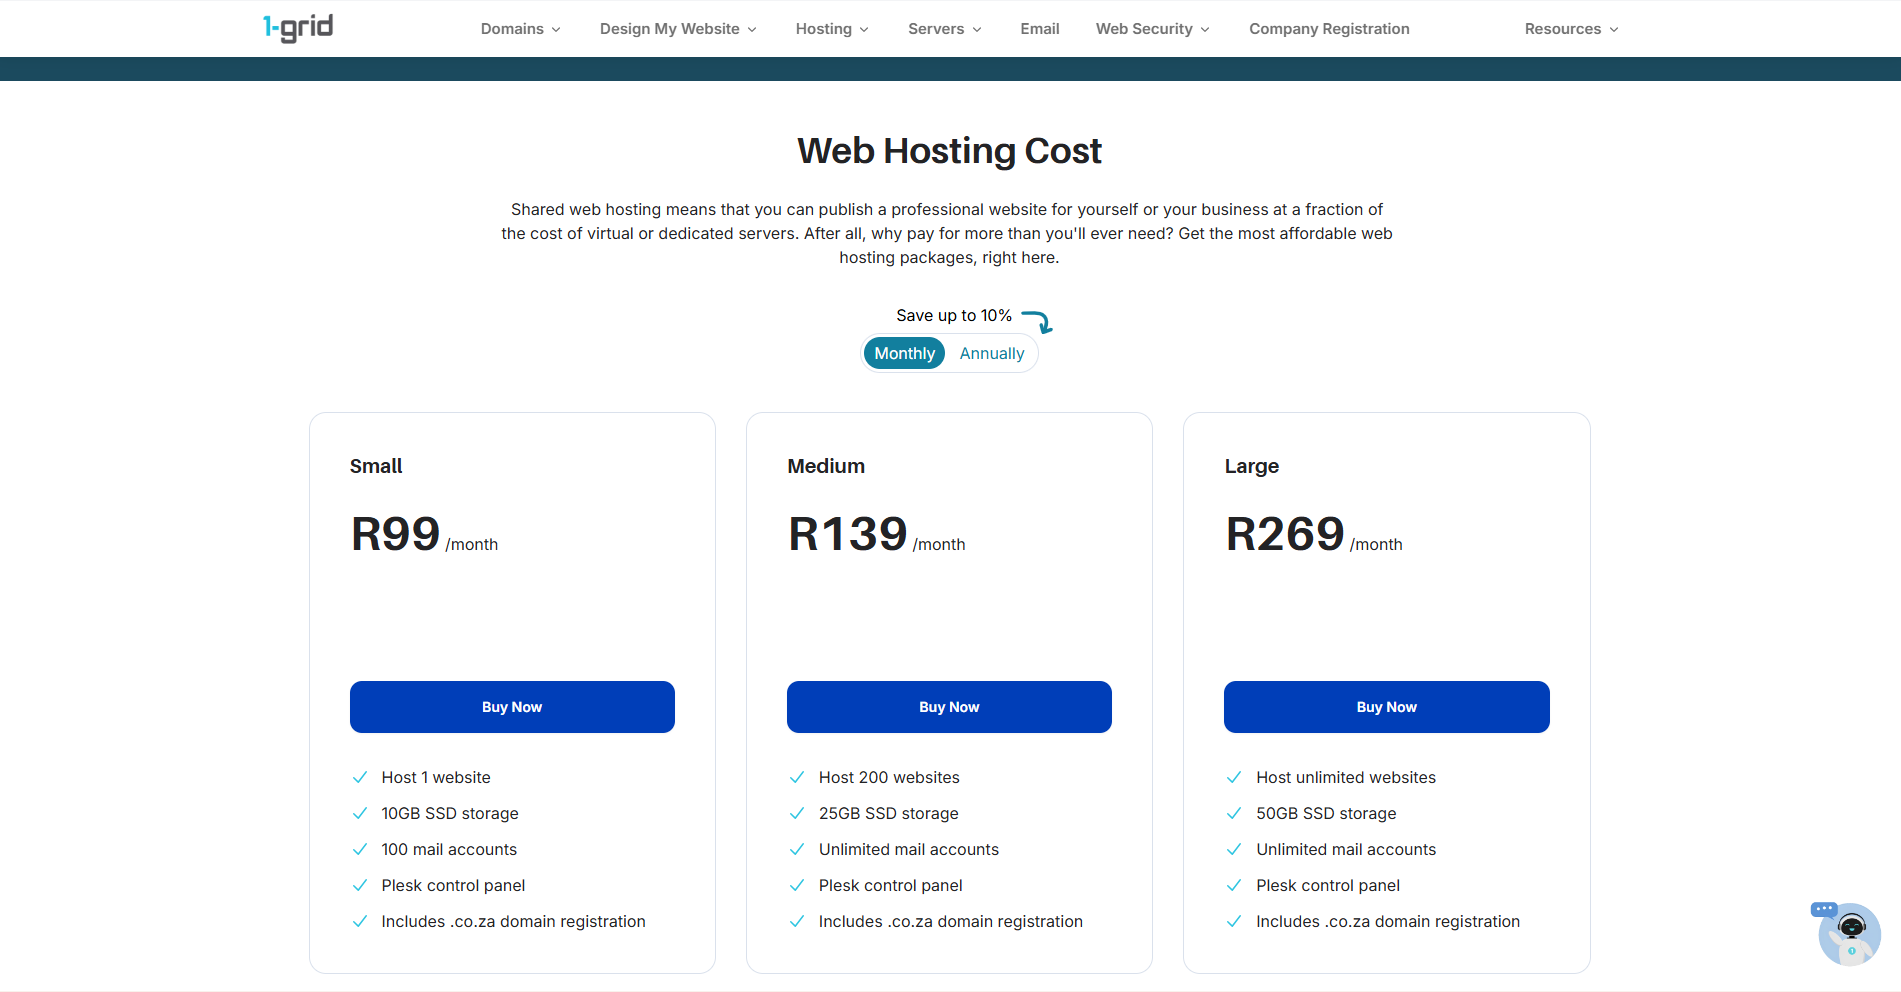
Depending on the specific hosting or security product selected, the system will prompt you with three domain parameter paths:
- Register a new domain: Type your preferred alphanumeric phrase to see if the local South African or global extension is open for booking, then click Check.
- Transfer your domain from another registrar: Port your registration from an external provider over to 1-grid management by entering your domain name and clicking Transfer.
- I will use my existing domain and update my nameservers: Enter an active domain you already own to map the package manually by entering your existing domain name and clicking Use.
- Action: Type your full domain syntax details carefully into the field box and click Continue.
4. Review Optional Product Enhancements
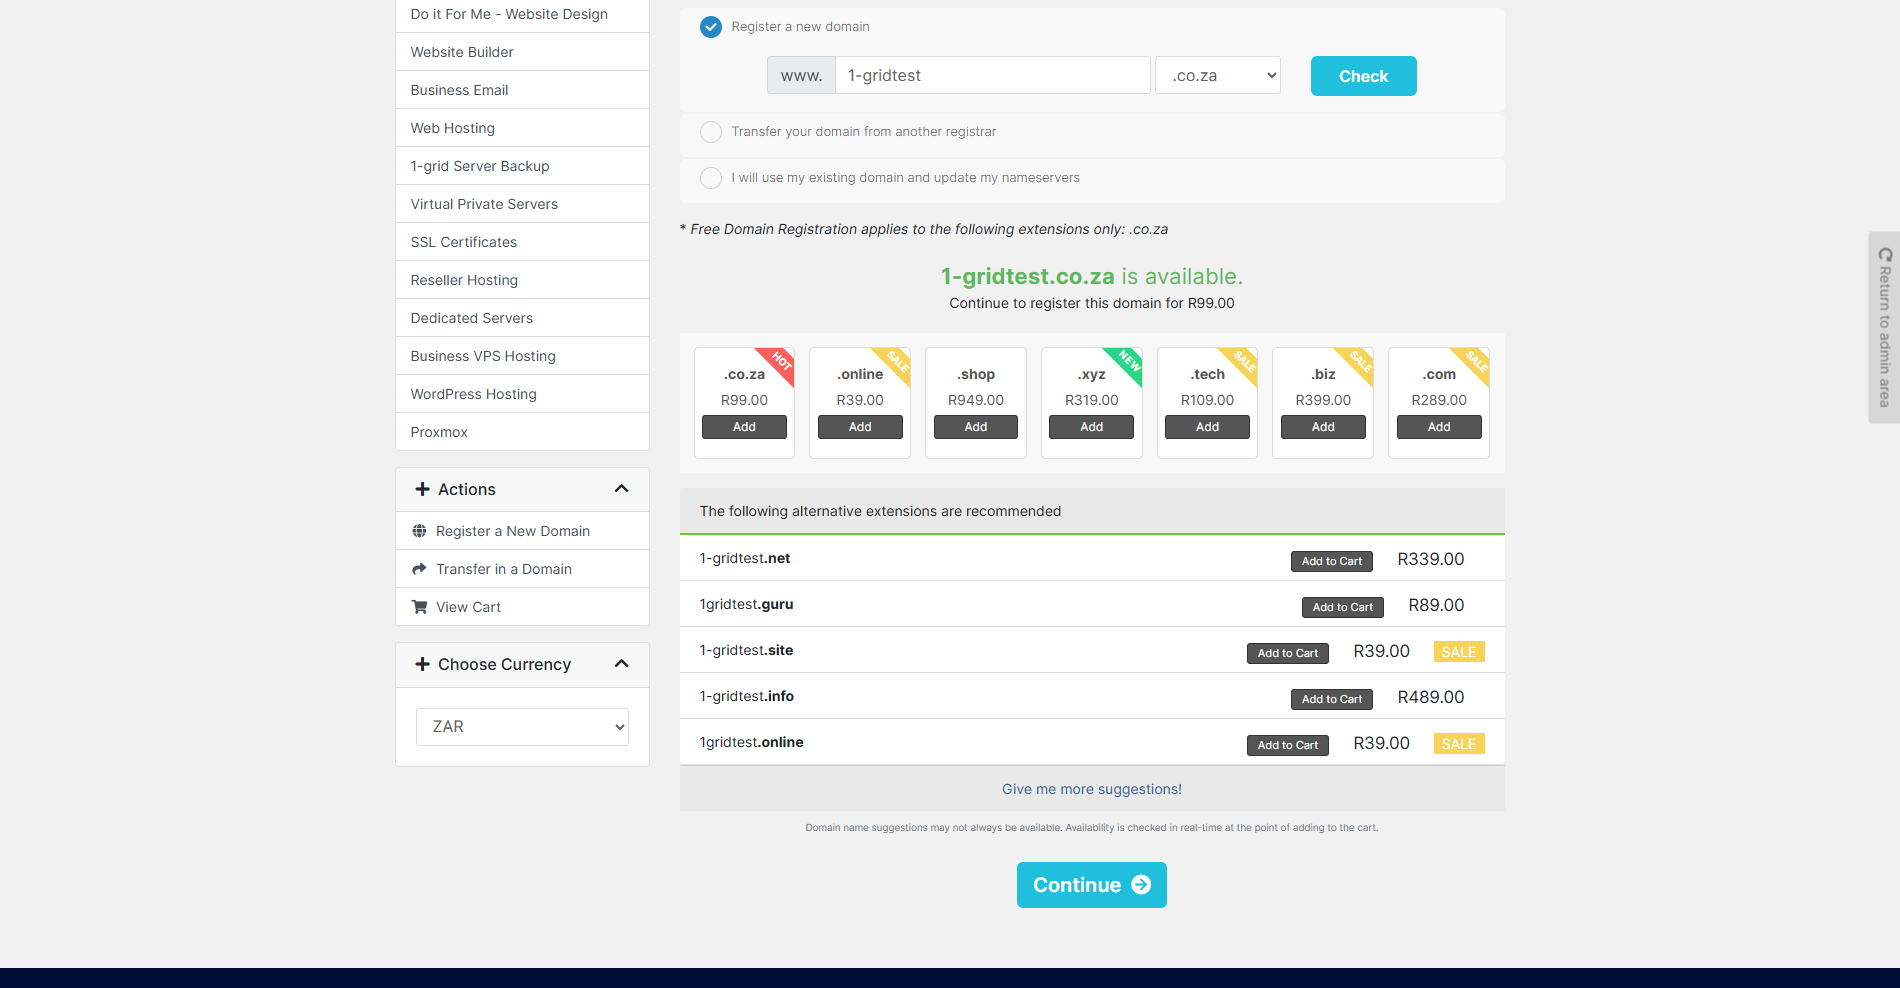
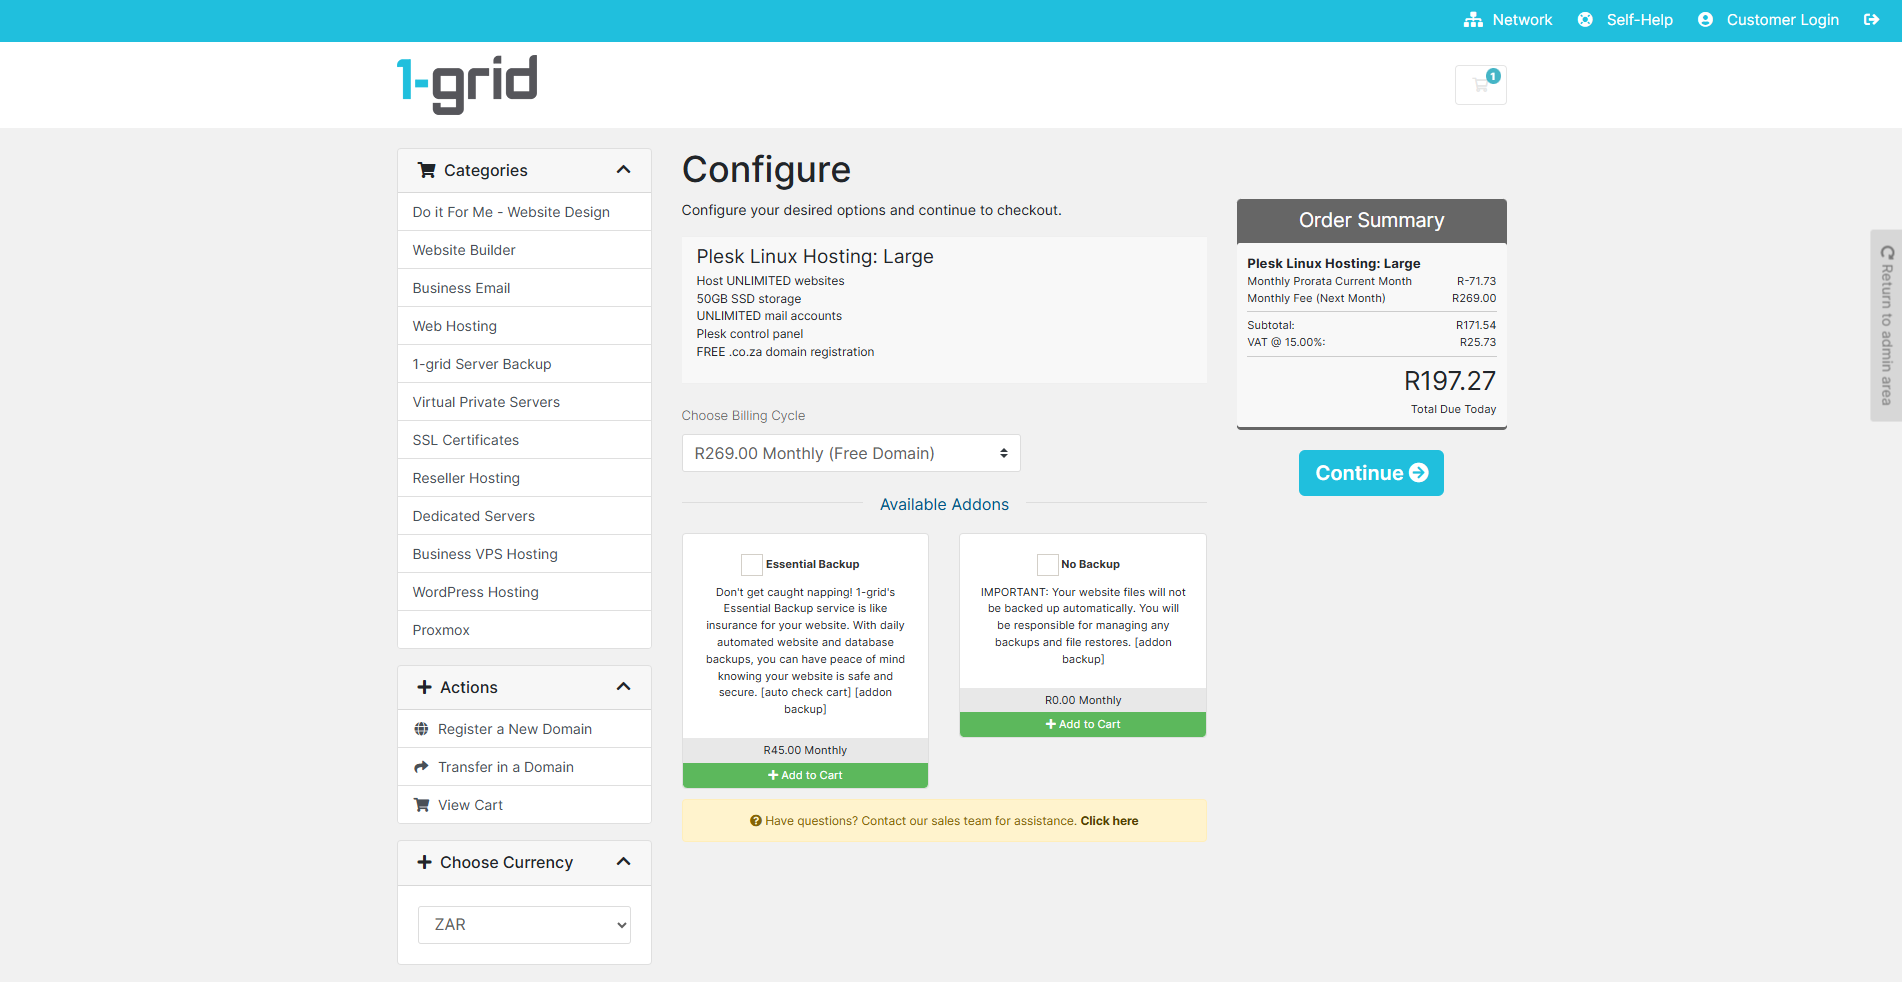
The dashboard will display available complementary add-on tools matching your target tier. Review these options, such as selecting your Billing Cycle, automated site backup plans, custom SSL security certificates, or professional mailboxes (depending on the package/service you are ordering), check the boxes for the tools you want to incorporate, and click Continue.
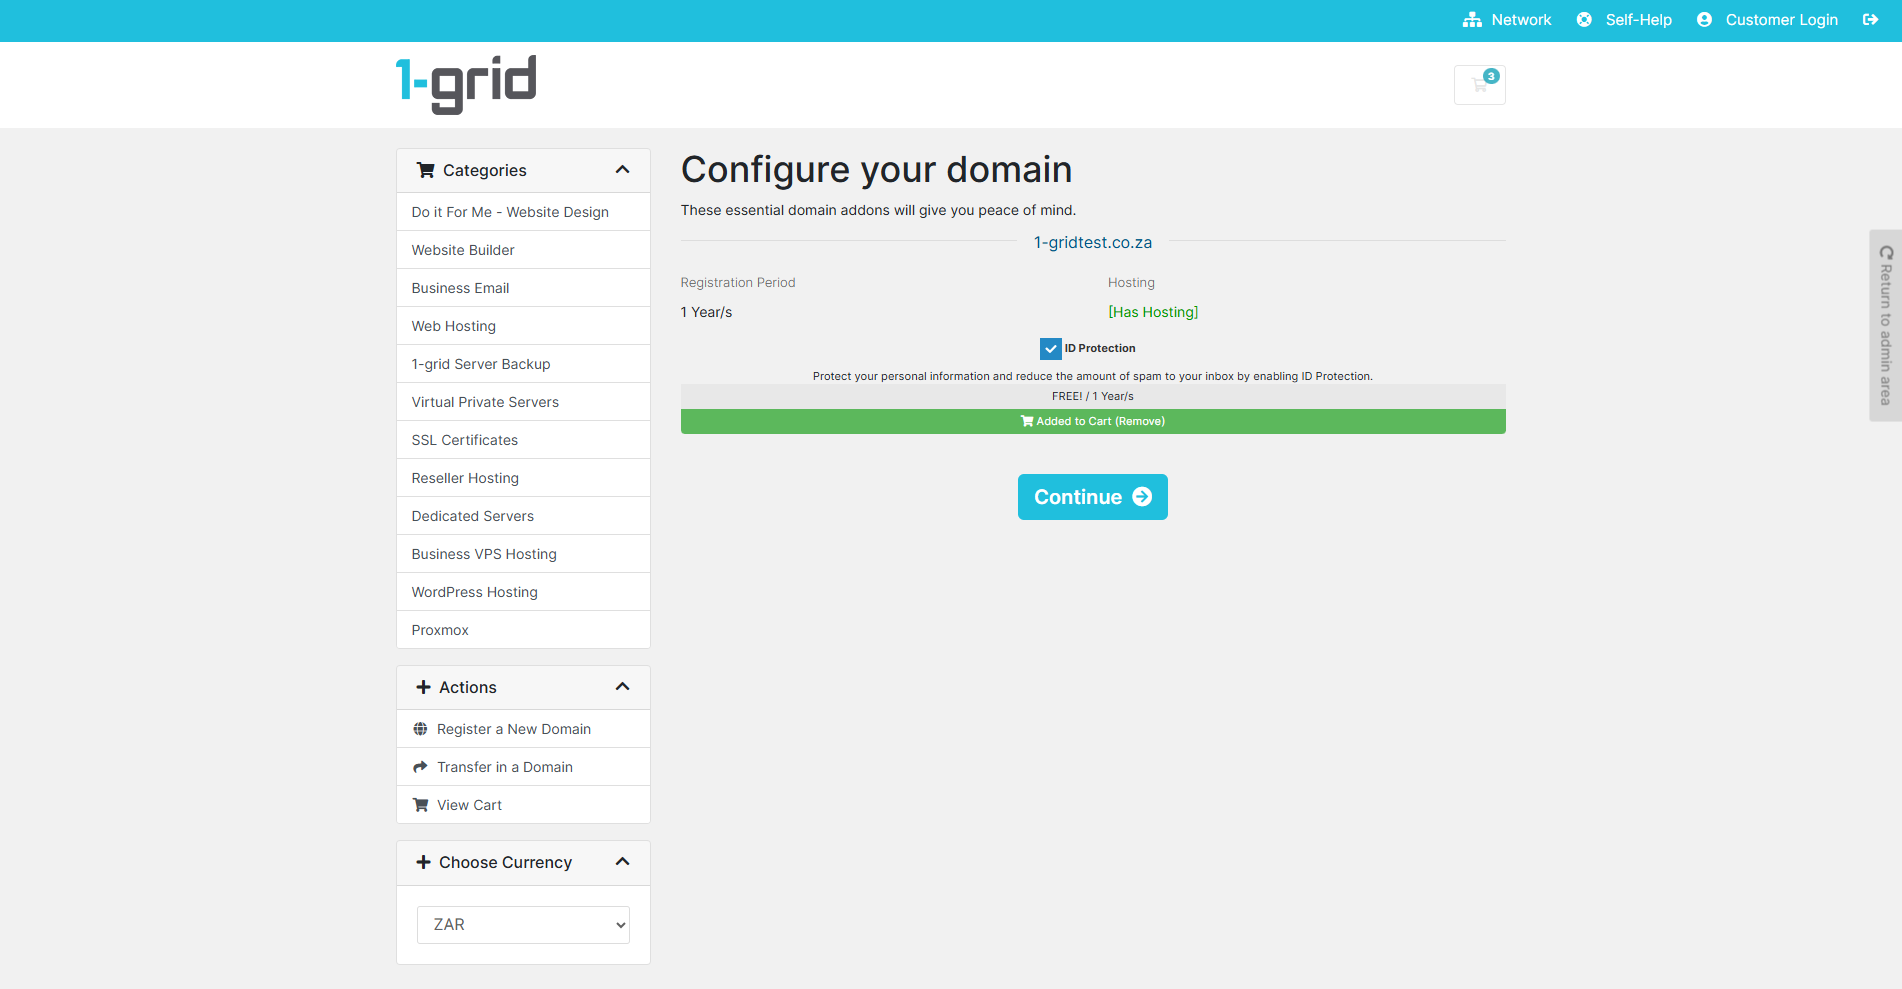
Important: Select whether you want ID Protection as an essential domain add-on to give you peace of mind, then click Continue.
5. Audit Your Summary Cart Registry
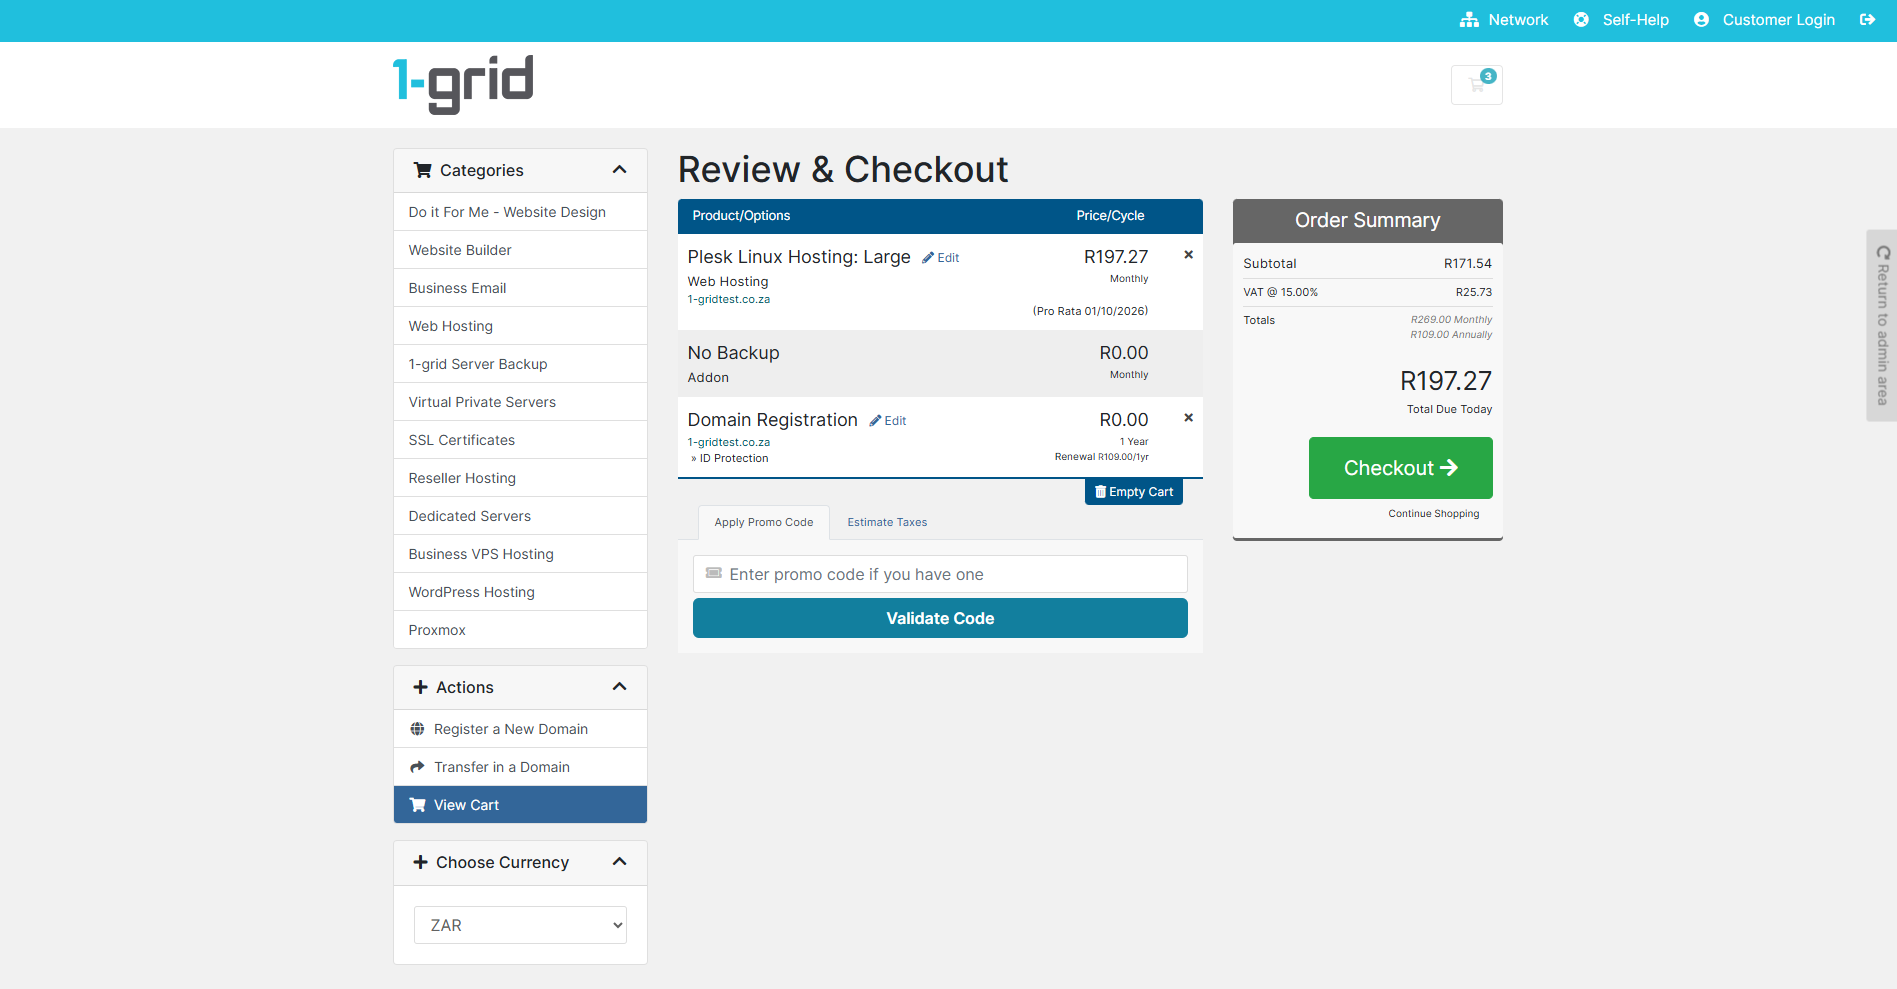
Examine your cart listing items thoroughly inside the order summary grid frame before clicking Checkout. Cross-check that:
- The exact product version or hosting tier matches your expectations and needs.
- Any add-on items are included accurately, and you are comfortable with the final cart total.
- 💡 Tip: If you need to drop an unwanted line item, click the small X remove icon located right next to the product label.
- Click Checkout once your basket layout looks completely accurate.
6. Finalise Customer and Payment Details
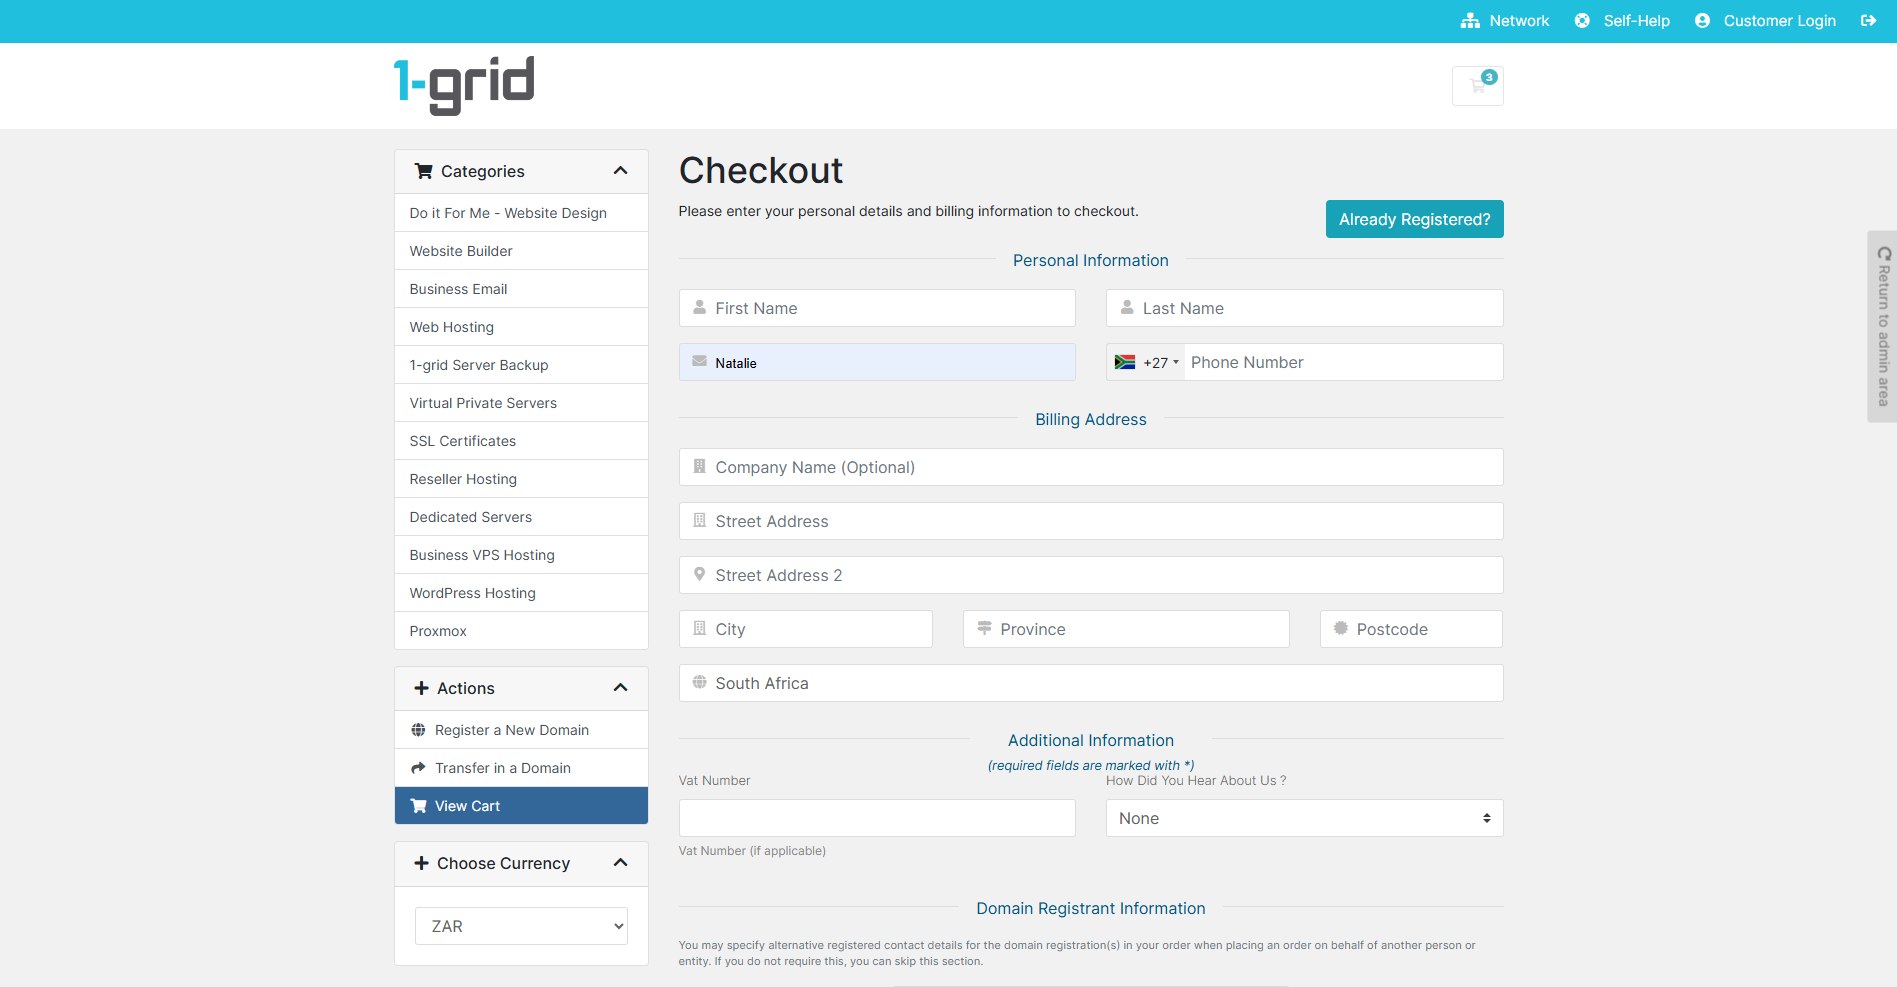
Complete the checkout configuration parameter fields:
- Existing Accounts: Click Already Registered? to populate the login option, enter your details, then click Login.
- New Accounts: Fill out your contact parameters, phone records, and email communication fields.
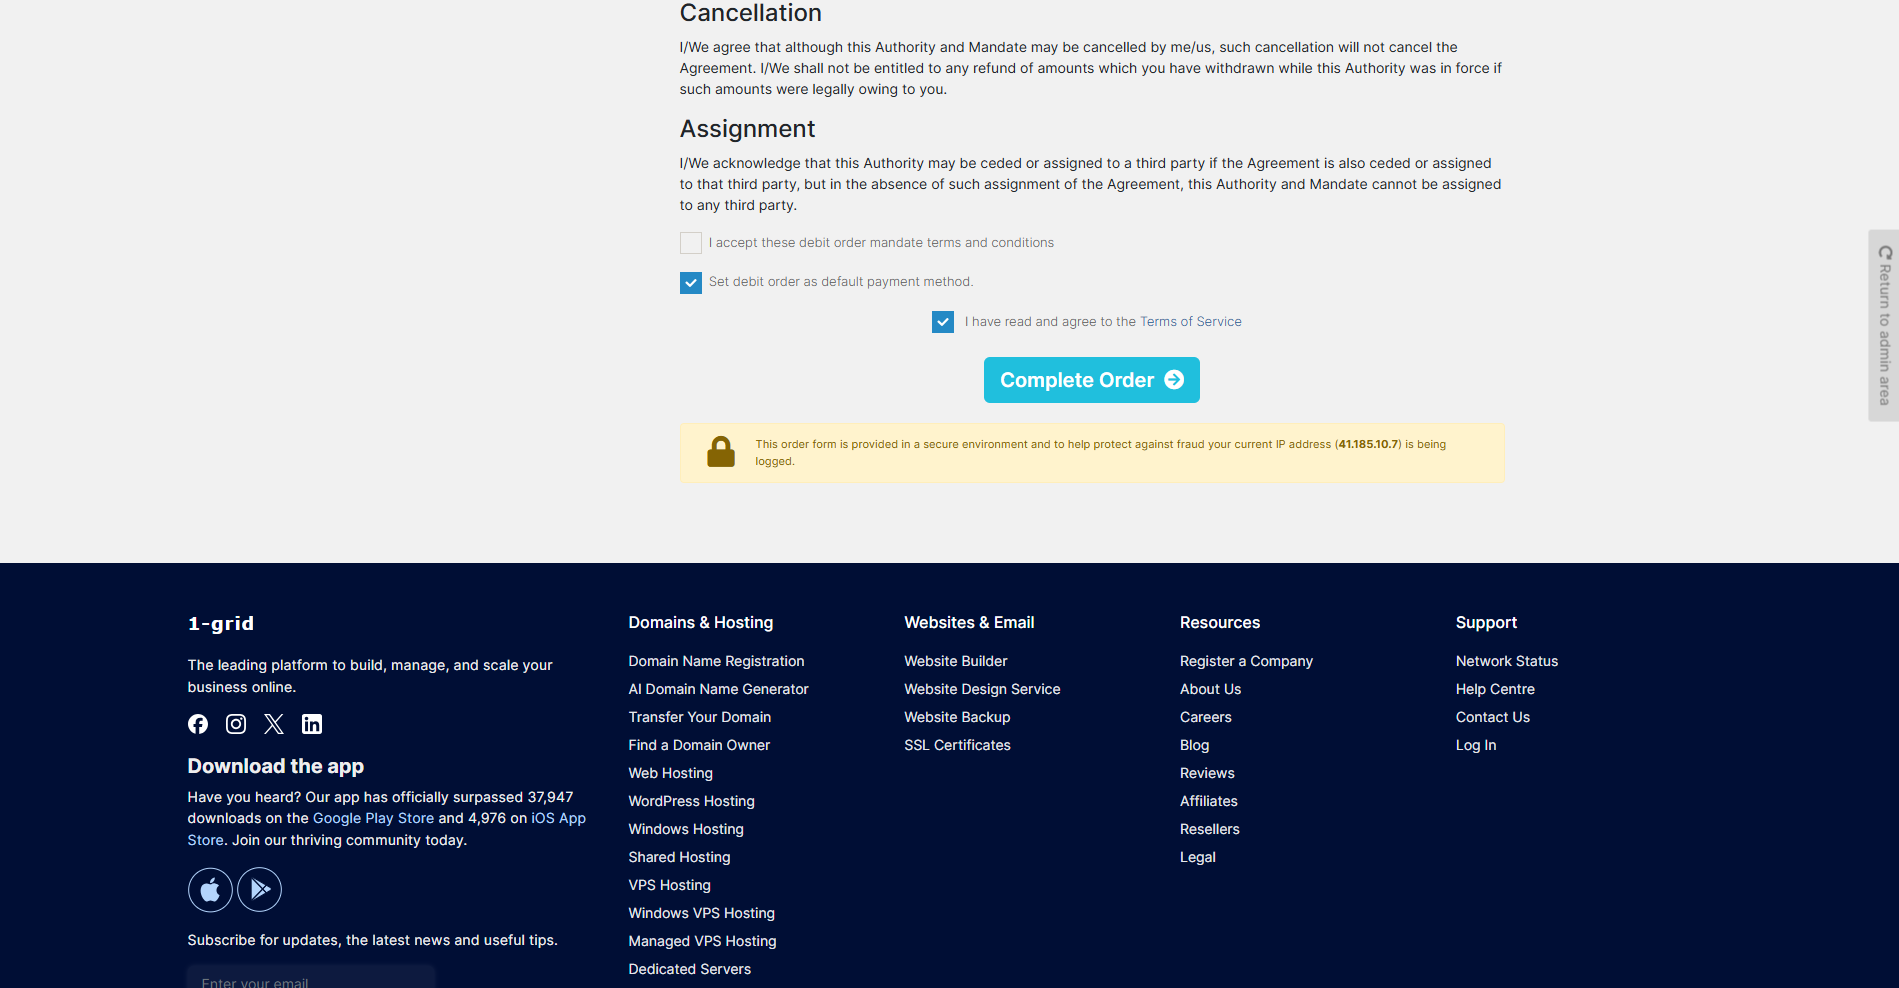
- Payment Selector: Toggle your preferred method (e.g., Credit Card, Debit Order, or Instant EFT).
- Check the confirmation box acknowledging our service terms and conditions and click Complete Order.
7. Jump into Your Customer Zone
Once your registration completes, click the Visit My Customer Zone navigation link item button to launch your personalised Customer Zone home page.
8. Pay Your Activation Invoice
Once logged into your Customer Zone workspace, locate your unpaid Invoices block dashboard. Click on the specific statement matching your fresh checkout string, select your payment channel, and process your funds. For maximum activation speed, use our guides below:
View Your 1-grid Invoices via Customer Zone
Everything You Need to Know About Debit Orders at 1-grid
Paying Your Invoices with Instant EFT (via PayFast)
Our Easy-to-Use Payment Methods at 1-grid
What Happens Next?
Once financial handshakes clear, our backend service routers handle activation sequences natively.
- Instant Provisioning Loops: Automated scripts configure your hosting space or assign your domain name registration immediately upon payment verification. It is, however, important to allow some time for propagation, where this applies.
- Welcome Delivery Mailers: Look out for a service activation welcome email sent to your inbox. This contains your server properties, cPanel workspace ports, login details, and email access paths, as applicable based on the product/service you purchased.
Important Things to Know
- The Activation Lock: No system deployment will initialise while an order invoice state reads as Unpaid. Always execute payment immediately post-checkout to prevent setup delays.
- Domain Typos Warning: Domain registrations are finalised with third-party local registry systems instantly. If you complete an order containing a typo, the registry cannot alter or refund the name; you will have to register a fresh domain from scratch.
- Flexible Renewal Tracking: Toggling payment options inside your portal ensures you control exactly how your subscription billing schedules execute moving forward.
Common Mistakes to Avoid
- Presuming your hosting features are deploying live immediately after hitting the complete checkout page without finalising your actual payment transaction.
- Rushing through the checkout panels and accidentally typing an invalid spelling or extension block inside your domain registration fields.
- Dropping out of your Customer Zone dashboard before checking that an invoice number matching your order was generated successfully.
- Disregarding high-priority transactional emails that flag a failed payment handshake on your credit or debit lines.
If This Didn’t Work
Should the order terminal screen encounter loading blocks or throw a credit confirmation warning window loop, verify that your client profile matches your accurate banking street numbers and country definitions. If you complete an order but the invoice fails to reflect inside your 1-grid Customer Zone, check whether your session expired, or reach out to the Billing Team with your Customer ID code.
You’re Ready!
Taking a brief moment to cross-check your product packages, domain syntax strings, and account records before clicking checkout ensures a swift, effortless launch for your online business profile.
Related Articles
- How to Pay Your 1-grid Invoice
- How to Access Your 1-grid Customer Zone
- Understanding Domain Registration and Renewal
Need Help?
If your online checkout screens throw transactional gateway loops, or if your newly paid statements fail to move your hosting packages into an Active state, contact us. Our Sales Team and Billing Team are ready to provide guidance and support.
Before submitting a request, please have the following ready:
- Your primary intended domain name and registered email address.
- Your unique Order Number or Invoice Number string generated during checkout.
- A screenshot of your checkout interface configuration view showing where the block is occurring.
- The complete error logs text displayed inside your banking transactional portals.