

Your website starts here. Learn how to add content, organise your pages, customise your design and publish your website with confidence.
You’ve selected your Website Builder theme and are ready to make your website your own. Whether you’re creating a website for your business, showcasing your services or building an online presence, this guide will help you get familiar with the editor and take your first steps.
We’ll walk you through the main editing tools, adding content, managing your pages and publishing your website when you’re ready.

- Before You Begin
- Connecting Your Own Domain
- Understanding the Website Builder Editor
- Managing Your Website Pages
- Adding Content to Your Website
- Organising and Moving Sections
- Customising Your Website
- Previewing Your Website
- Publishing Your Website
- What Happens Next?
- Explore More Ways to Grow Your Online Presence
- Common Questions and Things to Check
- You’re Ready!
- Additional Resources
- Need Help?
Before You Begin
Before you start editing, make sure you have:
- Access to your activated 1-grid Website Builder service.
- Logged in to Website Builder and selected a theme.
- Your business name, logo and contact information ready.
- Any images, text or other content you want to add to your website.
- An idea of the pages you want your website to include, such as Home, About Us, Services and Contact.
A helpful tip: You don’t need to have everything ready before you begin. Start with the basics and improve your website as your content and ideas develop.
New to Website Builder?
If you haven’t purchased your website builder, accessed the editor, or selected a theme yet, start here:
Connecting Your Own Domain
Your Website Builder website may initially be published using a temporary website address.
If you want visitors to access your website using your own domain name, you’ll need to connect or map your domain to your Website Builder website.
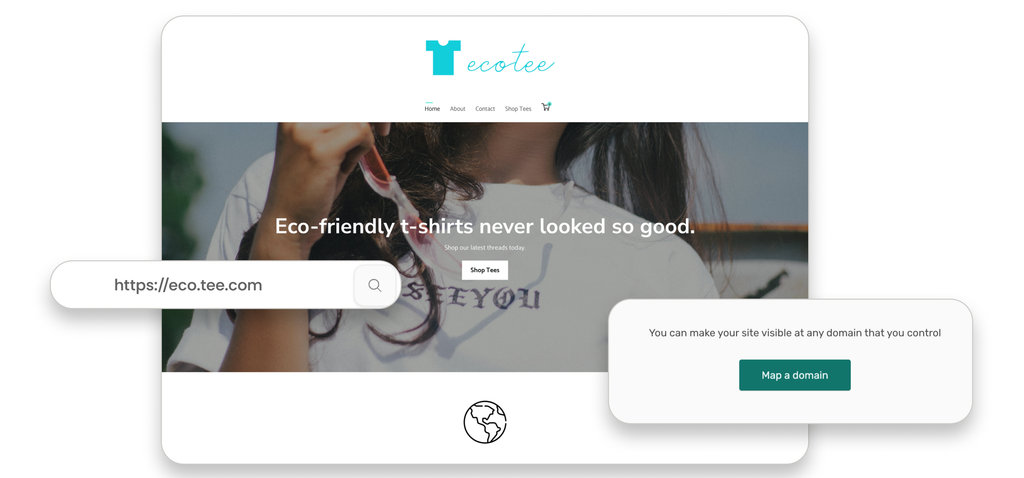
Step-by-Step Instructions
Important: Make sure you follow the domain mapping instructions before sharing your website address with customers.
Understanding the Website Builder Editor
Once your website opens in the editor, take a moment to familiarise yourself with the available tools.
The editor allows you to work on your website’s content, pages and appearance without needing to write code.
Some of the Main Areas You’ll Use
- Site Manager: View and manage your website pages, adjust their order and access individual page settings.
- Add Content: Add sections and content elements to your website.
- Preview: See how your website looks before making it public.
- Publish: Make your latest website changes available to visitors.
The exact layout and available options may vary depending on the editor view and features included in your service.
Managing Your Website Pages
Your website is made up of individual pages. These help visitors find the information they need and navigate your business online.
For Example, a Small Clothing Business Website Might Include:
- Home
- About
- Contact
- Products
To Manage Your Pages:
- Open the Site Manager in the website editor.
- Review the pages currently included in your website.
- Select a page to access its settings or make changes.
- Add a new page if you need another section of your website.
- Arrange your pages in the order that makes sense for your visitors.
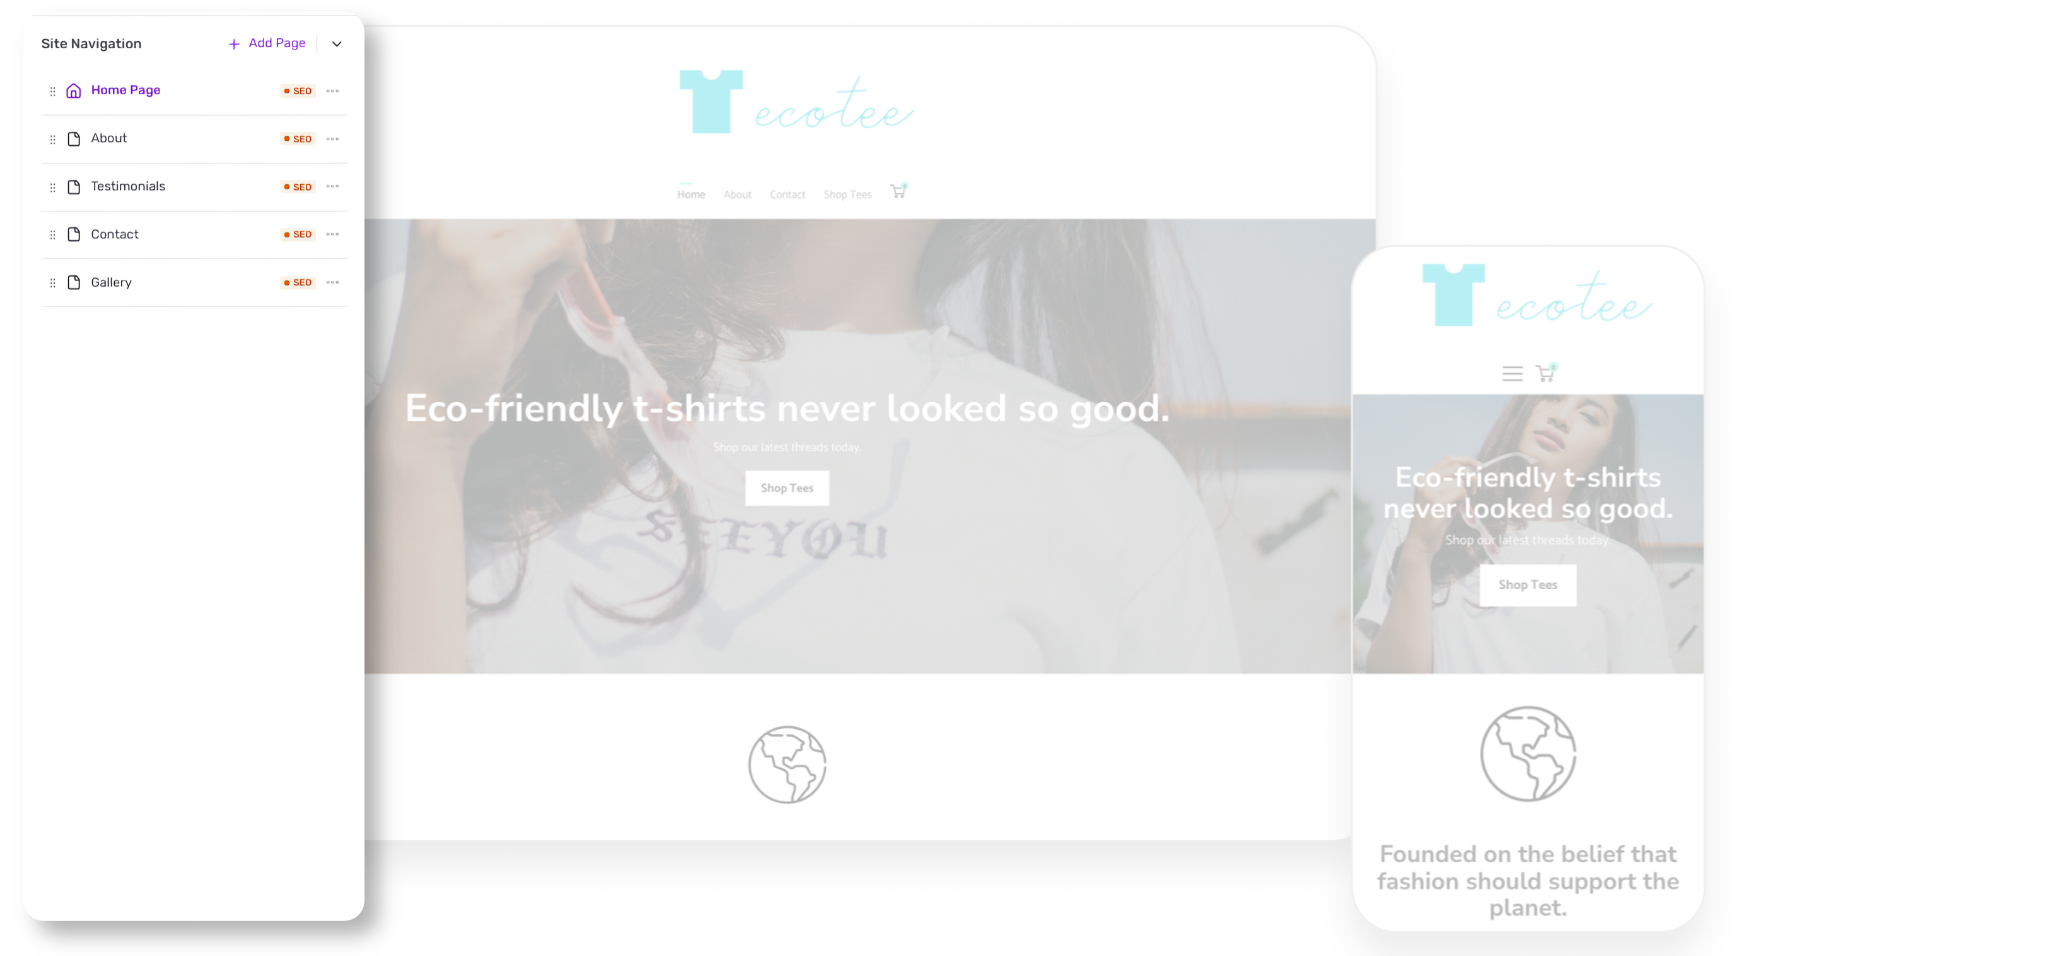
Depending on the available settings, you may also be able to manage page details such as its name, URL, search engine information and other page-specific options.
Helpful Tip: Keep your navigation simple. Visitors should be able to find important information without having to search through too many pages.
Adding Content to Your Website
Your website’s content helps visitors understand what your business offers and how they can get in touch.
You can add different types of content using the editor’s Add Content option.
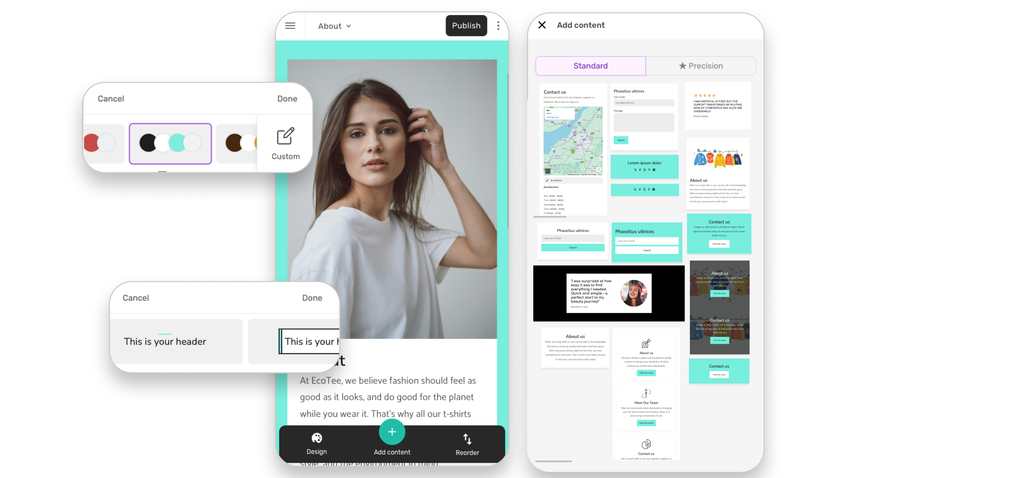
Depending on the Section Selected, You May Be Able to Add:
- Headings and paragraphs.
- Images and galleries.
- Business information.
- Contact details.
- Other available content elements.
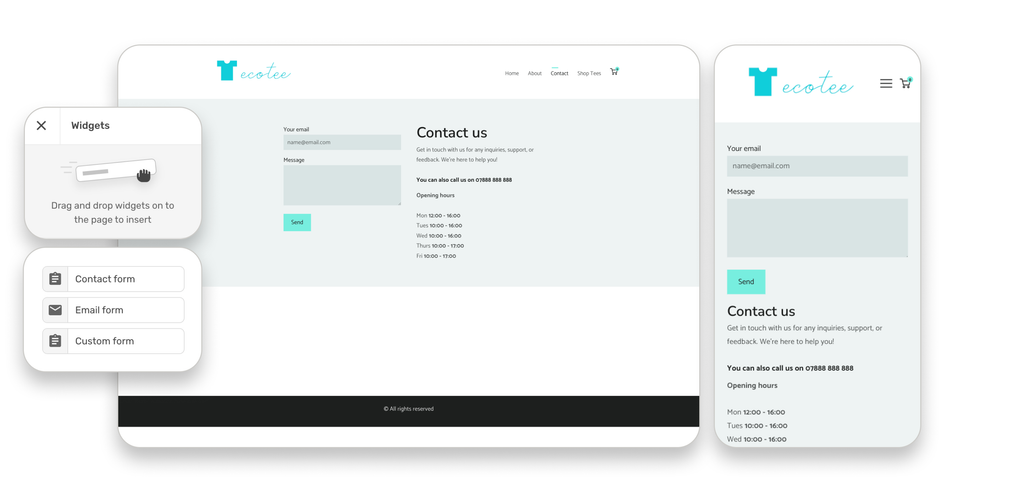
To Add a New Content Section:
- Open the page you want to edit.
- Locate the Add Content option or the relevant add-section control.
- Browse the available content sections.
- Select the section you want to add.
- Follow the on-screen options to add your text, images or other content.
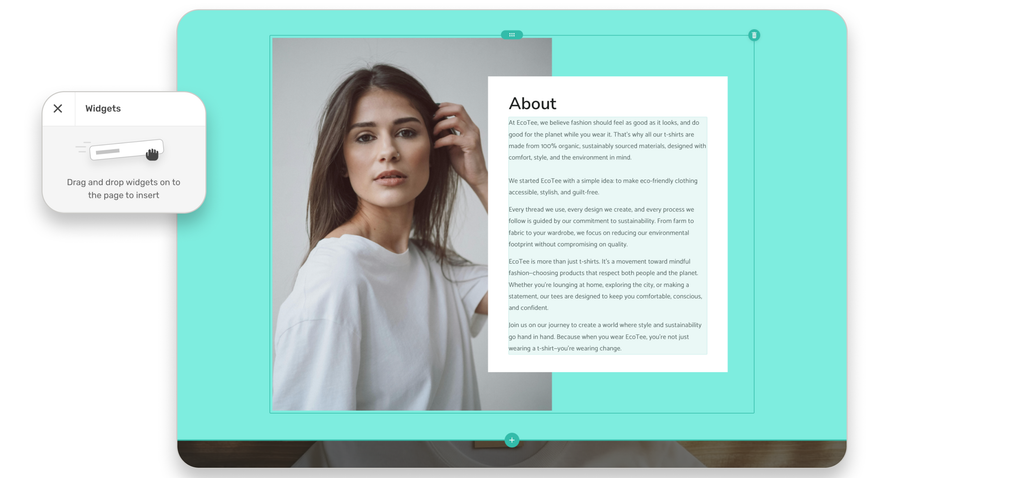
Helpful Tip: Start with the information your visitors need most. Make it clear what your business does, what you offer and how customers can contact you.
Organising and Moving Sections
The order of your content affects how visitors experience your website.
For example, you may want your introduction and main services to appear before testimonials or additional information.
To Organise Your Sections:
- Open the page you want to arrange.
- Locate the section you want to move.
- Use the available movement controls or drag-and-drop functionality, depending on the editor view.
- Position the section where you want it to appear.
- Review the page to make sure the content flows naturally.
You can repeat this process until you’re happy with the layout.
Helpful Tip: Think about the journey your visitors should follow. Introduce your business, explain what you offer and make it easy for them to take the next step.
Customising Your Website
Once your content is in place, you can start making the website feel more like your business.
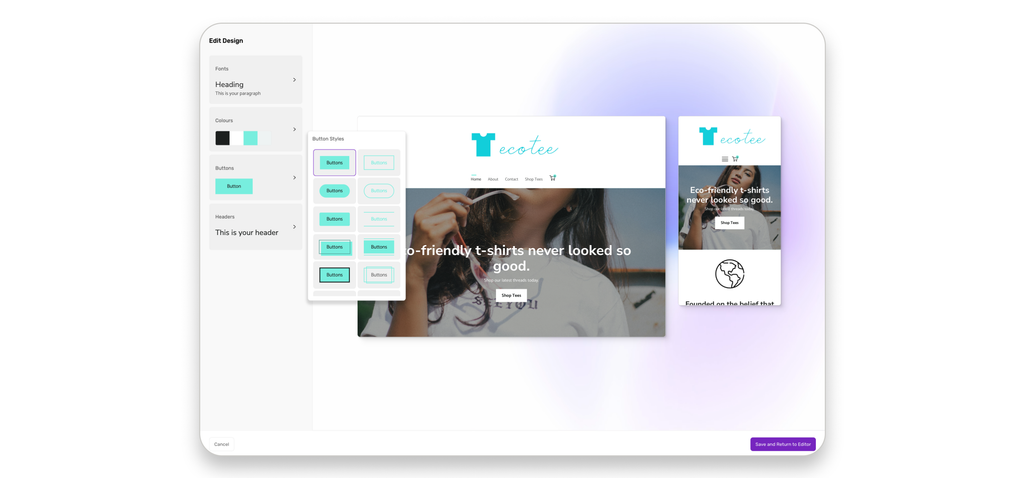
Based on Your Theme, You May Be Able to Customise:
- Colours and visual styling.
- Fonts and text appearance.
- Images and backgrounds.
- Section layouts.
- Your business logo and branding.
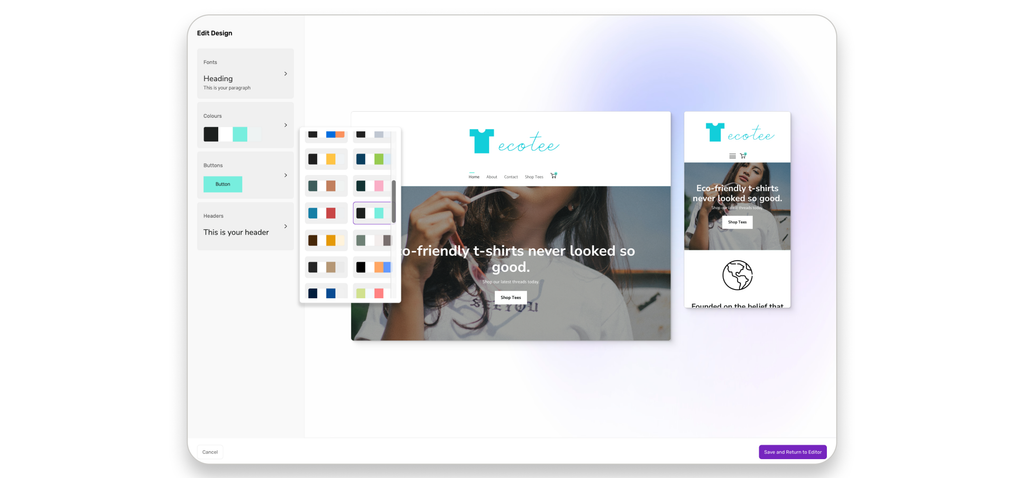
When choosing your design, aim for consistency. Use colours, images and fonts that represent your business and make your website easy to read.
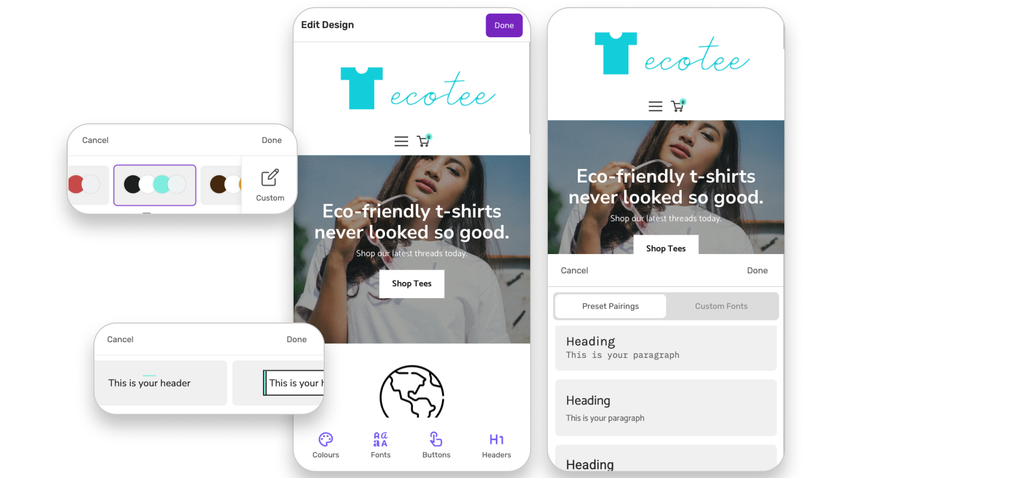
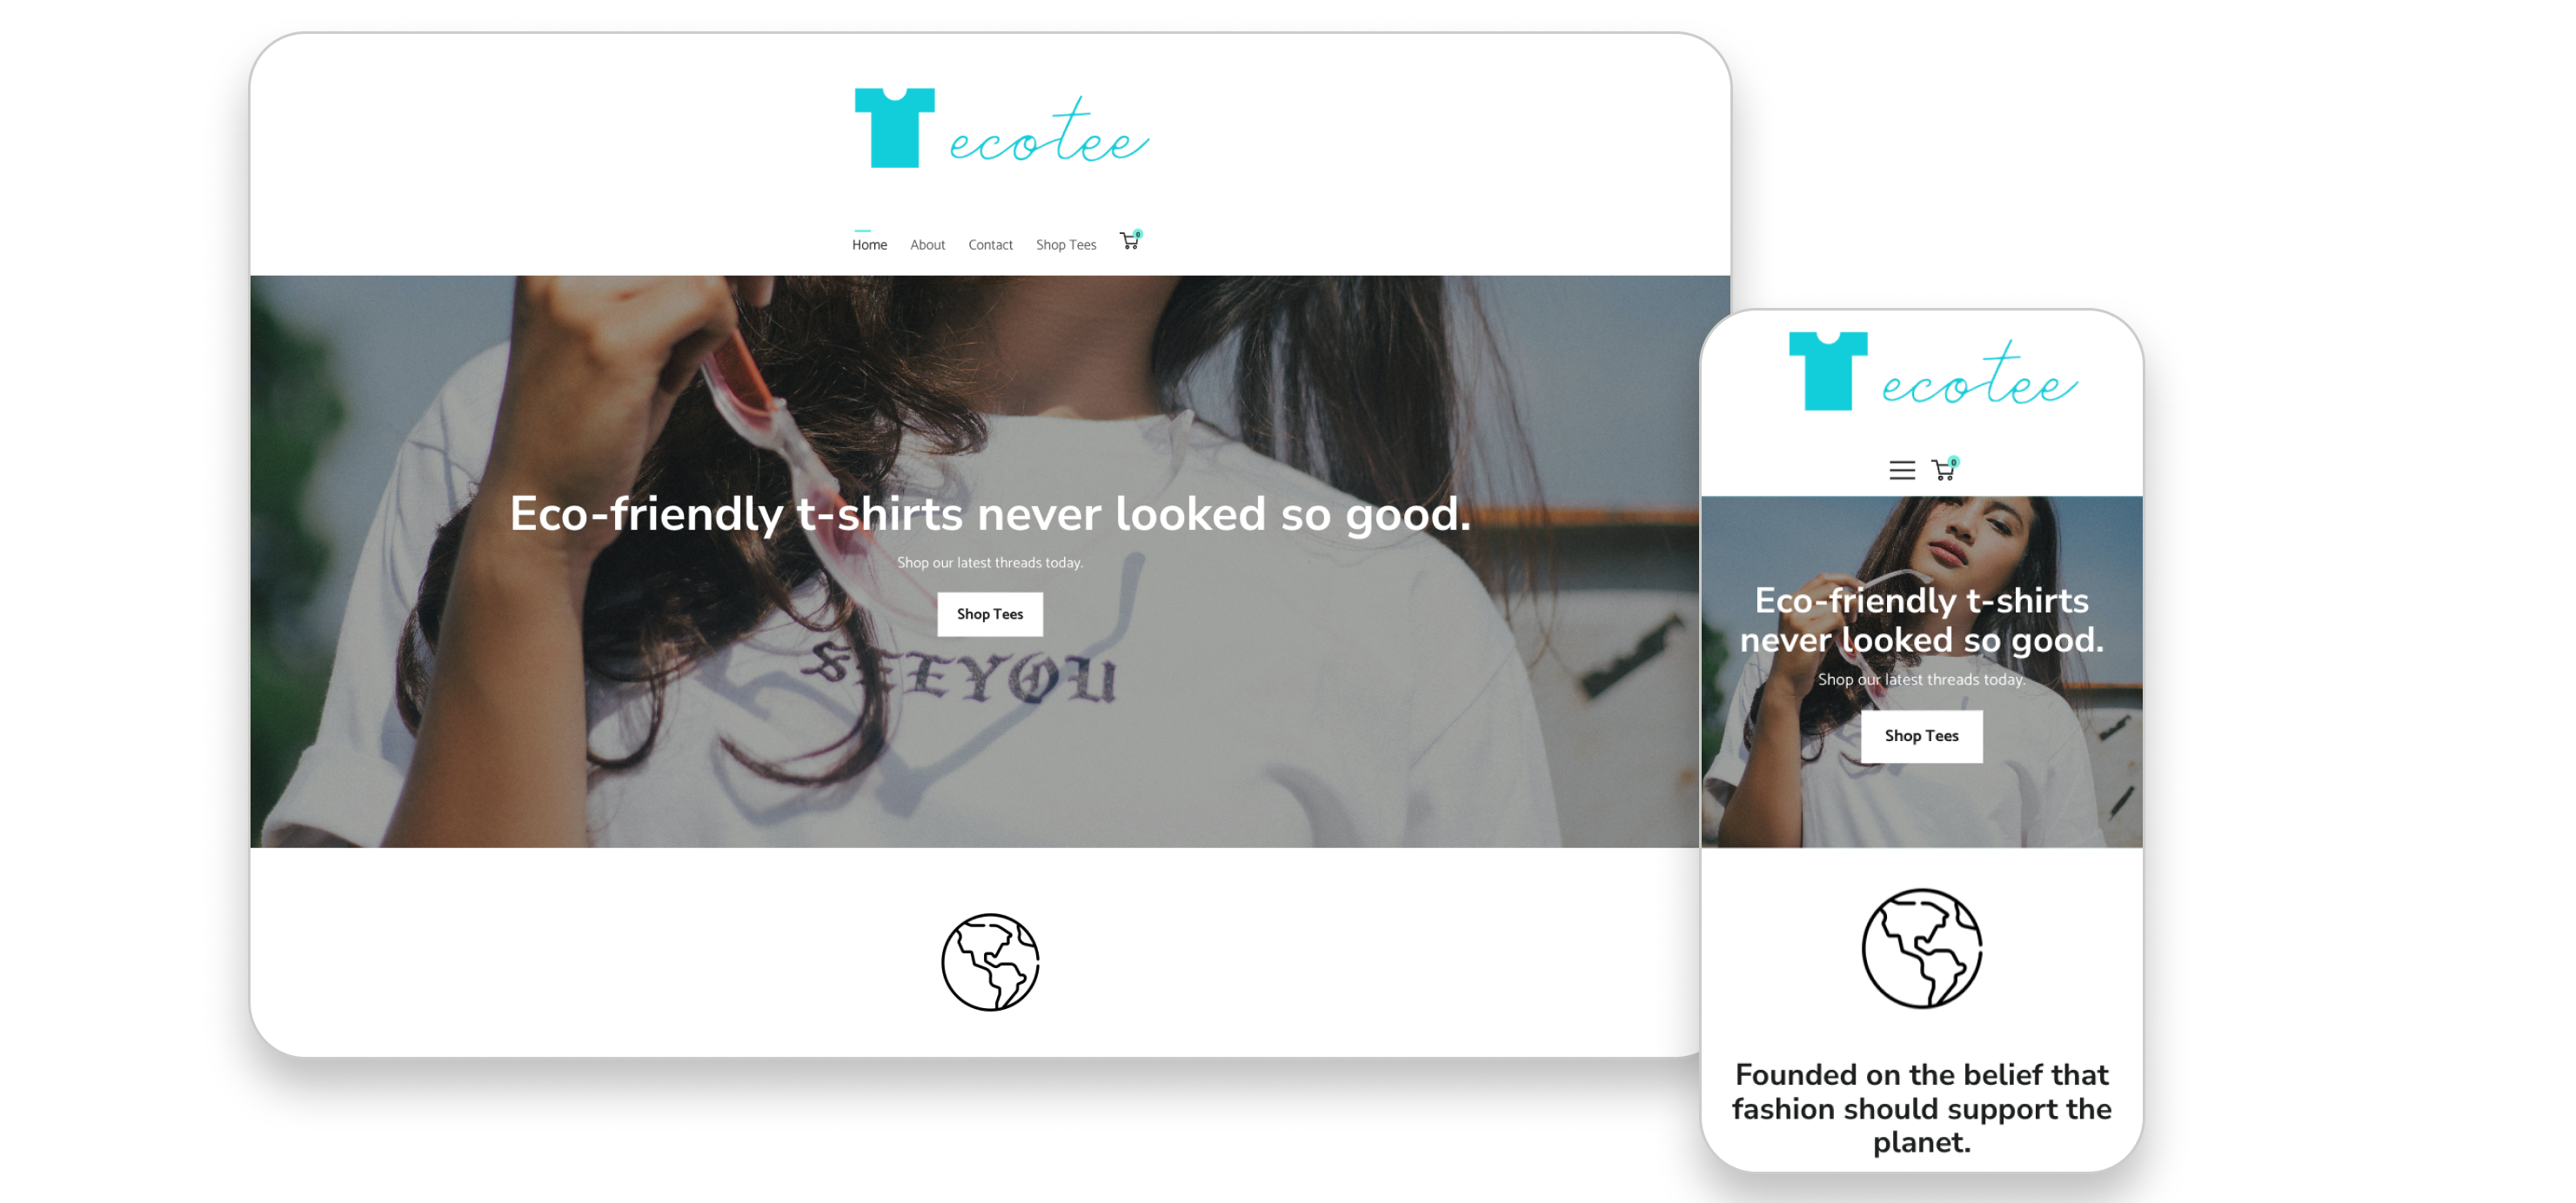
Helpful Tip: Make sure your website is easy to navigate on both desktop and mobile devices. Many visitors will access your website using their phones.
Previewing Your Website
Before publishing, take some time to review your website.
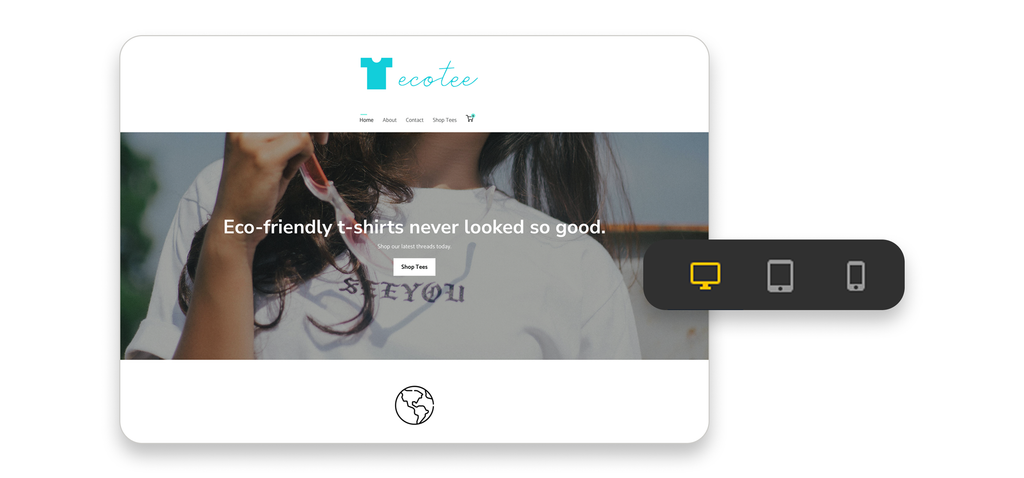
Previewing helps you identify missing information, layout issues and content that may need adjusting.
What to Check:
- Are your business name and contact details correct?
- Are your images displaying properly?
- Are your headings and paragraphs easy to read?
- Does the website display correctly on mobile devices?
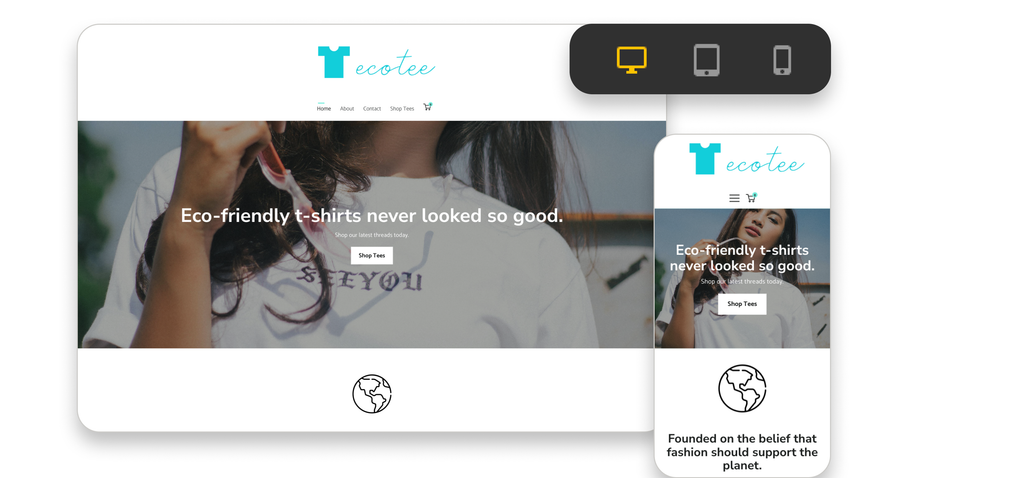
Important: Make any necessary adjustments before publishing.
Publishing Your Website
When you’re happy with your website, you’re ready to publish!
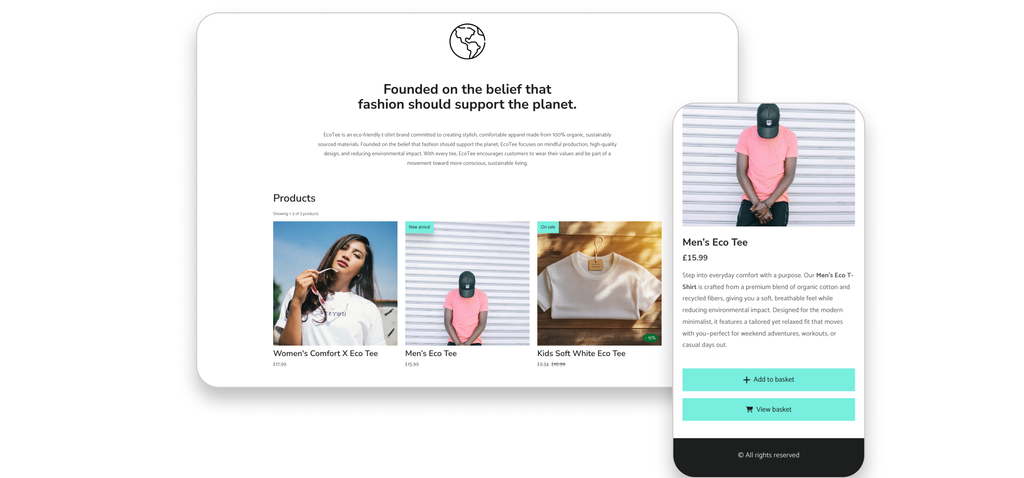
Publishing makes your website available to visitors online.
To Publish Your Website:
- Review your website and make sure you’re happy with the content.
- Locate the Publish option in the editor.
- Follow any on-screen instructions.
- If prompted, choose the temporary website address provided during the initial publishing process.
- Confirm the publishing action.

Once published, visit your website using its address to check that it is displaying correctly.
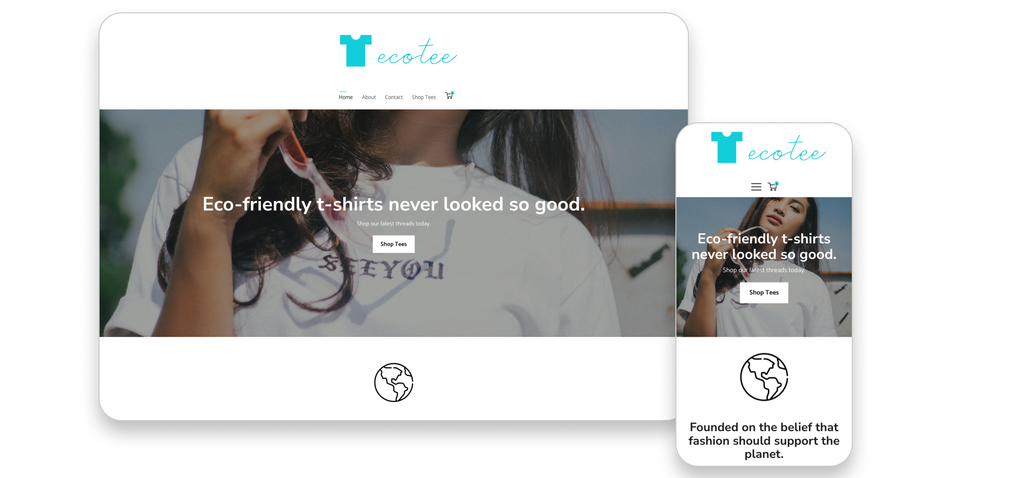
Important: Making changes in the editor does not automatically mean that visitors can see them. After updating your website, publish it again to make the latest changes available online.
What Happens Next?
Once your website is published, your online presence is ready for visitors.
We Recommend Taking a Few Additional Steps:
- Test your website on a desktop and mobile device.
- Confirm that your contact details are correct.
- Test any contact forms or other interactive features.
- Review your website regularly and publish any updates.
You can continue editing and improving your website whenever you need to. Remember to publish again after making changes so visitors can see the latest version.
Explore More Ways to Grow Your Online Presence
Watch these quick videos:
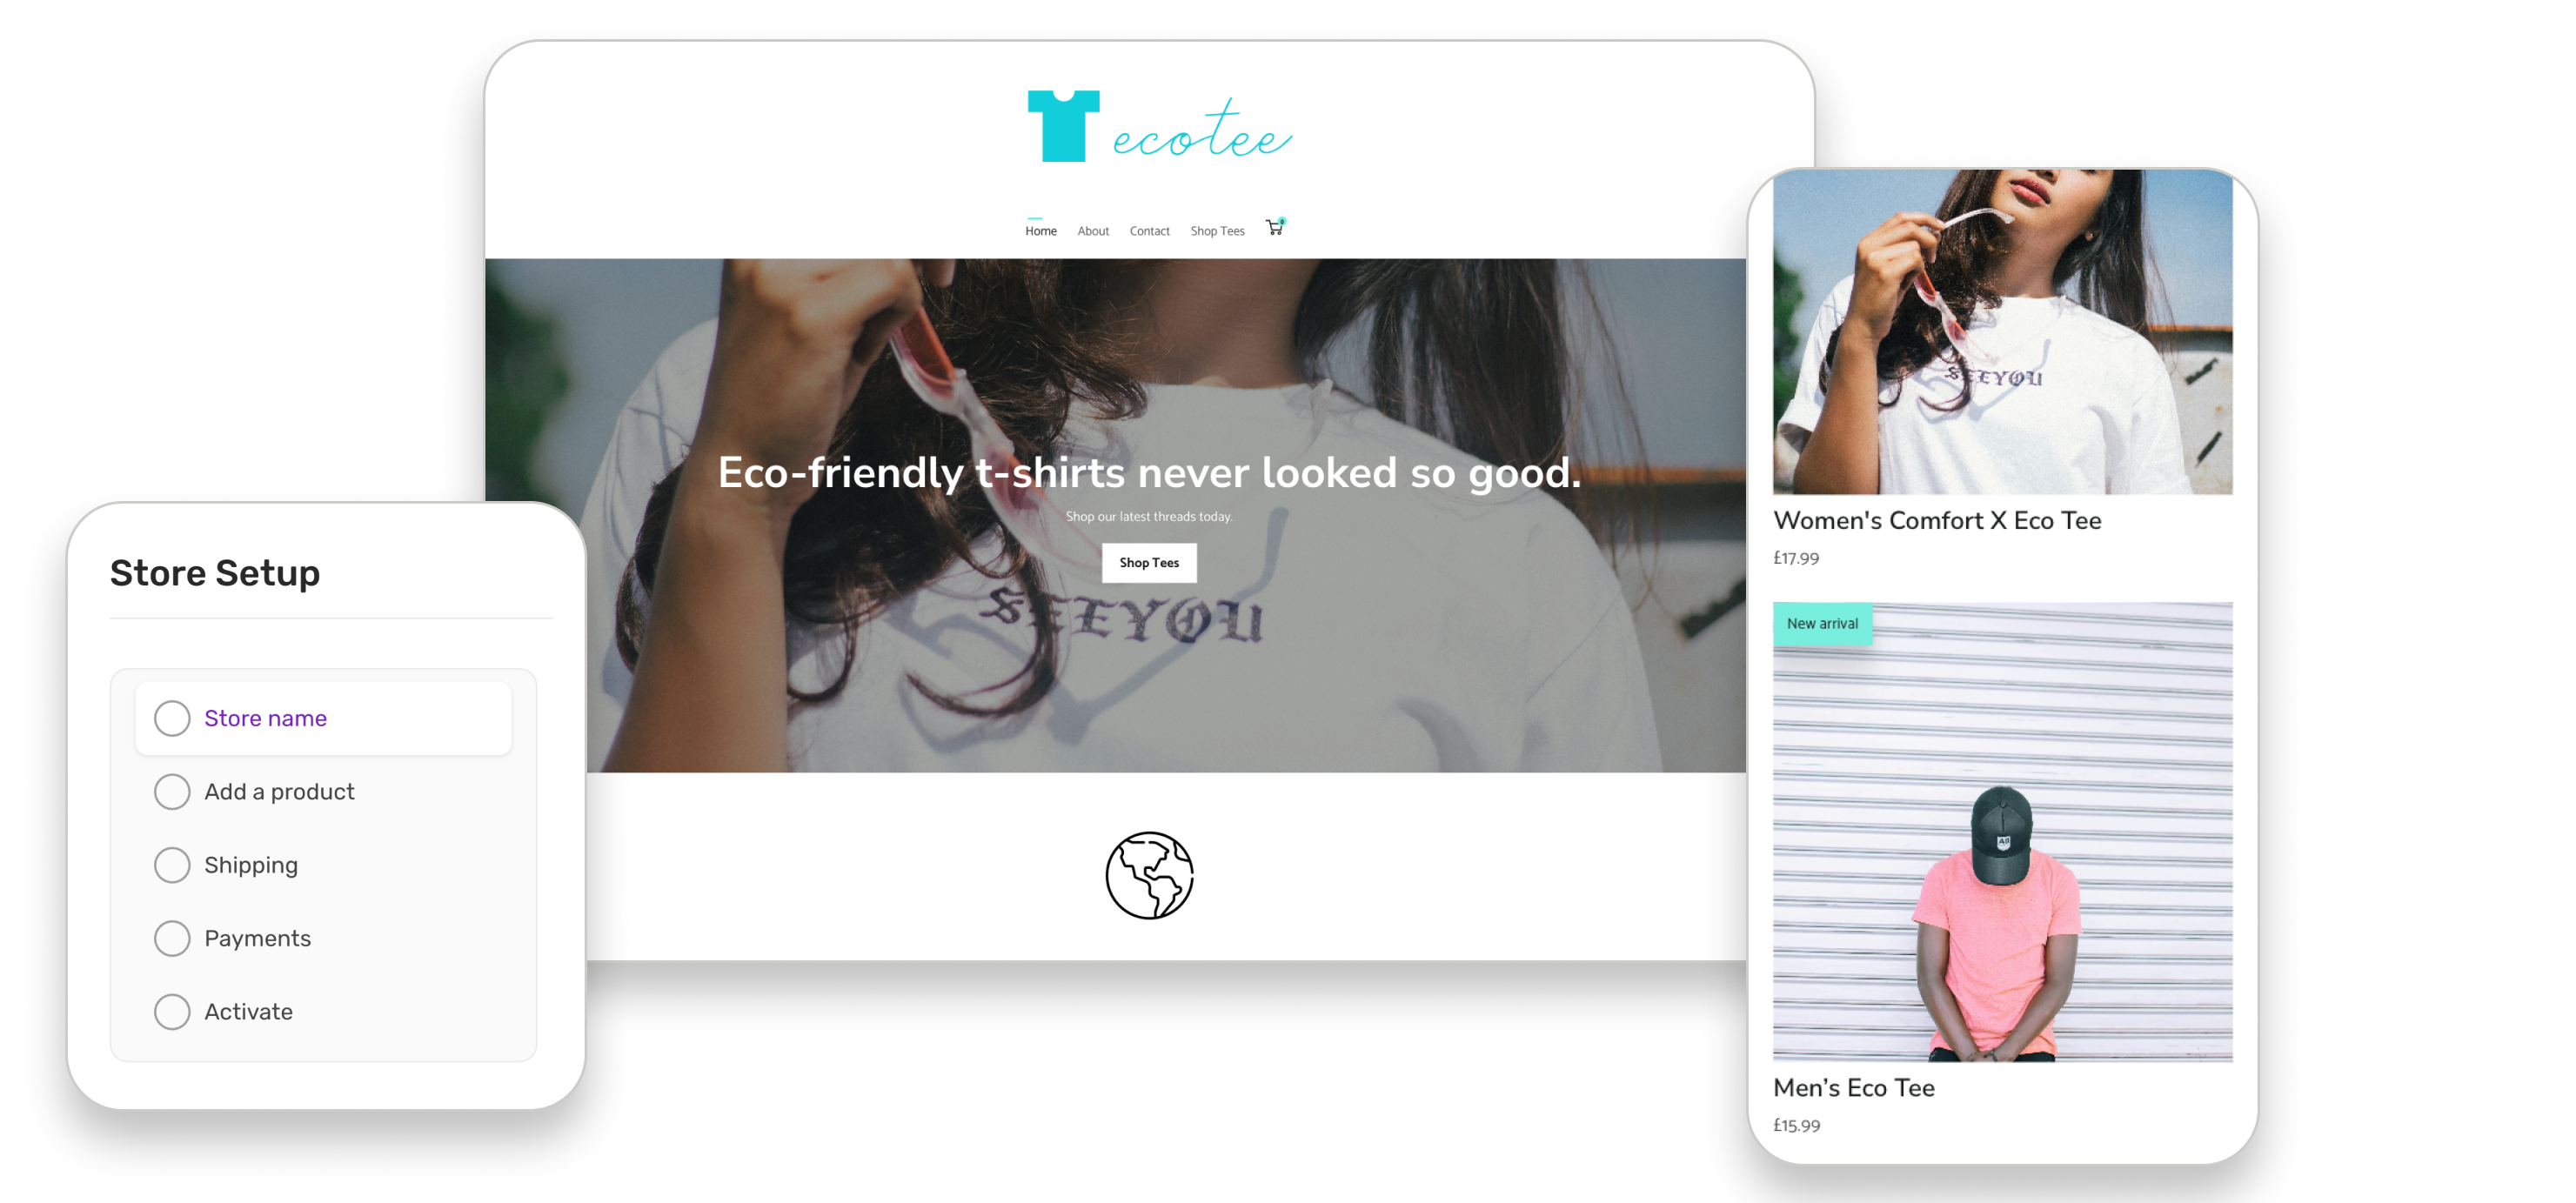
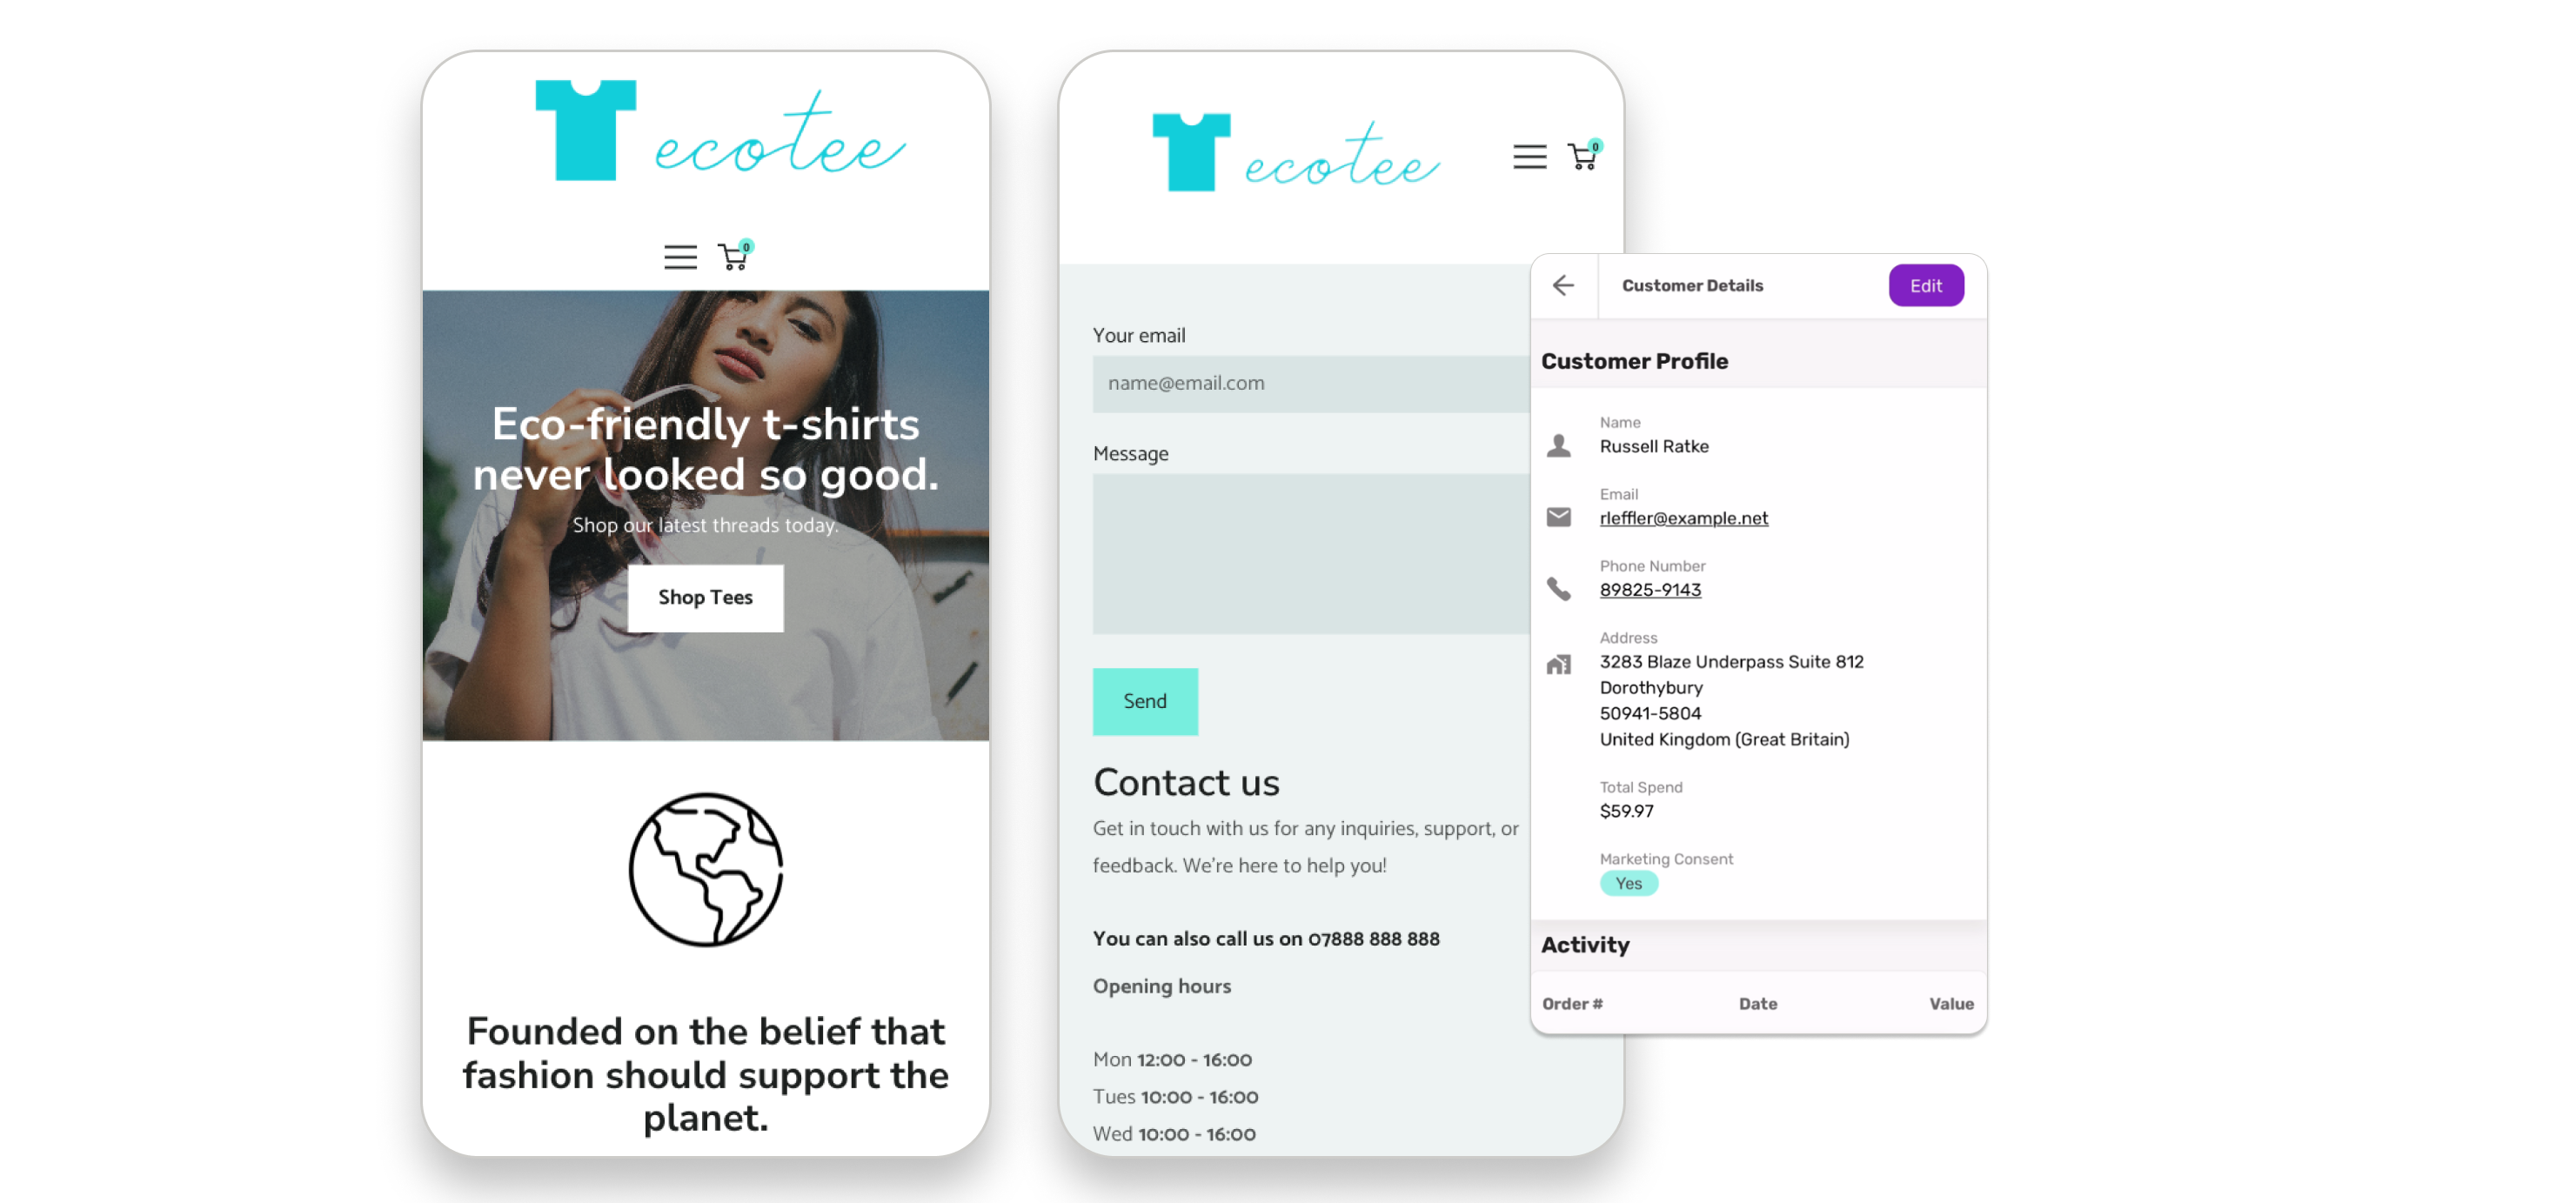
- Get Started – Learn the basics of getting your website online.
- Get Creative – Explore ways to personalise your website.
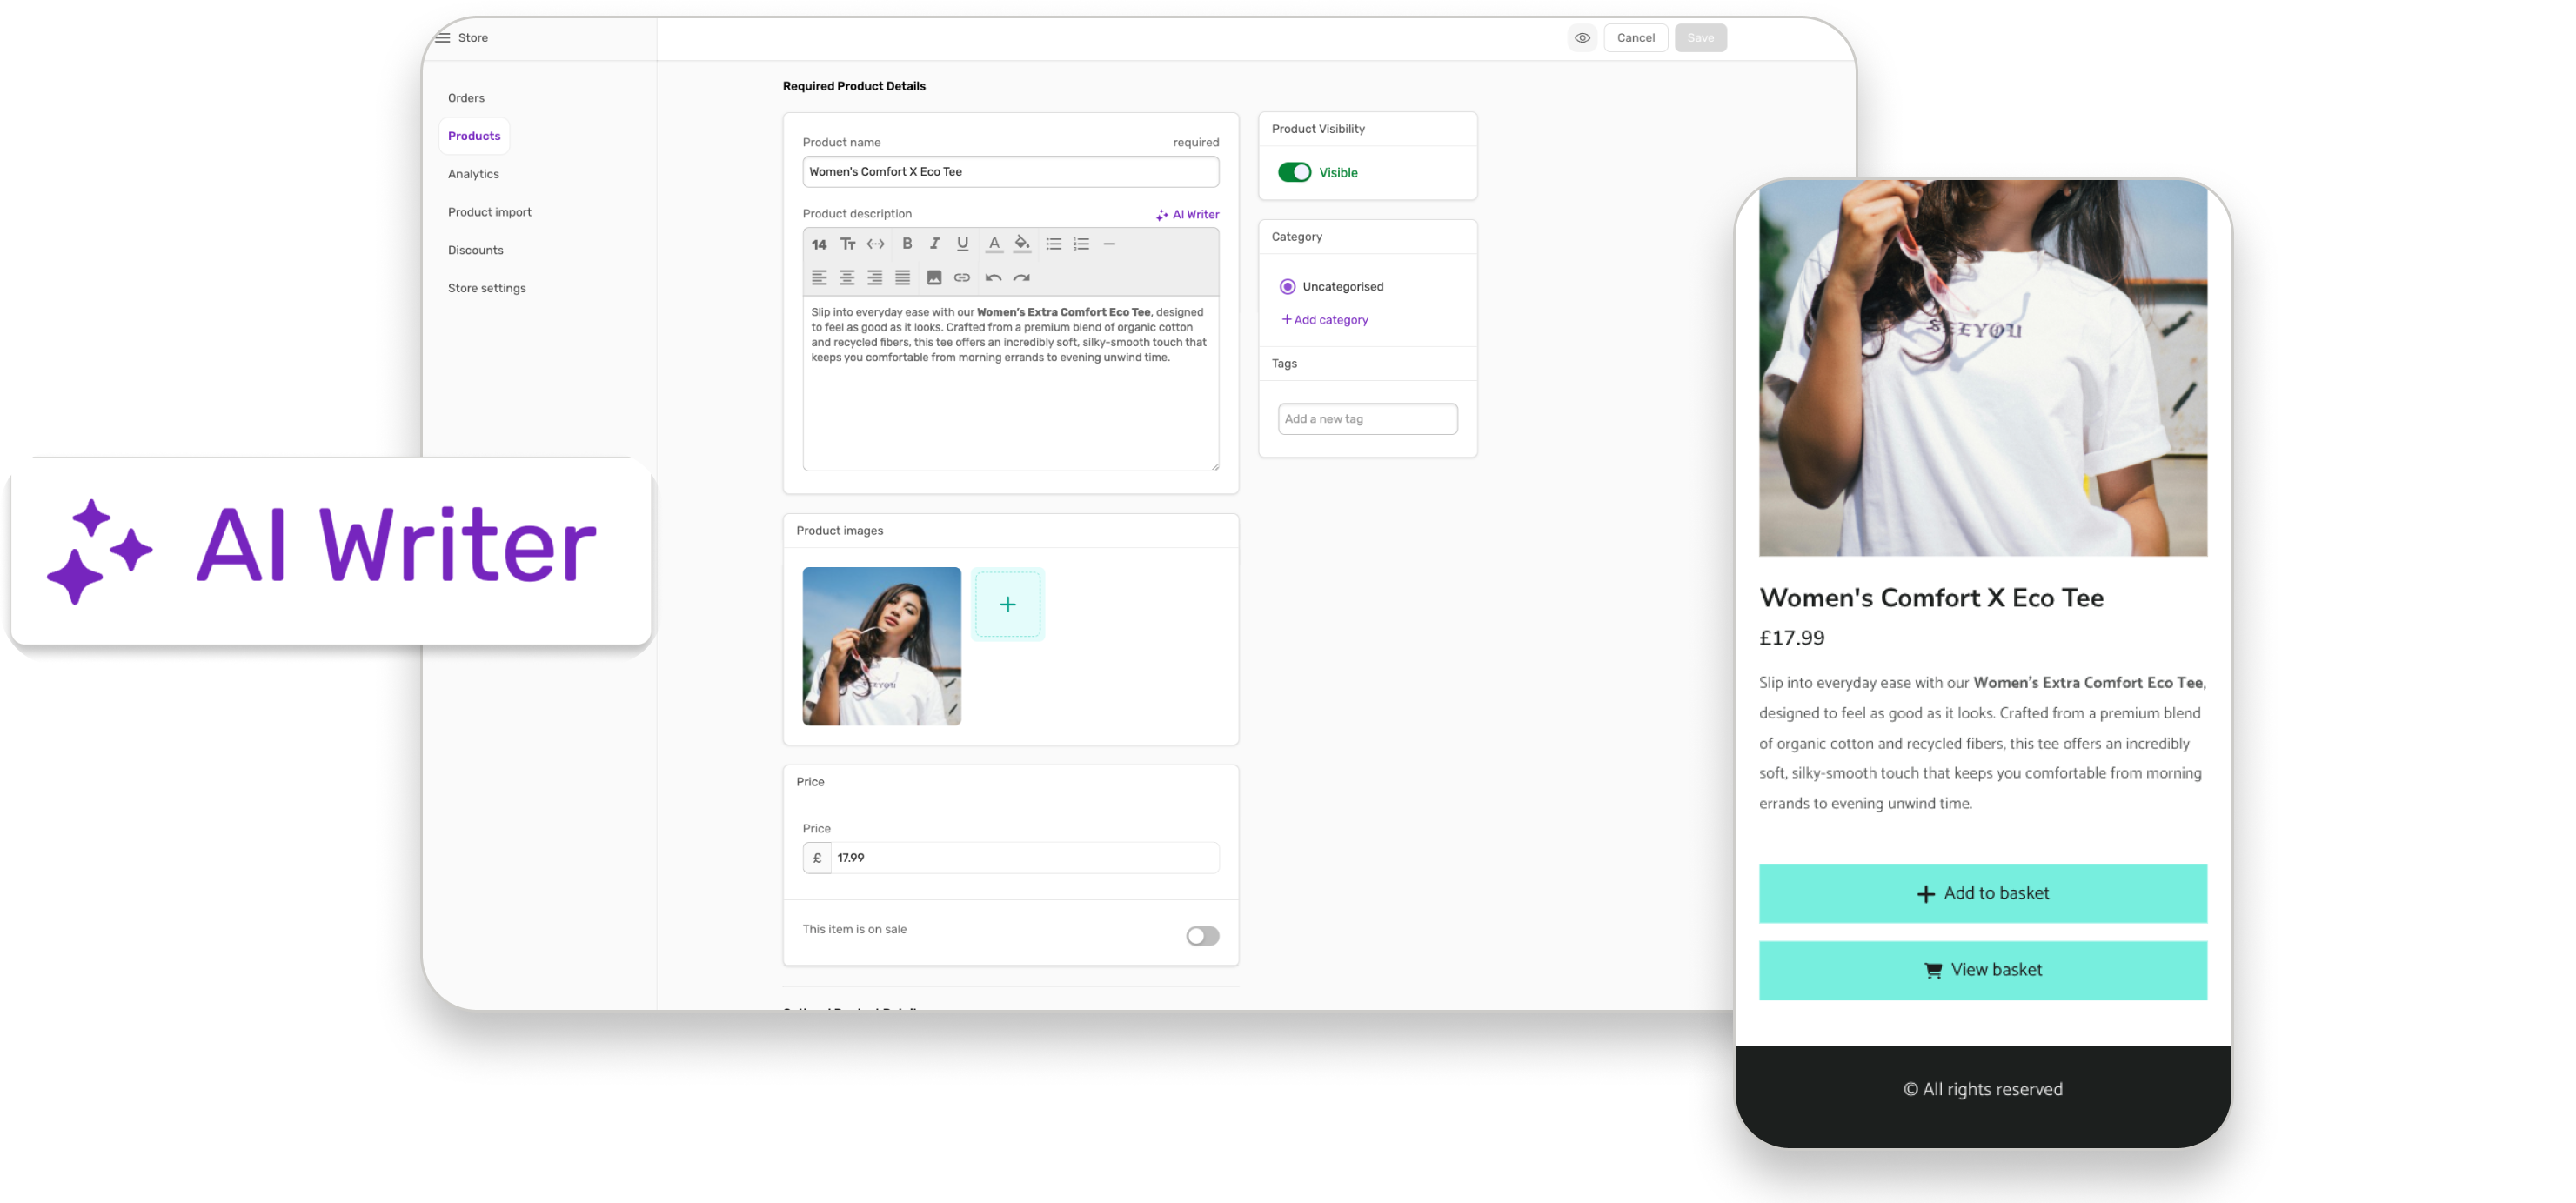
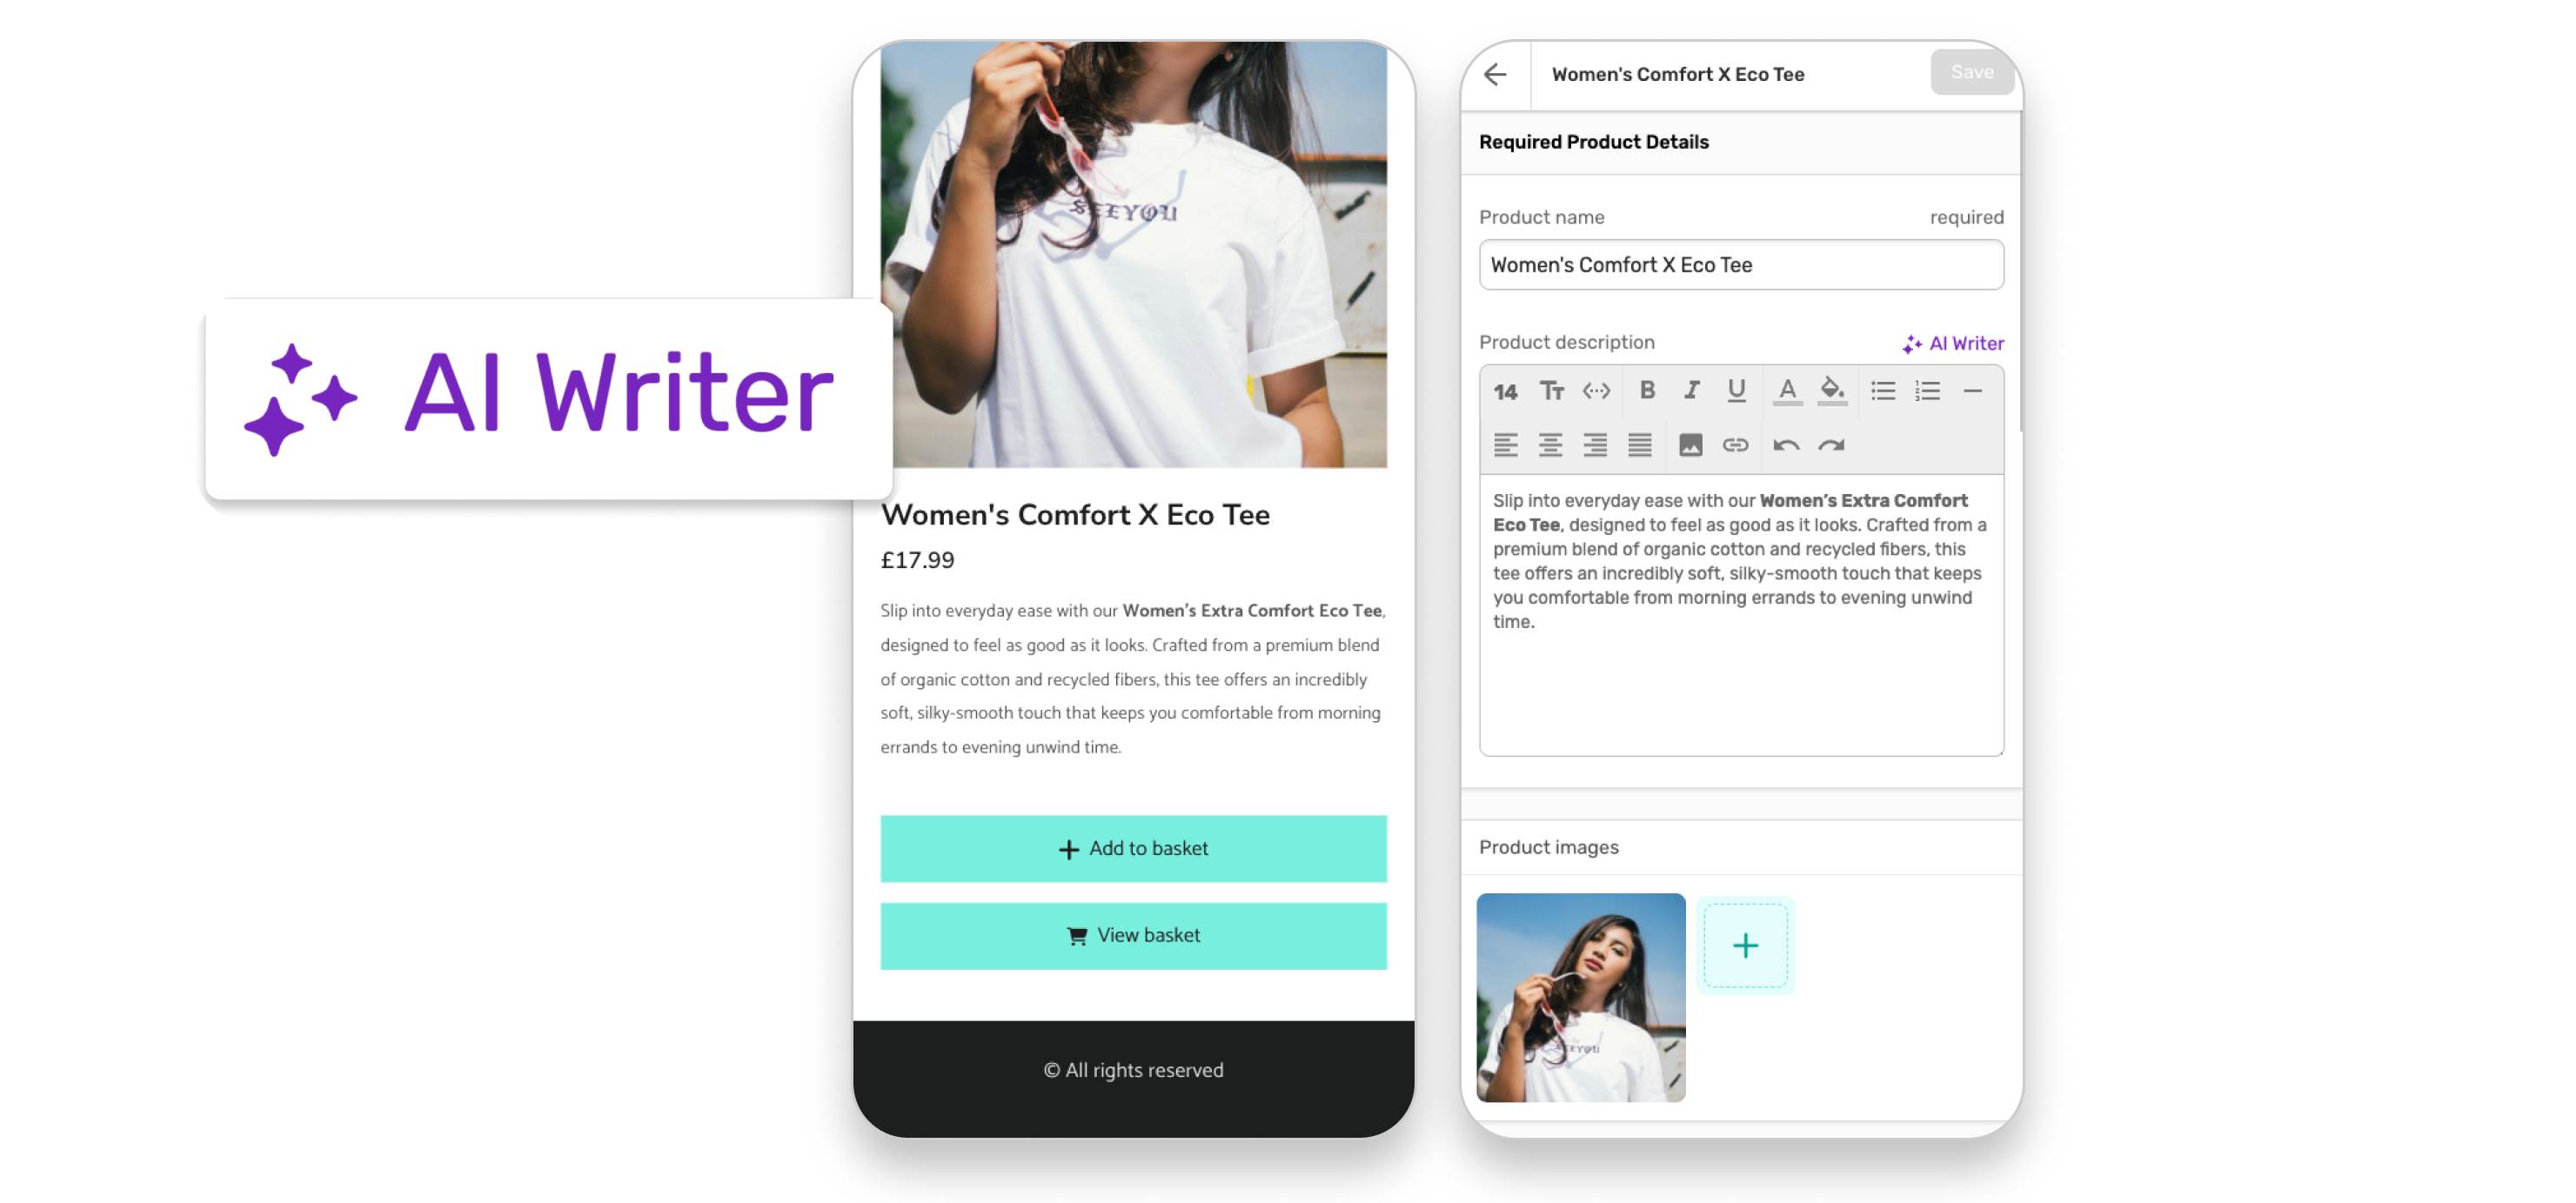
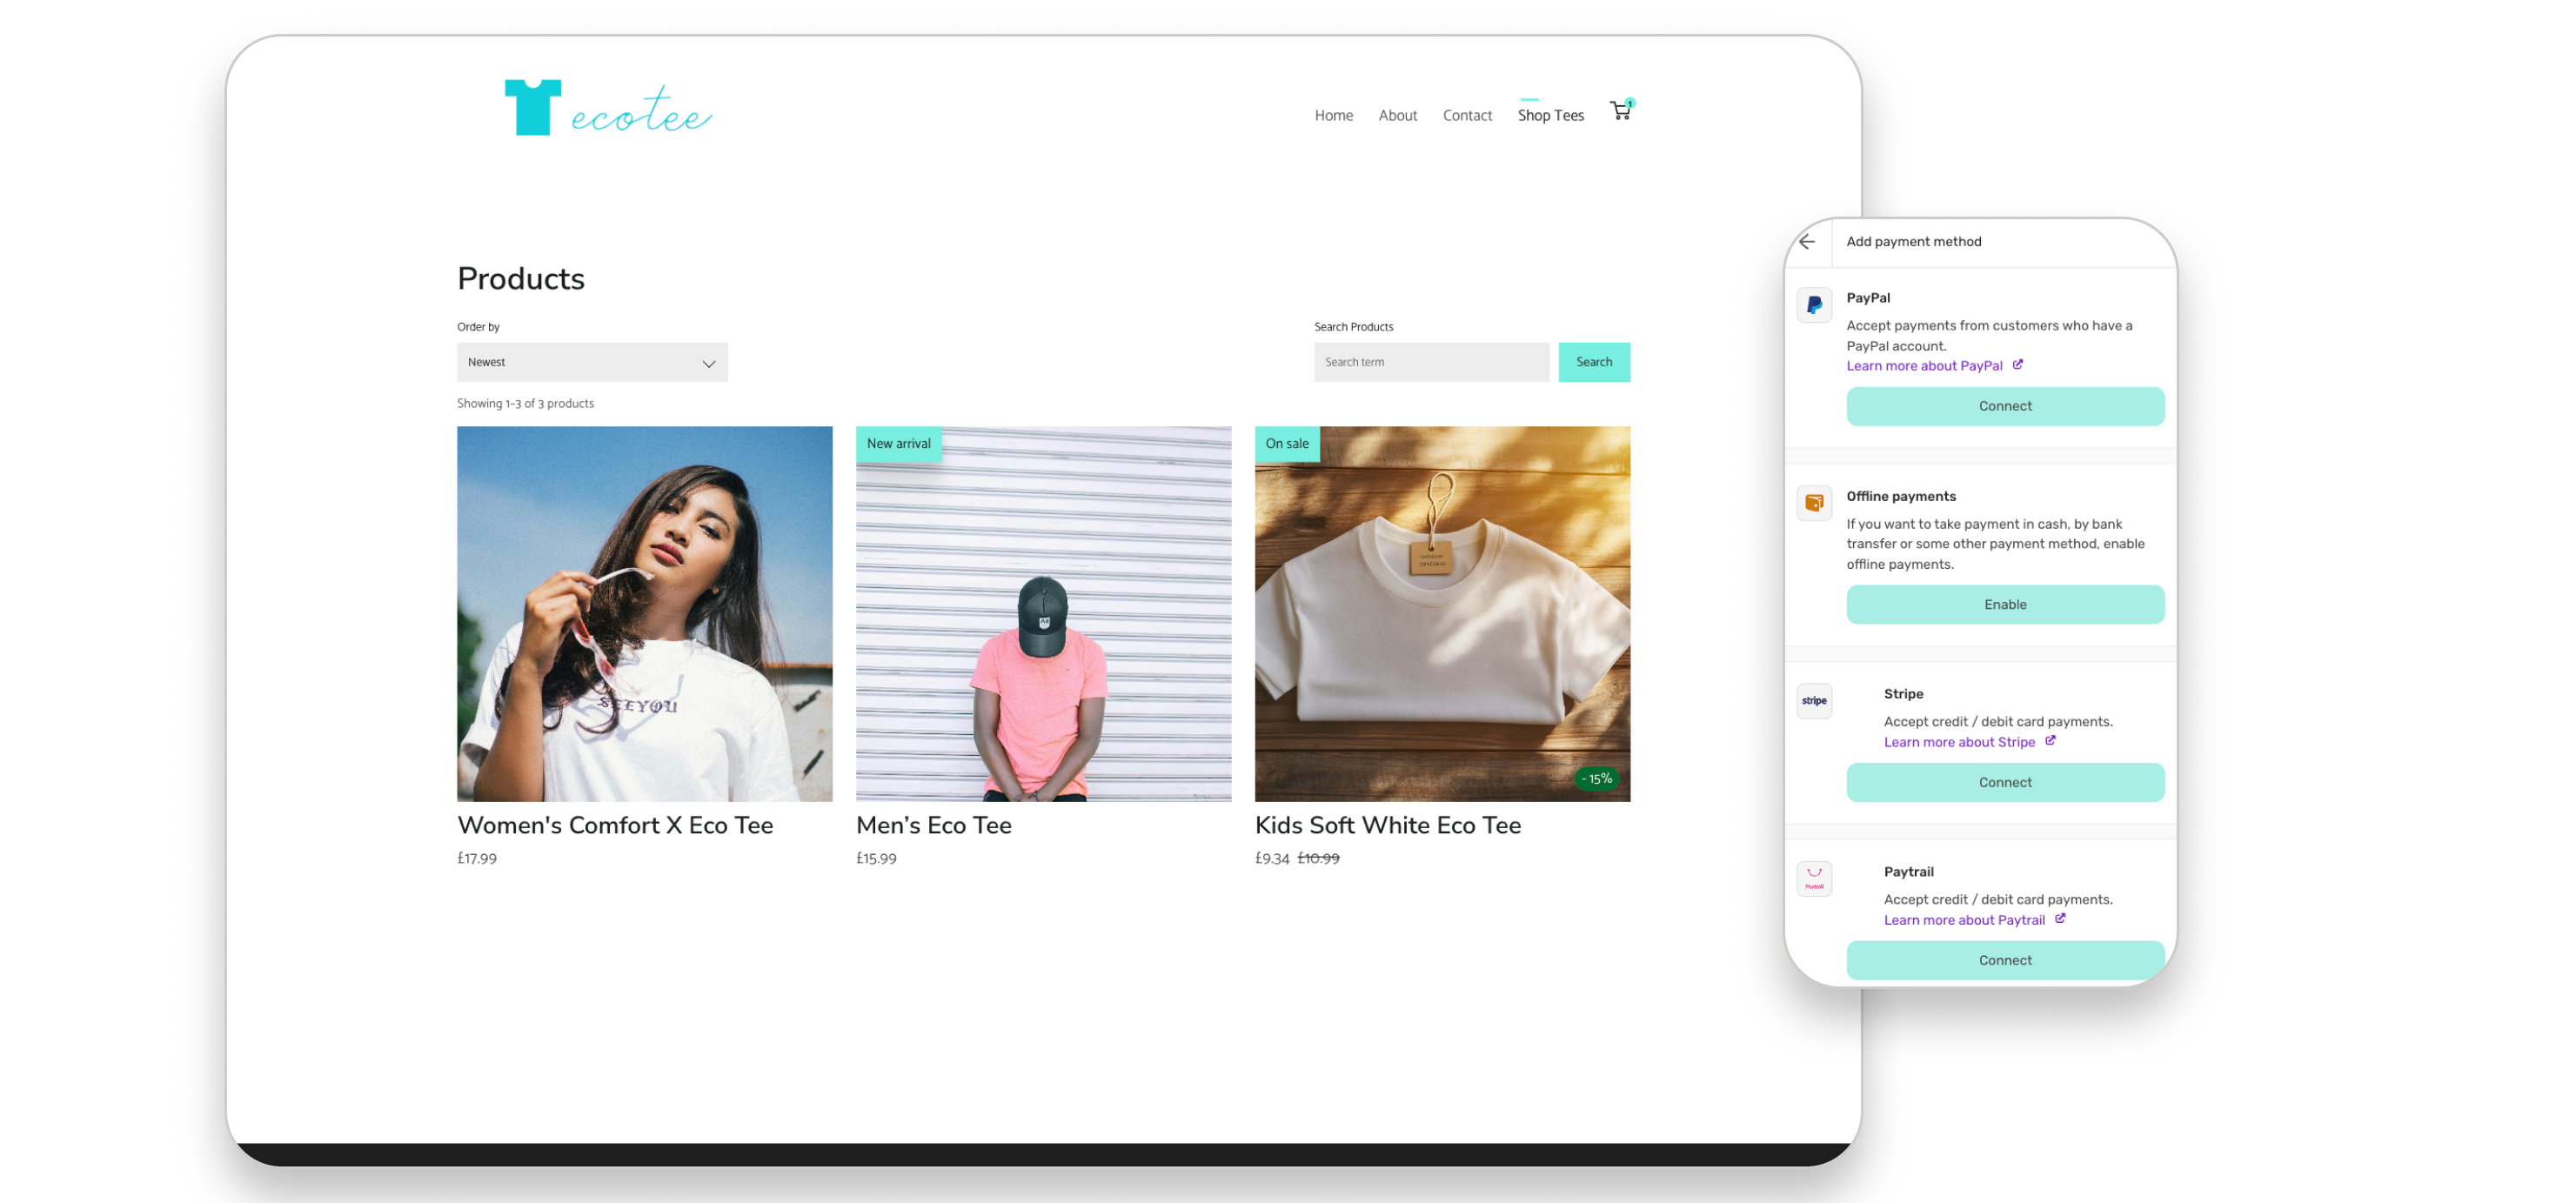
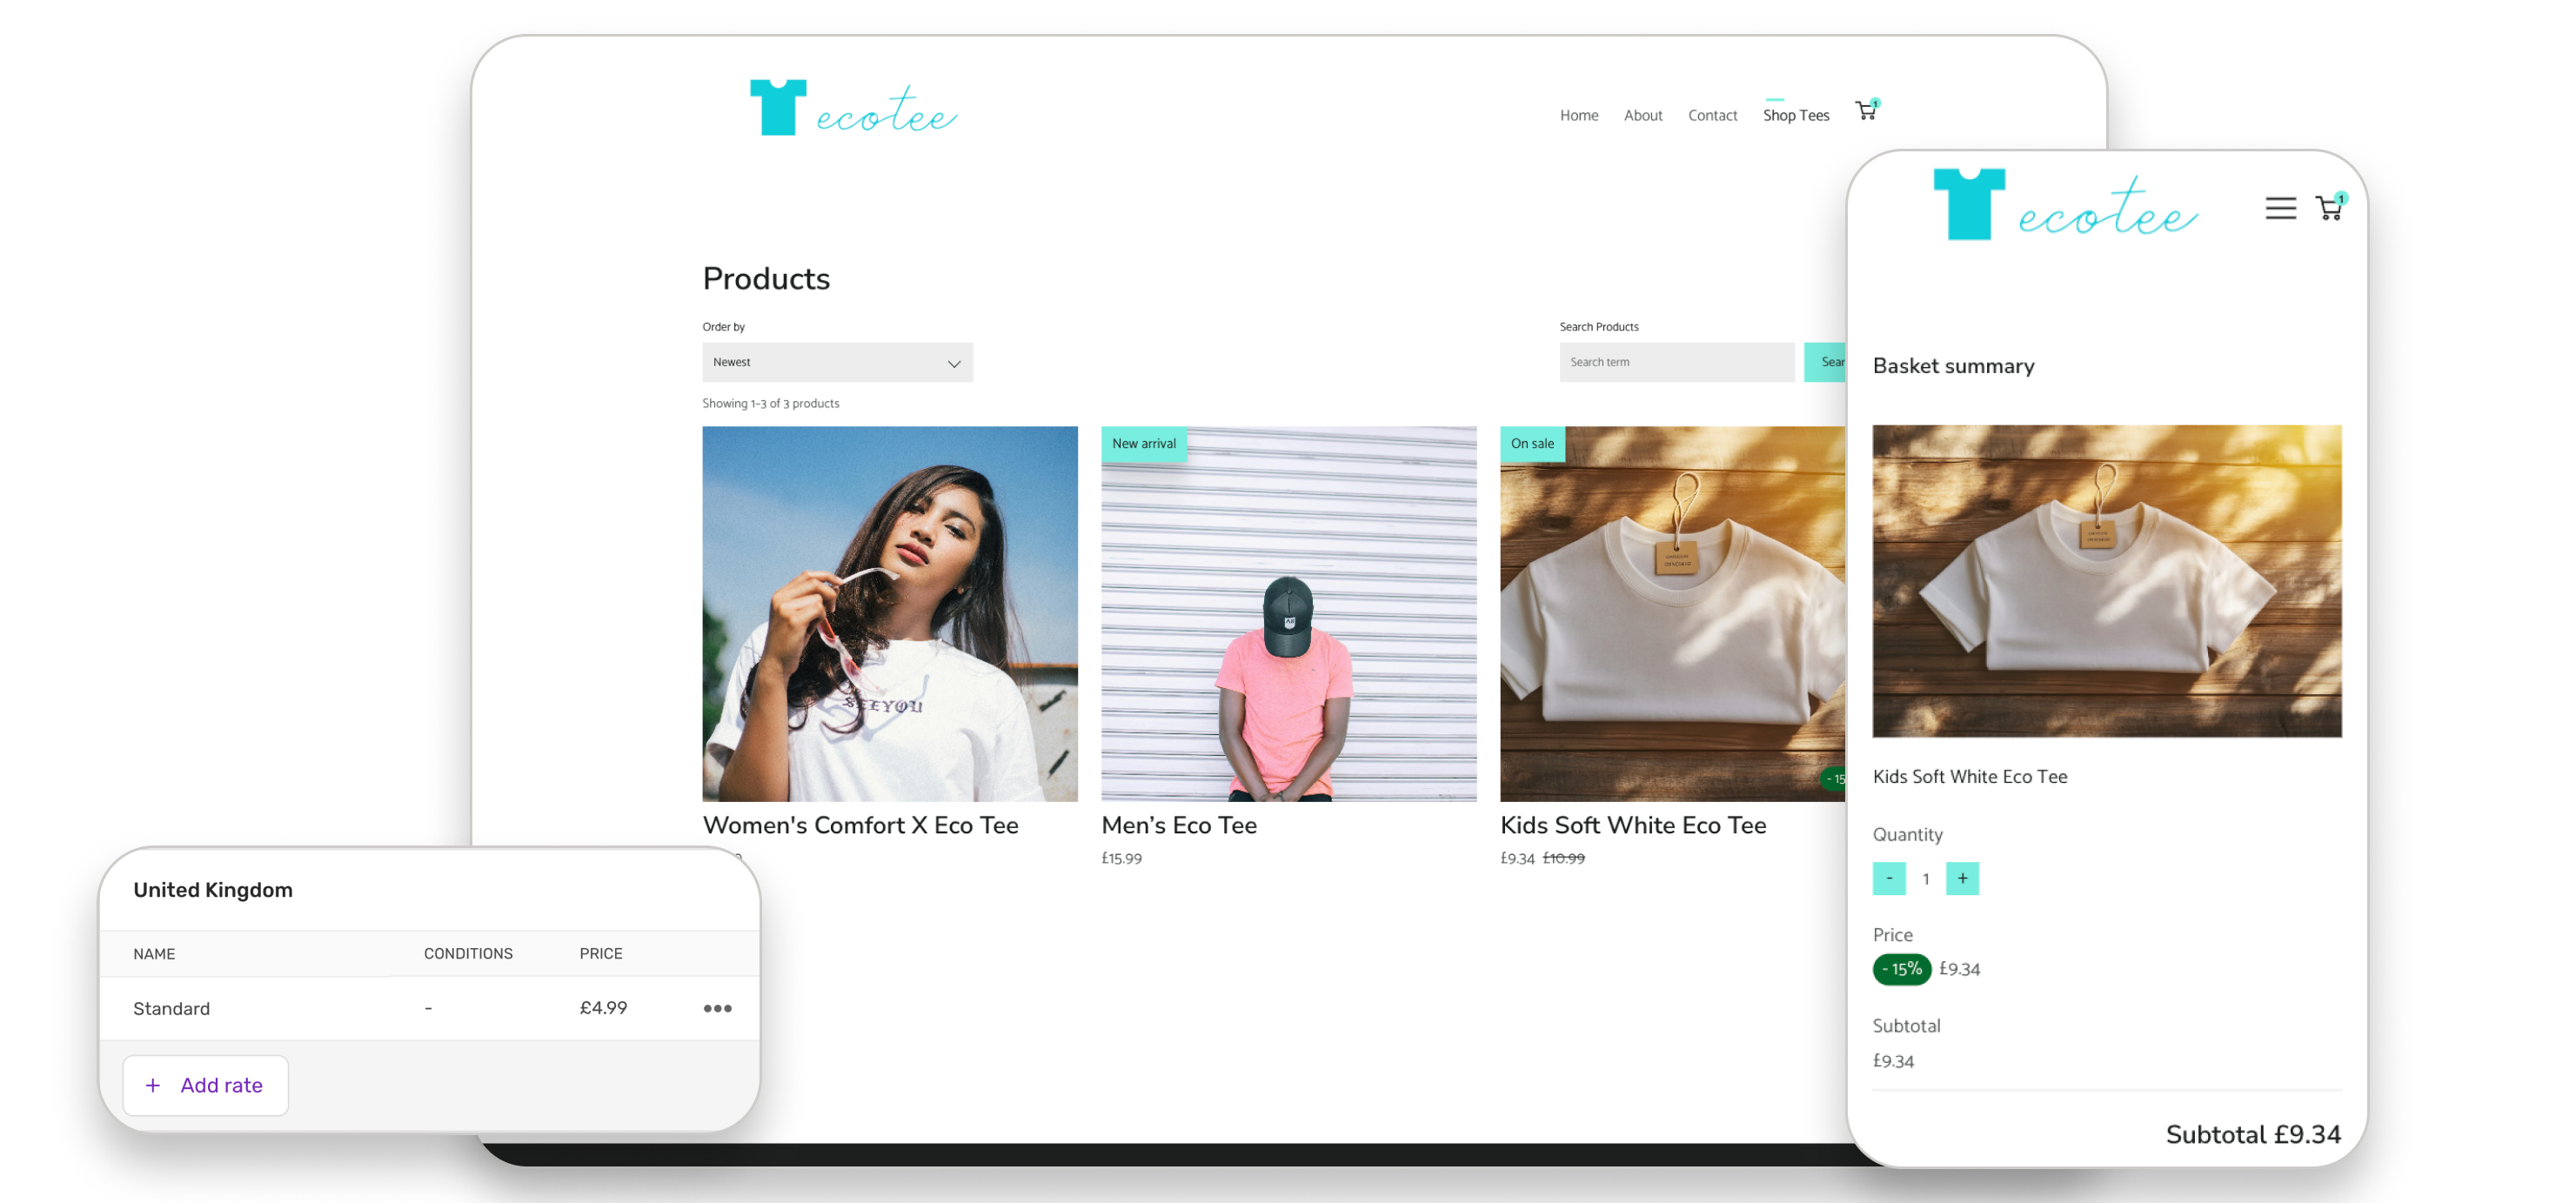
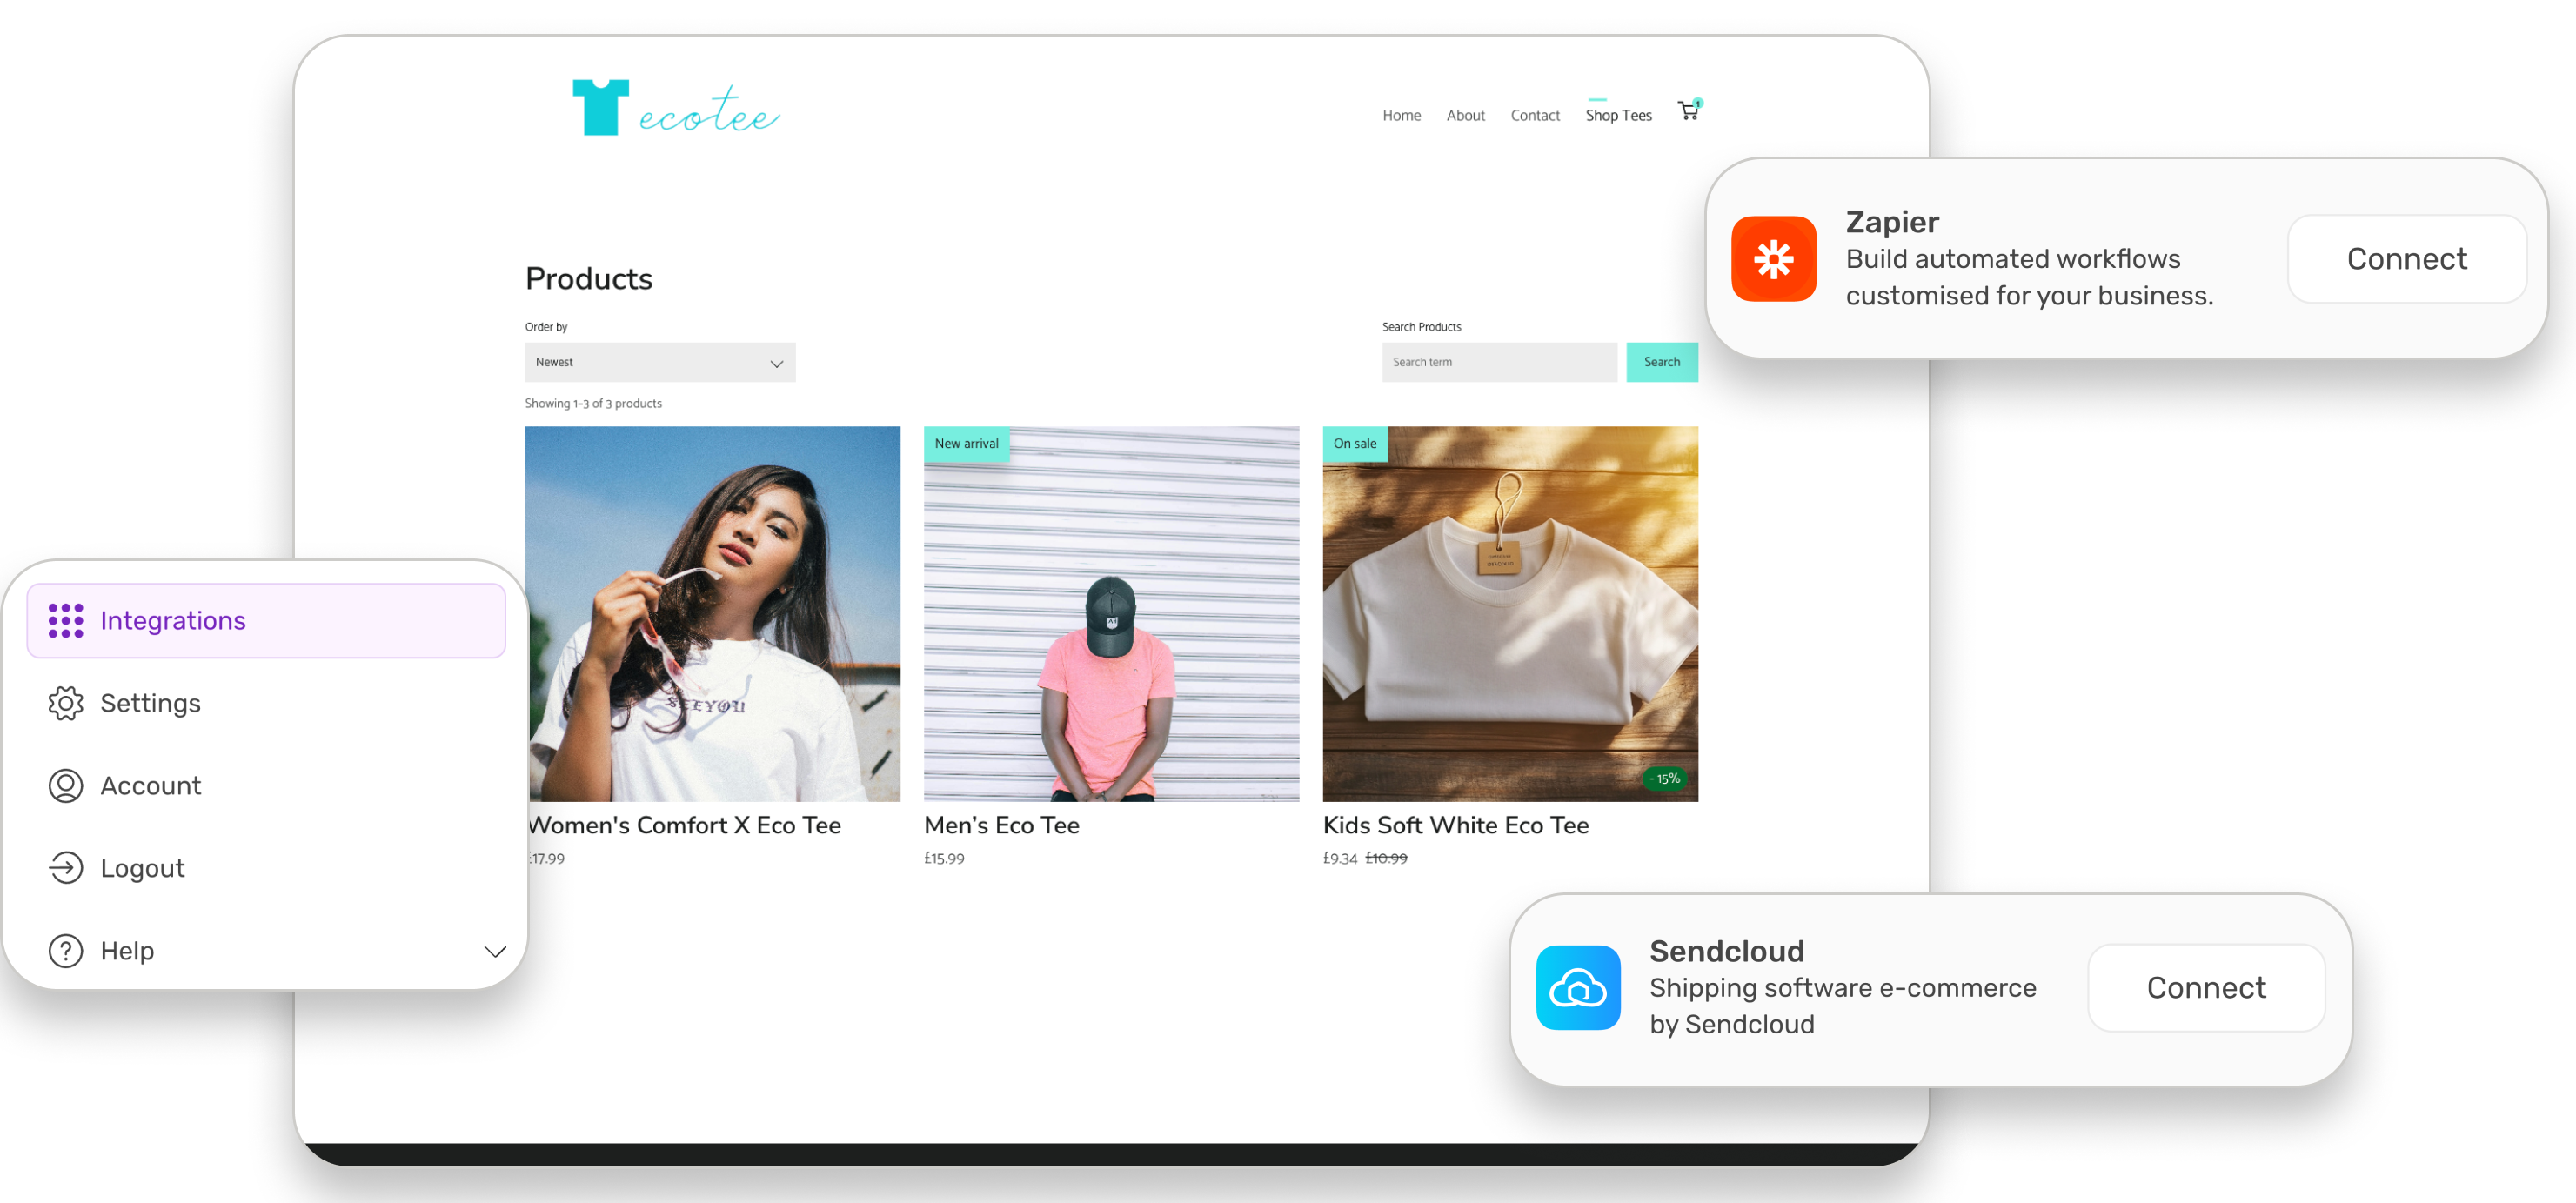
- Start Selling – Discover how to introduce online selling.
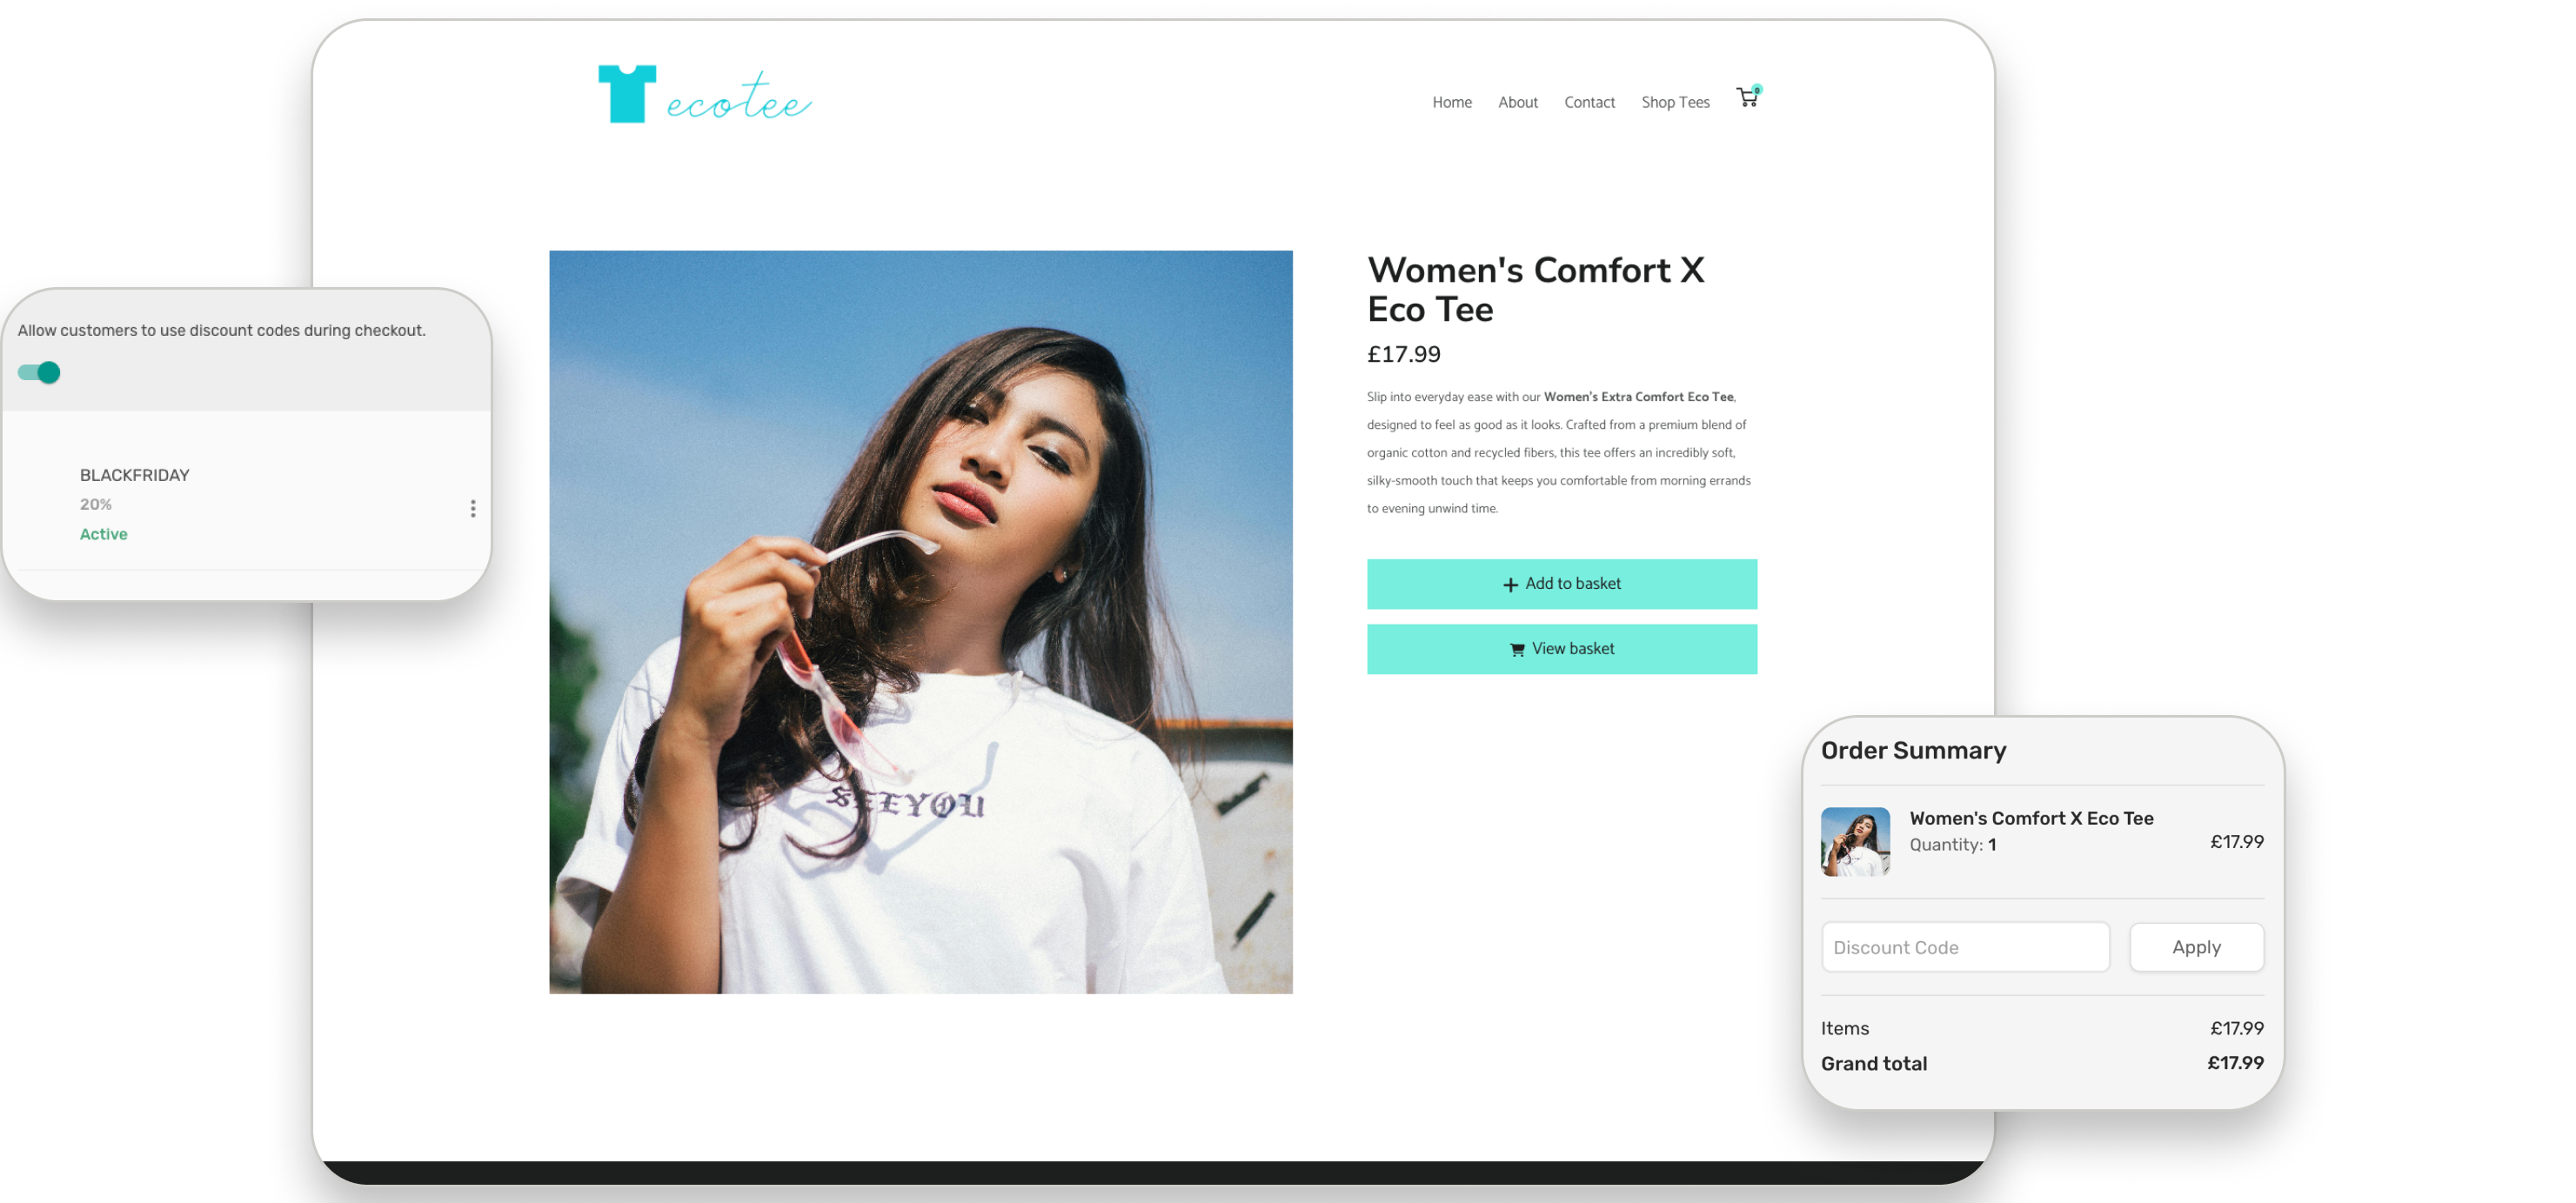
- Drive More Sales – Explore ways to grow your online store.
- Take Bookings – Discover how to accept bookings online.
Common Questions and Things to Check
Why can’t I see the changes I’ve made on my live website?
Your latest changes may not have been published yet. Return to the editor, publish your website again and refresh your browser.
Can I change my website theme after I’ve started building?
Theme changes may affect your existing website layout and content. Review the available options carefully before making changes. If you’re unsure, contact our Support Team before proceeding.
Can I add more pages to my website?
Yes, use the Site Manager to review the available page management options and add pages where supported.
Why does my website look different on my phone?
Your website may use a responsive layout that adjusts content for different screen sizes. Preview your website on mobile and check whether any content or design elements need adjusting.
Can I sell products or accept bookings through my website?
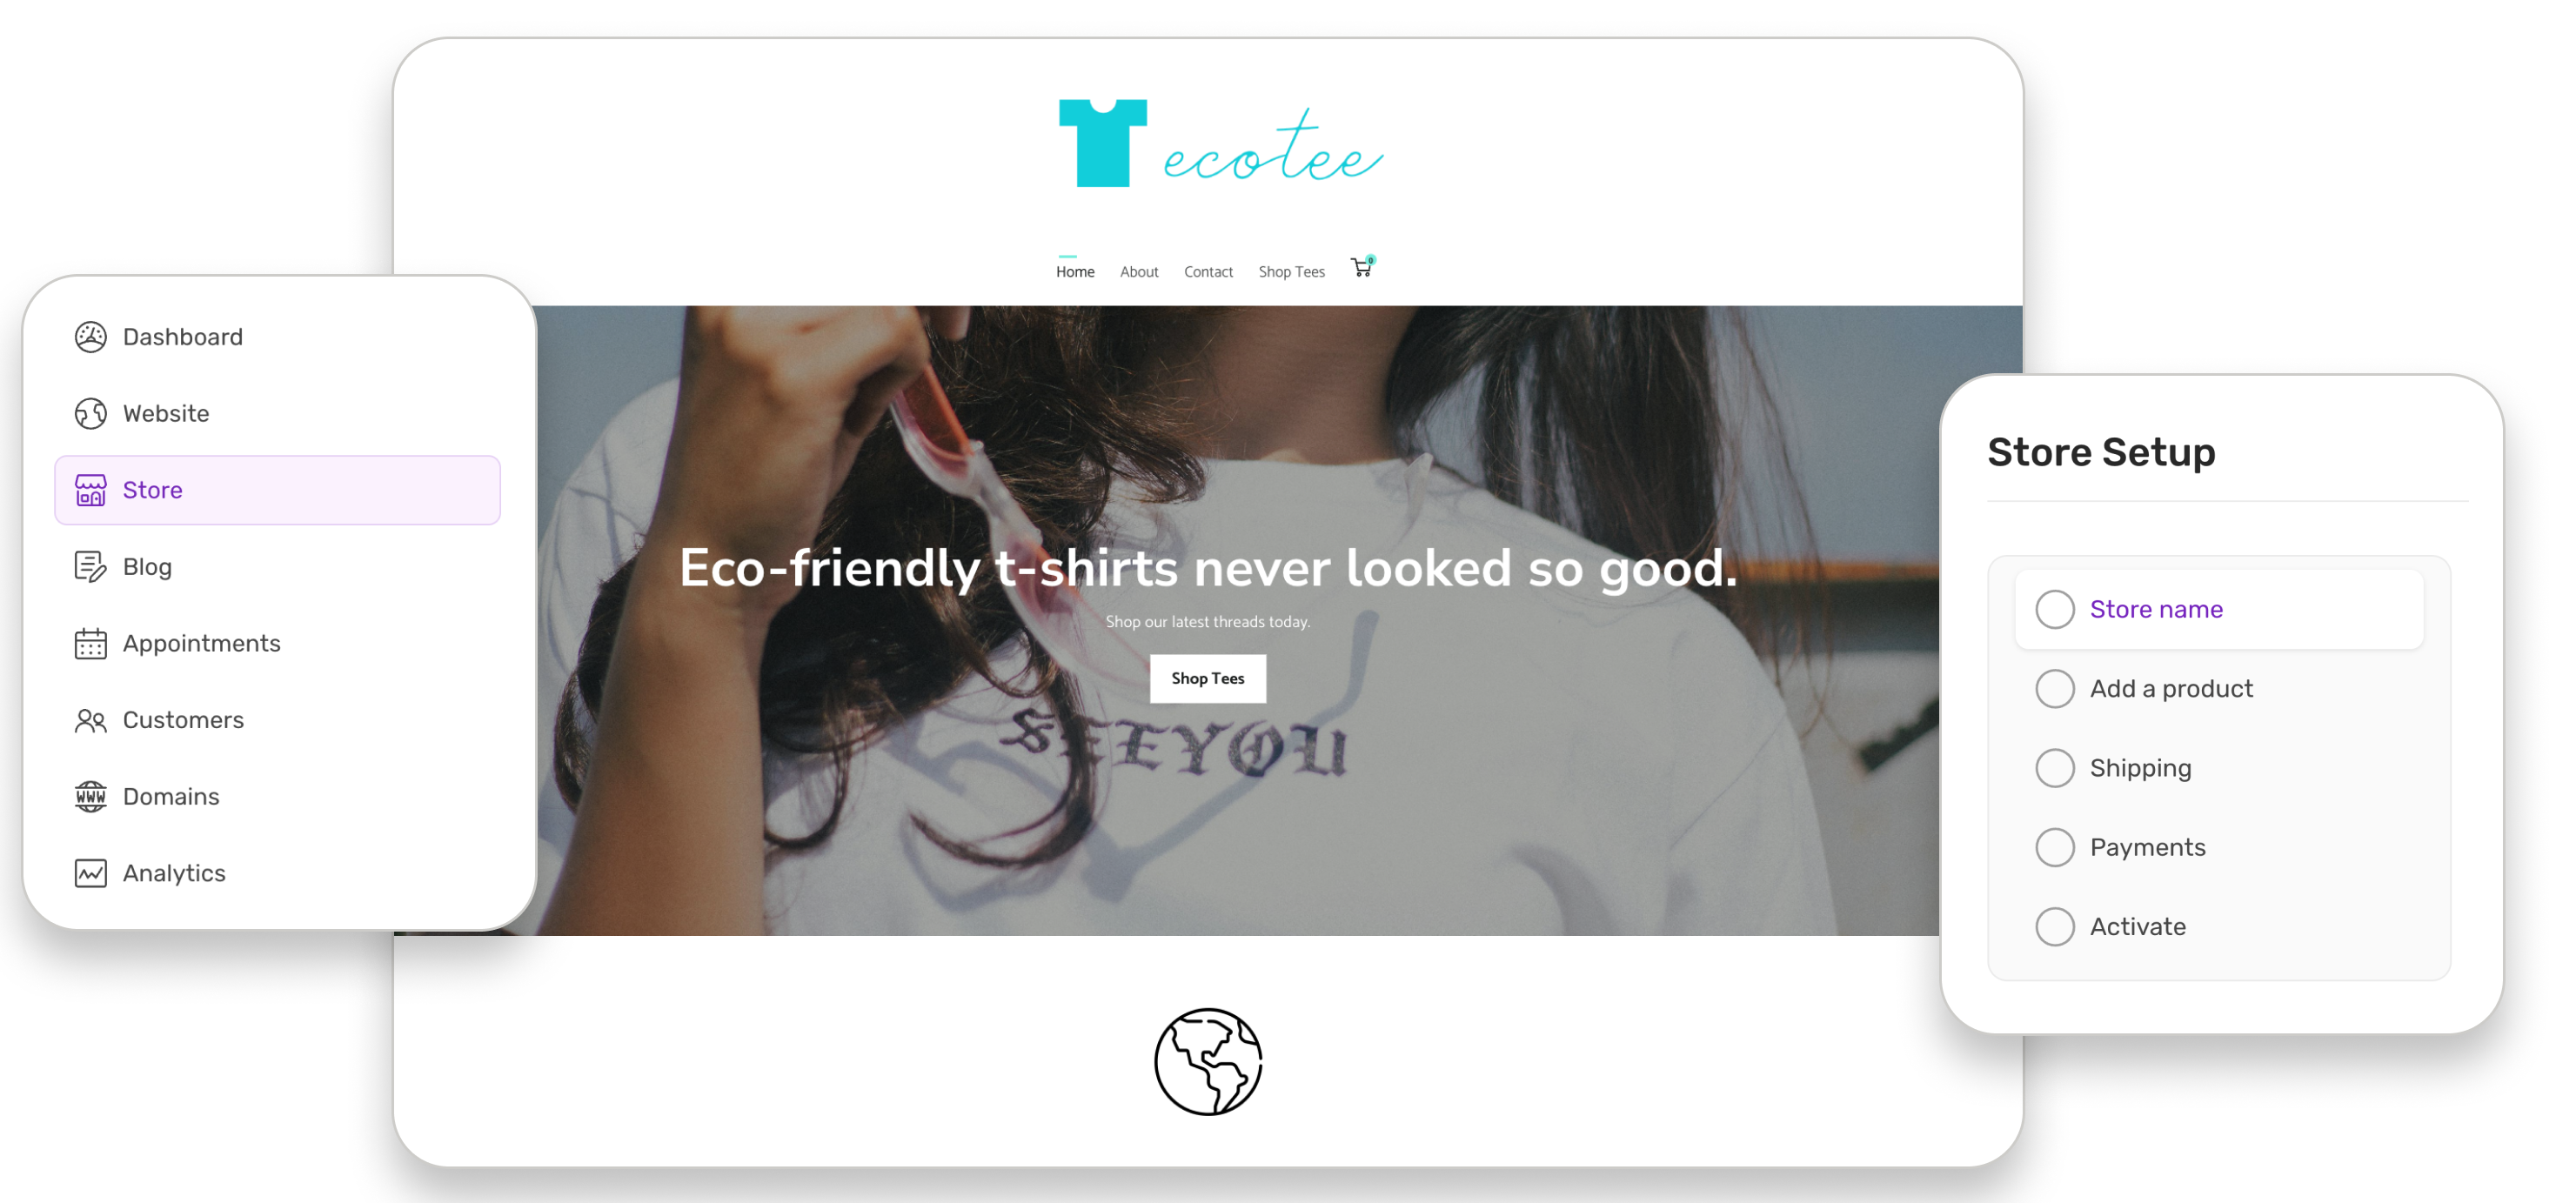
Additional features such as online selling and bookings may be available depending on your Website Builder package and enabled applications. You can explore the relevant options from the editor’s main menu.
You’re Ready!
You’ve now covered the essentials of building and publishing your website with 1-grid Website Builder.
Remember, your website doesn’t have to be perfect from day one. Start with the information your customers need, make improvements as your business grows and keep your content up to date.
Every update is an opportunity to create a better experience for your visitors.
Additional Resources
Explore these additional resources to help you get more from your Website Builder:
- Getting Started with Website Builder at 1-grid
- Website Builder: How Do I Log In?
- Website Builder: Start Building Your Website
Need Help?
If you need assistance with your Website Builder, our Support Team is here to help.
When contacting us, please include:
- Your domain name.
- Your Website Builder package.
- The page or section you’re trying to edit.
- A brief description of what you’re experiencing.
- A screenshot, if possible.
We’ll help you understand the next steps and get your website moving in the right direction.