

Securely connect to your Windows or Linux hosting server via Remote Desktop Protocol (RDP) or Secure Shell (SSH).
To log into your VPS (Virtual Private Server) or Dedicated Server, you must use a remote connection protocol that matches your server’s underlying operating system. For Windows environments, this connection requires the Remote Desktop Connection (RDP) utility. For Linux platforms, connections route through an encrypted Secure Shell (SSH) network session loop. Your default administrative server access parameters are delivered directly to your inbox via a welcome email upon purchase. This guide walks you through establishing an RDP link and connecting via an SSH terminal application.
Before You Begin
Before attempting to launch a remote management session loop, make sure you meet the following baseline requirements:
- Your unique server connection parameters are ready (Server Hostname/IP Address, Administrative Username, and Password).
- A terminal utility client app active on your desktop machine (e.g., PuTTY for Windows loop setups or native Terminal app frameworks for Linux and Mac machines).
Follow These Steps
RDP Method: Log In to Your Windows Server
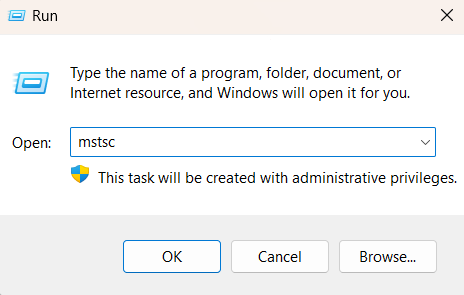
- Step 1: On your local Windows computer, click on Start, type Run in the search bar, and press Enter.
- Step 2: Type mstsc /console (or mstsc to initialise the standard Remote Desktop Connection software client) inside the Run pop-up window field and click OK.
- Step 3: Inside the Remote Desktop interface box, locate the Computer entry line, input your server’s public IP address string, and click Connect.
Windows Desktop Clients: Log In to Your Linux Server via PuTTY
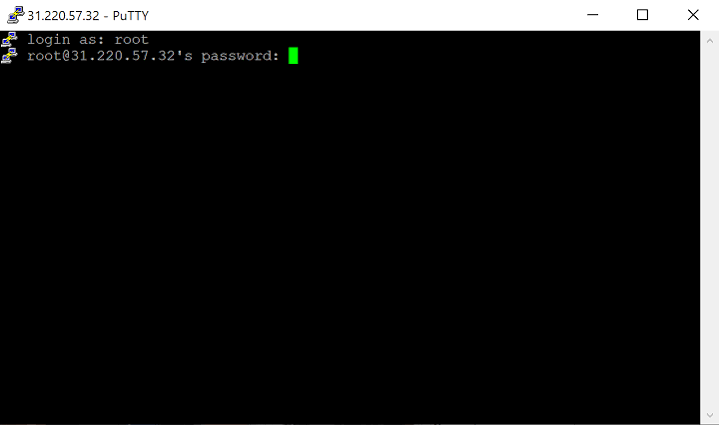
- Step 1: Open the PuTTY application client on your machine.
- Step 2: Locate the Host Name (or IP address) field and input your unique Linux server IP address string.
- Step 4: First-Time Security Check: If an alert pop-up flags an unrecognised server host key token fingerprint box, click Yes to verify the line item and save the key to your register.
Mac or Linux Computing Platforms: Log In to Your Linux Server via Terminal
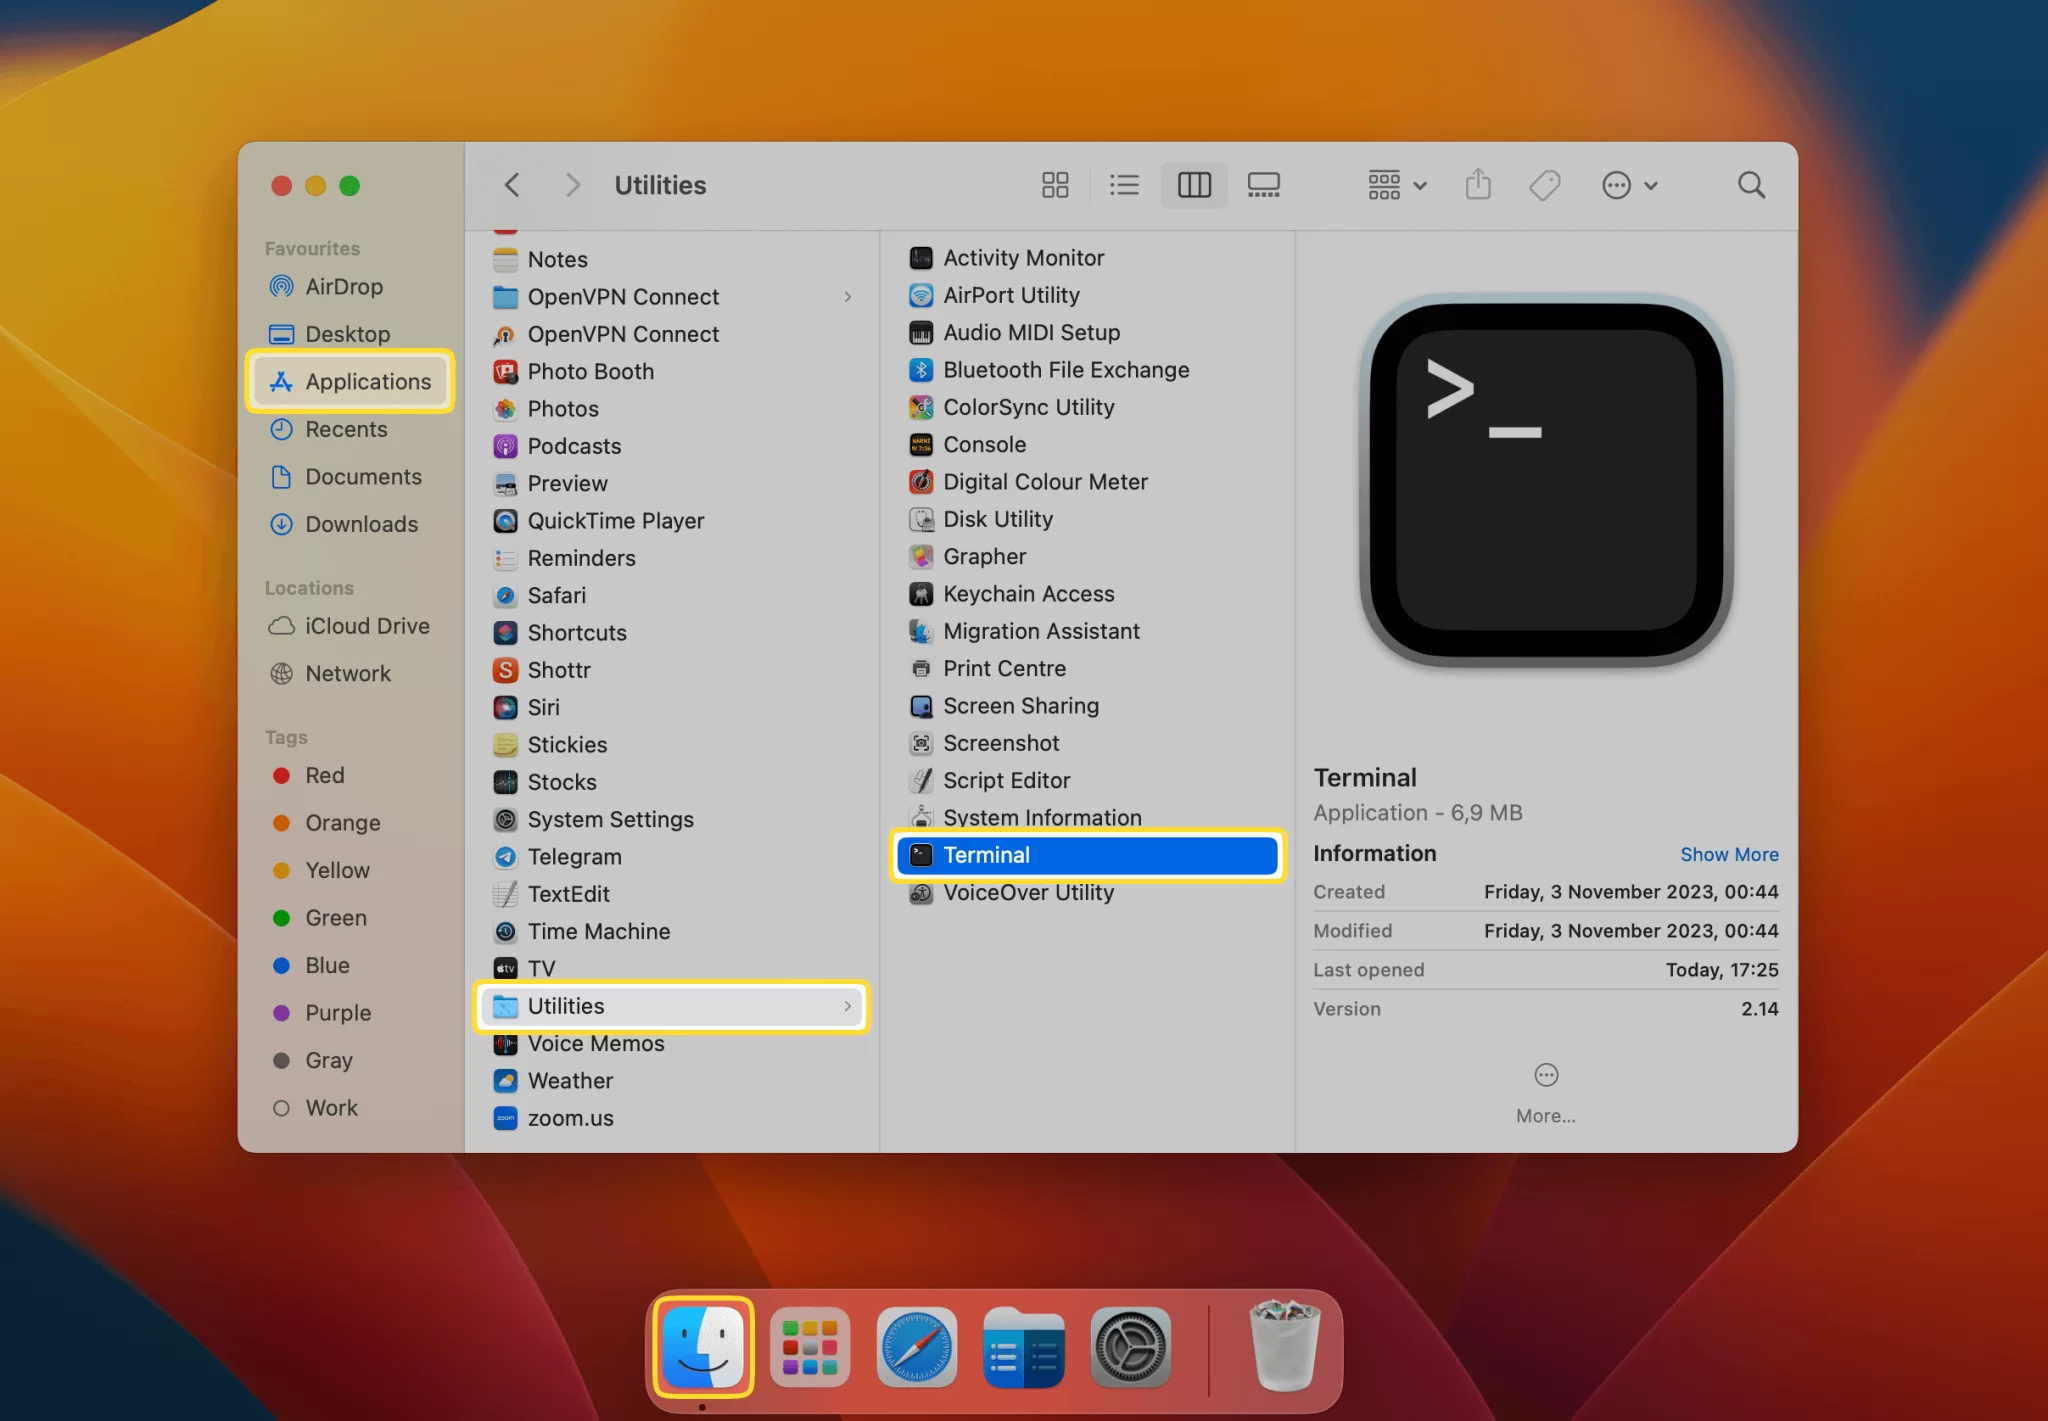
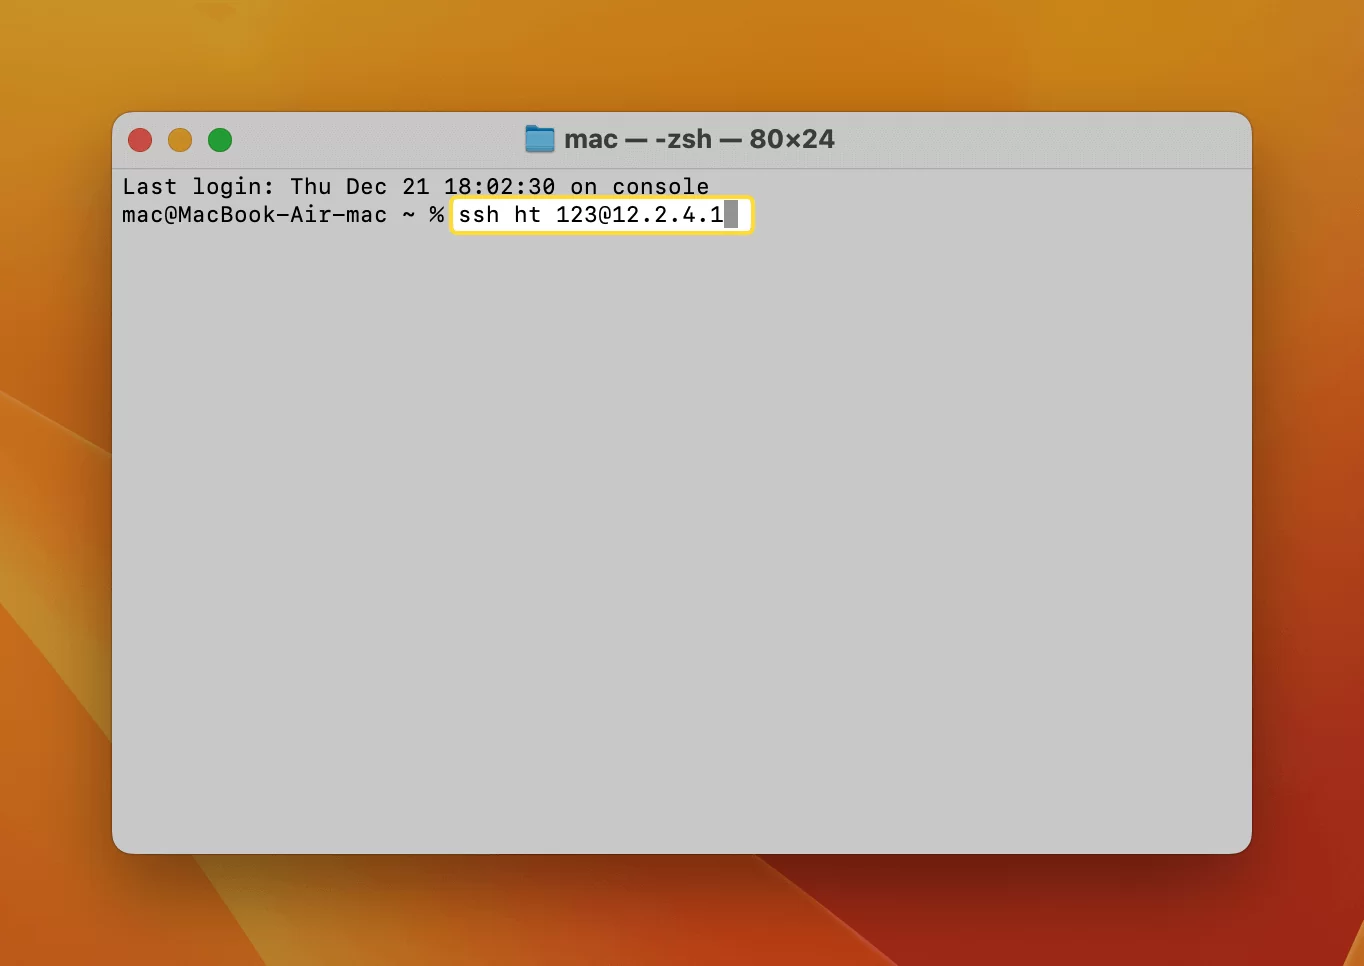
- Step 1: Launch the native built-in Terminal utility application on your macOS or Linux desktop.
- Step 2: Click inside your command line prompt area and prepare your execution parameters loop exactly as mapped:
- <username> represents your root system login profile.
- <host> represents your primary public server hostname string or server IP address.
- Step 3: Type the following precise SSH string code syntax into your active terminal workspace block line and press Enter: ssh <username>@<host>
- Step 4: If prompted by a security validation warning regarding the server’s unique host key integrity layer, type yes and hit Enter.
- Step 5: Type your secure account access password when prompted (note that terminal screens mask characters entirely while typing for maximum protection). Then hit Enter to finalise connection initialisation parameters.
What Happens Next?
Once authorised connections lock down, you gain complete root command authority over your web infrastructure boundaries.
- Direct Workspace Deployment: Any system rule, software library installation, or file architecture rewrite you run takes effect on the host server immediately.
- Persistent Monitoring Tasks: You can launch resource logging tools or background updates that keep executing seamlessly even after closing out your terminal application panels.
Important Things to Know
- The Welcome Email: The details for your server upon purchase. If you ever lose track of these details, log in to your 1-grid Client Portal dashboard area, open the Account Information dropdown on the top right of your dashboard, select “Email History” and search for your Welcome/Server Details email to obtain your historical server documents.
- The Host Key Verification Loop: Seeing a security fingerprint pop-up during your initial connection handshake is completely normal. However, if this message returns later after you have already validated the host key, it may flag that your server instance has been freshly reinstalled or that an external routing loop conflict exists.
Common Mistakes to Avoid
- Forgetting that terminal connection windows keep password-tracking characters completely invisible while you input them.
- Leaving active remote RDP user profiles running large visual automation tasks inside active window panes without logging off safely.
- Confusing Linux terminal SSH commands with Windows remote desktop utilities.
If This Didn’t Work
If connection handshakes return immediate timeout warning logs or socket drop alerts, confirm that your server package status reads active and isn’t paused due to billing adjustments.
You’re Ready!
Your server connection methodologies are fully mastered. Managing your systems strategically via secure RDP tracks or authenticated SSH command lines ensures you maintain maximum structural integrity over your active websites and digital enterprise deployments.
Related Articles
- How to Download and Install PuTTY
- How to Start an SSH Session from the Command Line in PuTTY
- What is the Difference Between a VPS and a Dedicated Server?
- How to Install Your SSL on a Business VPS
- VPS Quick Guides
- A Guide to Dedicated Servers at 1-grid
- Dedicated Server Quick Guides
Need Help?
If your terminal utilities display persistent connection refused alerts, or if your system credentials return continuous access loop validation errors, contact us.
Before logging a support ticket, please isolate:
- Your primary server hostname or core IP address string.
- Confirmation of whether you are configuring a Windows RDP or Linux SSH profile layout.
- The exact text logs and alphanumeric codes of any error notifications displayed.
- A screenshot of your terminal client setup window view showing your connection variables.