
Update your core server administrator notification routing to ensure critical security alerts and system warnings are delivered reliably.
Updating your WHM contact email does not affect your hosted email accounts or website services; it simply changes where WHM sends administrator notifications. By following these steps, you can ensure that security alerts, backup notifications, system warnings, and other administrative messages are delivered to an email address you actively monitor. This guide will help you update the contact email address used by WHM (Web Host Manager) to receive important server notifications with 1-grid.
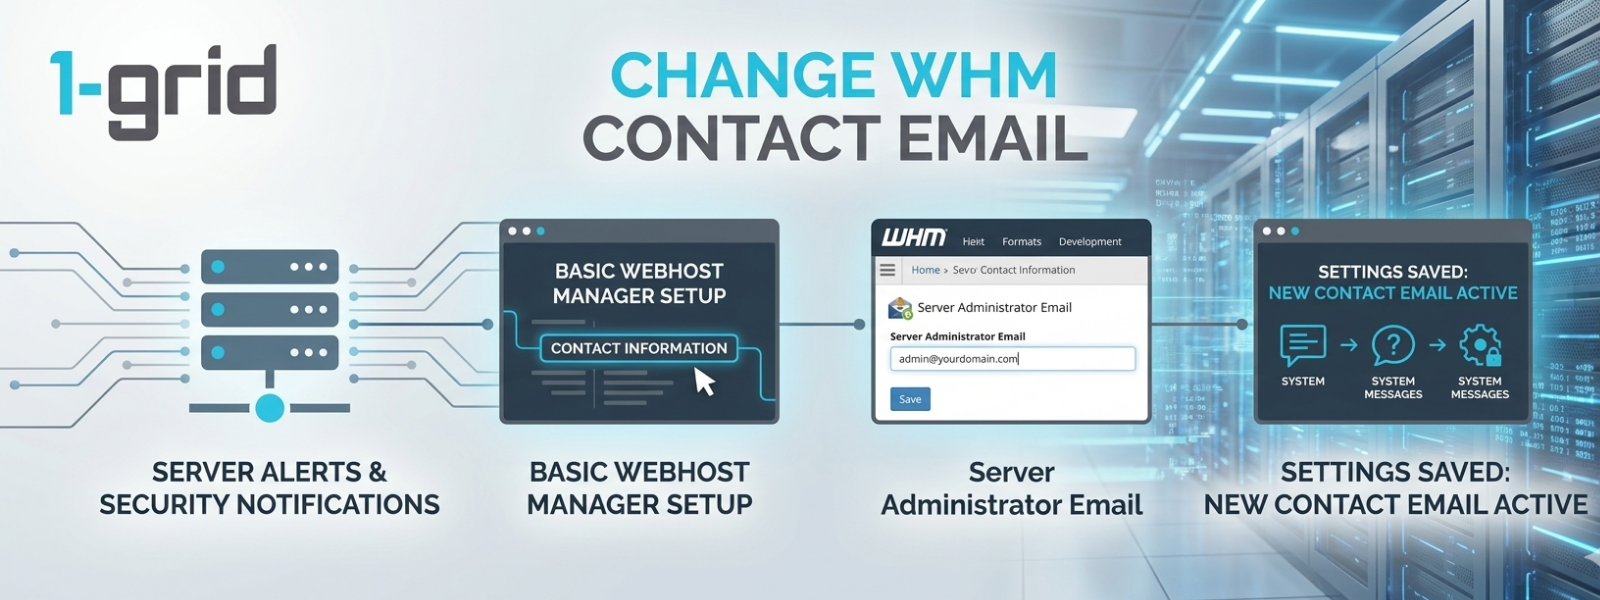
Before You Begin
Before rewriting your system alerting directives inside WHM, make sure you have:
- Verified administrative access to your server via root or reseller credentials.
- An active 1-grid VPS or Dedicated Server package running a WHM panel dashboard environment.
- A secure, external destination email address that you actively monitor on a daily basis.
💡 Context: The WHM contact email is the primary destination address used for server administration alerts. WHM uses this address to notify system administrators about important events such as security alerts, failed root login attempts, backup notifications, disk usage warnings, service failures, and automated software updates.
Follow These Steps
1. Sign in to WHM
Open your web browser and log in to WHM using your unique root or reseller login credentials. Once signed in, you’ll be taken directly to the main WHM dashboard area.
2. Open Contact Information
Locate the main search bar in the top-left navigation column sidebar panel layout. Type Contact Information into the search field row, and click Contact Information from the filtered search results to open the management layout frame.
3. Update Your Contact Email
Locate the Contact Email input text box field row. Delete the outdated record string, and enter the fresh, active email address you want WHM to use for administrative system notifications.
💡 Tip: If you want an additional safety layer, you can also fill in the Pager Email Address field to route critical, high-priority notifications to a secondary backup mailbox wrapper.
4. Review Notification Preferences
Before saving your changes, review which system events should generate automated email alerts. Under the preference options list, you can toggle distinct alerts for:
- Disk space boundary warnings
- Critical service restarts and hardware failures
- Backup creation results and verification logs
- Account creation and modification alerts
- Failed SSH or panel login attempts
5. Save Your Changes
Scroll to the absolute bottom of the configuration properties window panel layout and click the Save action button. The interface will refresh with a green system confirmation alert confirming that your new alert routing settings are applied.
What Happens Next?
Once your updated contact email parameters are saved, the automated mailer pipeline switches paths instantly.
- Immediate System Alerts: Future server health metrics, file space warnings, or threat blocks will route to your newly configured mailbox string right away.
- Reseller Autonomy: If you operate a reseller structure, note that your down-line client packages maintain their own localised contact logs independently, keeping your admin records separate.
Important Things to Know
- Zero Service Downtime: Updating your WHM admin mail record changes server notification routing only; it has zero impact on your customer-facing websites, hosted mailboxes, or DNS parameters.
- The External Hosting Rule: We strongly recommend routing your alerts to an external mailbox provider (like Google Workspace or Microsoft 365) rather than an email address hosted on the same server. If the server goes offline, you won’t receive the alert explaining why.
- Independent Panel Properties: Changing the WHM administrator contact field does not rewrite your central 1-grid Client Portal account profile or invoice billing contact strings.
- Spam Filter Interference: Automated transactional alerts sent directly from root servers can occasionally be misclassified by local mail clients. Check your junk folder and add your server’s hostname to your safe sender whitelist if logs go missing.
Common Mistakes to Avoid
- Using a local email address hosted on the exact same server instance for root alert monitoring.
- Typing the spelling or missing domain extension suffixes inside the text user field strings.
- Disabling critical notification categories like disk constraints or security blocks just to clear inbox volume.
If This Didn’t Work
If system alerts continue to drop or refuse to deliver to your newly specified address, check your outbound mail queue logs inside WHM to verify that your mail server isn’t blacklisted or blocked by local firewalls. Double-check that your destination spam engine isn’t aggressively filtering root server transactional paths.
You’re Ready!
Your WHM administration contact routing is fully updated. Keeping your contact details current is one of the simplest ways to monitor server security, letting you step in and fix potential platform issues before they affect your live users.
Related Articles
Need Help?
If your contact configurations throw interface error messages during apply phases, or if your root notifications refuse to deliver out to external addresses, contact us. Our Support Team is ready to offer guidance and assistance.
To ensure our server support team can diagnose your dashboard settings quickly, please provide:
- Your primary server hostname or core package service name.
- A screenshot of your Contact Information preferences window view showing the entries.
- The explicit destination email address string you are trying to configure.
- Confirmation of whether you hold root access or a reseller tier configuration profile layout.