

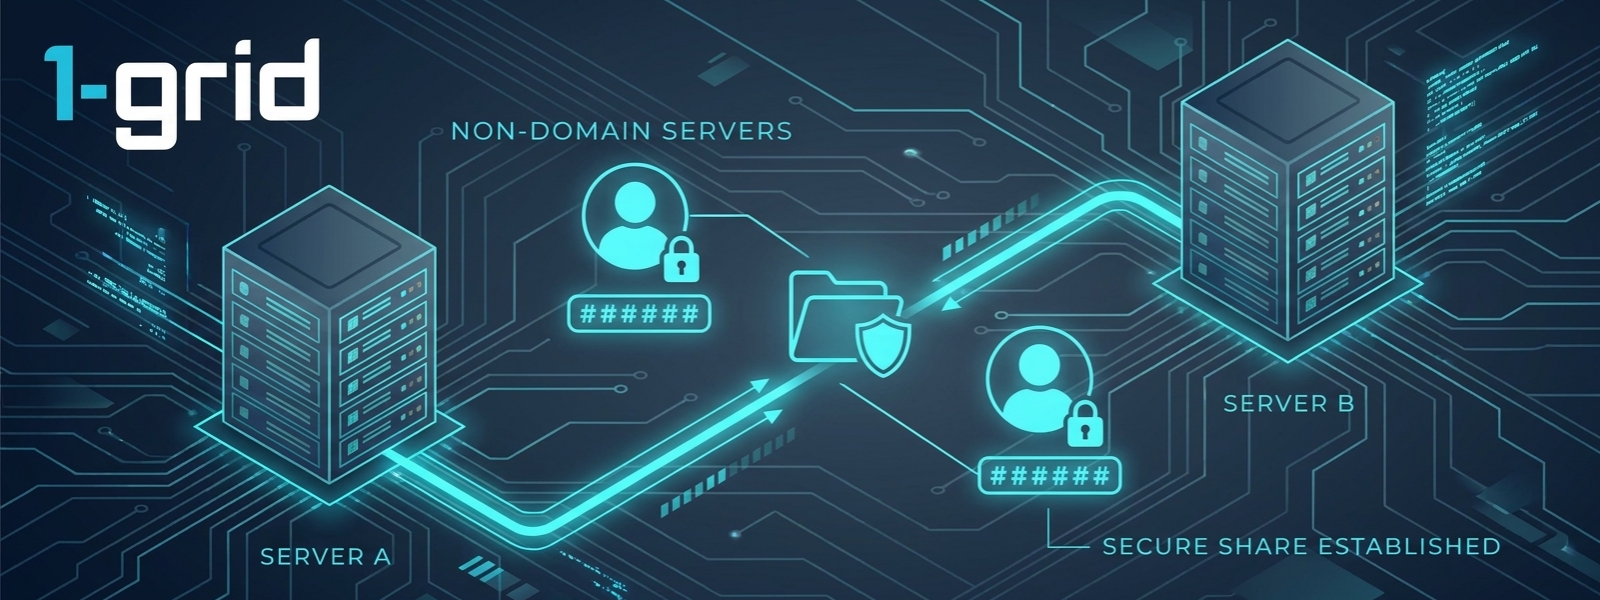
Configure a secure network share across non-domain Windows Server systems using matching local credential sets.
This guide walks you through setting up file sharing between your two Windows Servers – sharing a drive from one server (the Host Server) so it can be accessed from another server (the Remote Server). Since your servers are not part of an Active Directory domain, a few extra setup actions are required to make sure both sides can authenticate each other correctly. Please execute these layout configurations on your 1-grid hosting systems in order.
Before You Begin
Before initiating communication rules between your server nodes, make sure you have:
- Administrative root access to both Windows Server instances
- A private or public network routing path that permits both servers to ping each other
- A noted record of the Remote Server’s local login credentials (exact username and password)
💡 Important: Because your cloud infrastructure instances are running inside a workgroup environment rather than a unified Active Directory Domain Controller network, credential validation must be mirrored manually on both servers to prevent handshake authorisation rejections.
Follow These Steps
1. Configure Network and Sharing Settings
Perform this deployment block on both server nodes:
- Under your active profile layout (Private or Business), turn on Network discovery and toggle on File and printer sharing.
- Expand the All Networks drawer layout, move to the bottom, and enable Password-protected sharing.
- Click Save changes.
2. Make Sure Both Servers Use the Same Workgroup
Perform this step on both server nodes:
- Press the Windows Key + R shortcut on your keyboard, input sysdm.cpl into the Run dialogue box prompt, and hit Enter.
- Review the text string displayed next to the Workgroup descriptor line item.
- If the values do not match exactly, click Change, type a matching identifier string (e.g., WORKGROUP), and click OK.
⏱️ Note: You must restart the operating system instances immediately if prompted to update system states.
3. Create a Matching Local Account on the Host Server
Perform this exclusively on the Host Server (the instance holding the drive contents you want to share):
- Press Windows Key + R, type lusrmgr.msc into the execution bar, and press Enter to launch Local Users and Groups.
- Right-click the Users directory index folder row and select New User.
- Username Field: Input the exact string character username utilized to sign in to the Remote Server.
- Password Field: Input the exact password string configuration used on the Remote Server.
- Uncheck the option box for User must change password at next logon.
- Check the box for Password never expires to prevent automated account link breaks later.
- Click Create, then select Close.
4. Share the Drive and Set Permissions
Perform this block on the Host Server:
- Right-click the disk partition you wish to distribute (e.g., Local Disk (C:)) and choose Properties.
- Click Add, type the exact local username string you configured during Step 3, and select OK.
- Highlight that user profile row, check the box mapping to Full Control (or Change/Read depending on your specific infrastructure privacy levels), then click Apply and OK.
- Transition over to the Security tab layout to configure NTFS system rules.
- Click Edit → Add, type the identical matching user account name string, and click OK.
- Highlight the account name, assign the matching user read/write folder parameters, and click Apply and OK.
5. Map the Drive from the Remote Server
Perform this section block on the Remote Server (the node requiring file access):
- Select the Map network drive… option interface.
- Assign an unused folder path device drive letter index (e.g., Z:).
- Check the configuration box for Reconnect at sign-in.
- Click Finish. When the system connection dialogue box prompts you, input the matching username and password credentials built during Step 3.
What Happens Next?
Once completed, the drive mapping establishes a permanent folder shortcut index.
- Persistent Mapping: Your Remote Server can access, write, and pull assets across the network directly inside its local File Explorer application windows.
- Auto-Reconnect: Checking the sign-in option ensures that if either server is rebooted, the storage mount line initialises automatically on startup without requiring manual configuration.
Important Things to Know
- Workgroup Uniformity: Windows Server local network discovery functions can drop connections entirely if the matching alphanumeric case parameters inside the System properties mismatch.
- Mirrored Credentials Priority: If the security password on the Remote Server is changed later, the account properties inside lusrmgr.msc on the Host Server must be updated manually to match, or connection requests will throw immediate access denied errors.
- Firewall Dependencies: If communication strings time out, verify that your active Windows Defender Firewall profiles permit File and Printer Sharing (SMB-In) traffic on ports 445 and 139.
Common Mistakes to Avoid
- Forgetting to verify that password-protected sharing is enabled, which can prompt crosstalk transmission drops.
- Typing the active server account strings with case-sensitivity variations across the different system user boards.
- Overlooking the Security tab (NTFS Permissions) configuration phase; setting permissions in the Sharing tab alone will still trigger access denied warnings if NTFS rules block the account.
- Using dynamic network IP numbers for mapping steps instead of hard-set static IP layouts or server names.
If This Didn’t Work
Should connection handshakes fail with credential rejections, open the Command Prompt on the Remote Server and test network reachability by running ping <Host_Server_IP>. If the network responses loop successfully but the disk mapping errors out, review your account security properties to confirm the local user account is not locked out on the Host Server.
You’re Ready!
Your network communication share is fully operational between your Windows Server environments. File synchronisation and asset routing can now process smoothly across your endpoints without Active Directory overhead.
Related Articles
Need Help?
If your server nodes refuse to authenticate despite using matching credentials, or if internal network configurations drop file transfers, contact us. Our Technical Team is ready to provide guidance.
Before opening a support request, please gather:
- Your account customer number and active server IP addresses
- The exact network drive string syntax you are inputting
- A screenshot of the error message or network block warning code
- Confirmation of whether your server firewalls are modified