
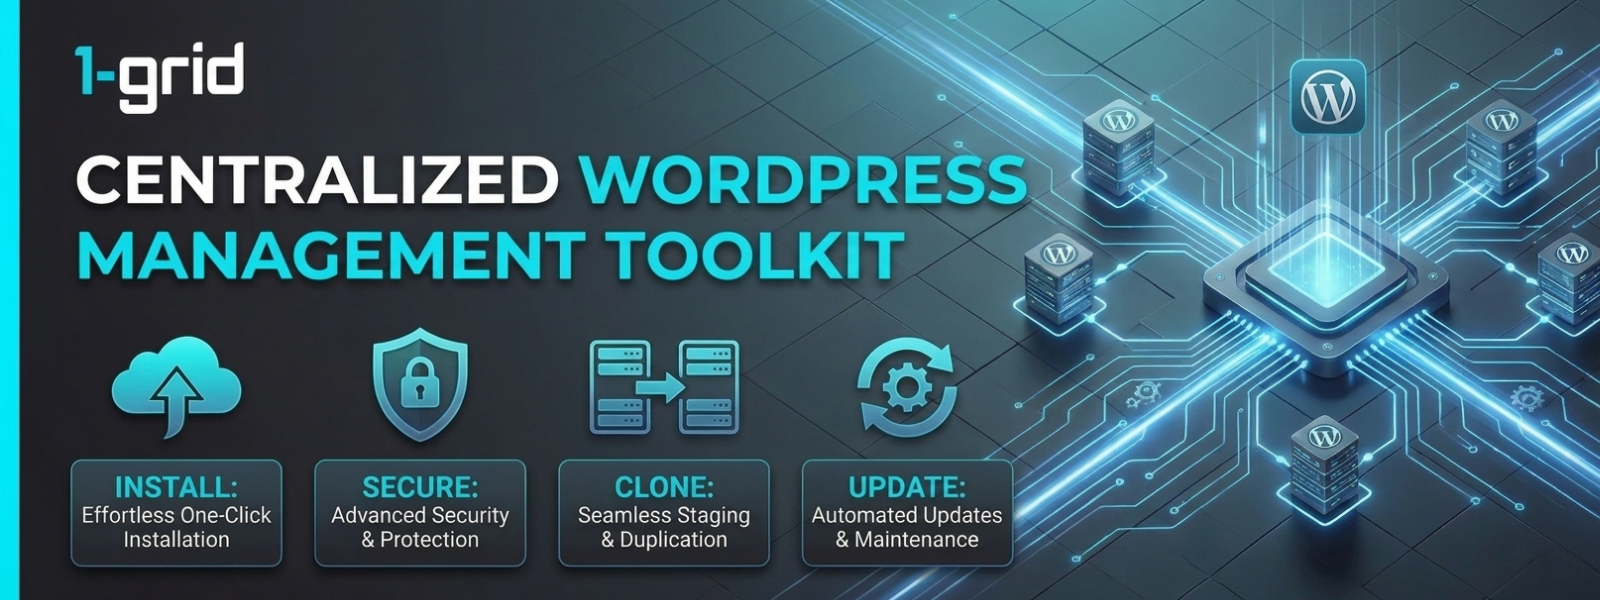
Install, secure, clone, and update multiple WordPress installations effortlessly from a centralised hosting interface.
Managing WordPress websites does not have to be a mission. WP Toolkit simplifies your routine website maintenance tasks, making it easy to keep your website secure and up to date without requiring advanced coding knowledge. Whether you are launching a new online store or managing multiple WordPress installations for clients, WP Toolkit provides a faster and more efficient way to work. This guide walks you through navigating the dashboard, deploying new sites, and managing your themes, plugins, and backups for your 1-grid hosting account.
Before You Begin
Before running automated site adjustments inside cPanel, make sure you have:
- Access to your 1-grid Customer Zone profile.
- An active web hosting package running a cPanel dashboard.
- Clear knowledge of the specific domain name or subdomains where you want to deploy or manage WordPress.
💡 Context: WP Toolkit is a powerful management interface embedded within cPanel. It allows you to execute core software updates, patch security vulnerabilities, and toggle staging tools directly from your server area, saving you from logging into each individual WordPress wp-admin dashboard interface.
Follow These Steps
1. Open WP Toolkit in cPanel
Log in to your 1-grid Customer Zone, navigate to your active hosting service, and click Login to cPanel. Scroll down to the Software section block cluster panel, and click WP Toolkit (on some legacy packages, this may be labelled WordPress Manager by Softaculous). The dashboard will automatically scan and display your existing site assets.
2. Install a New WordPress Website
- Select your preferred target Installation path from your active domain dropdown list.
- Complete the configuration fields under WordPress Administrator:
- Admin username: Create a distinct user string (avoid using generic terms like “admin”).
- Admin password: Generate a robust passphrase layout and save it securely inside a password manager.
- Email: Input your primary administrative email address.
- Review your site title and theme settings, then click Install. The server will handle file extraction and database mappings automatically.
3. Manage Existing Installations
Your central toolkit home window lists all detected websites alongside their active metadata scores. Click on any domain card row entry to reveal your primary management options:
- Plugin Manager: Click the Plugins tab to install, activate, toggle, or delete site plugins across your instances simultaneously without opening wp-admin.
- Theme Auditor: Use the Themes tab to audit design files, run theme updates, or drop unused look layouts to reclaim storage space.
4. Enable Maintenance Mode
Before applying heavy adjustments or template redesign work, locate the Maintenance mode toggle switch on the site card and flip it to On. This pushes a clean temporary placeholder landing layout out to public site visitors while allowing you to test background operations safely.
5. Clone a Website or Create Staging Environments
Click the Clone action item icon button on your site overview deck. Specify your staging target subdomain path to create an exact duplicate clone of your active database and content folders. Use this working playground environment to test fresh plugin patches safely before duplicating rules onto production assets.
6. Run On-Demand Restore Points
Move to the backup actions dashboard and click Back Up / Restore. Verify that your data compression parameters run completely to 100% to ensure you hold a bulletproof safety net restore point before running any massive application changes.
7. Harden Platform Access Parameters
Click the Check Security link item block on your domain overview line. WP Toolkit will evaluate your core directories, file structures, and database frameworks. Check the boxes next to recommended rules such as disabling file editing within the dashboard or restricting access to configuration paths, and click Secure to apply instant server-level patches.
What Happens Next?
Once toolkit instructions are issued, back-end server tasks handle operations seamlessly.
- Instant Feature Updates: Activating a plugin or patching an asset changes your working environment status tables immediately.
- Site Verification Loop: Open a separate incognito window tab after deploying core files to verify that your active template displays correctly and forms submit normally.
Important Things to Know
- Complementary Dashboard Management: WP Toolkit handles structural server security and application variables; it does not fully replace your interior WordPress admin dashboard customisation boards.
- The Backup Overwrite Safeguard: Running major theme or plugin updates can occasionally break customised code extensions. Always verify an on-demand restore point completes successfully before executing updates.
- Cloning vs. Backing Up: Generating a site backup creates a static zip archive recovery point. Creating a clone deploys a separate, fully functioning parallel live staging copy on your server disk sector.
- Feature Tier Variations: Specific advanced styling tools or automated staging syncing tools may vary depending on your active hosting tier package properties.
Common Mistakes to Avoid
- Running automatic core or major plugin upgrades without capturing a fresh server backup restore point first.
- Utilising weak, predictable text layouts inside your administrative username and password entry box paths.
- Ignoring available system security warning flags visible inside your central toolkit domain overview cards.
- Assuming that cloning an operational layout acts as a permanent server data backup file.
- Adjusting multiple plugin updates concurrently without opening the live URL route to verify platform stability between instances.
If This Didn’t Work
Should the WP Toolkit framework fail to detect your existing WordPress application after a server migration, click the Scan button in the top menu to force cPanel to remap your site directories. If software updates stall with database loading errors, confirm your subscription limits aren’t locked due to hitting account storage boundaries.
You’re Ready!
Your WordPress website management framework is fully configured inside cPanel. Utilising the unified WP Toolkit dashboard lets you secure your assets, minimise manual site maintenance overhead, and build staging workspaces with absolute confidence.
Related Articles
- How to Install WordPress on 1-grid Hosting
- How to Transfer Your WordPress Website to 1-grid
- How to Access cPanel via Customer Zone
- How to Create Website Backups in Windows Plesk
- How to Fix a Slow WordPress Website
- How to Secure a WordPress Website
Need Help?
If your toolkit environment fails to execute a clone path, blocks plugin additions with systemic execution errors, or drops authentication handshakes, contact us. Our Support Team is ready to provide guidance and assistance.
Before submitting an investigation request brief, please prepare:
- Your primary domain name and hosting service plan metrics.
- A screenshot of your WP Toolkit overview panel window view showing the fault.
- The complete text string configuration of any active error messages visible on screen.
- The precise timeline tracking details of when the installation fault occurred.